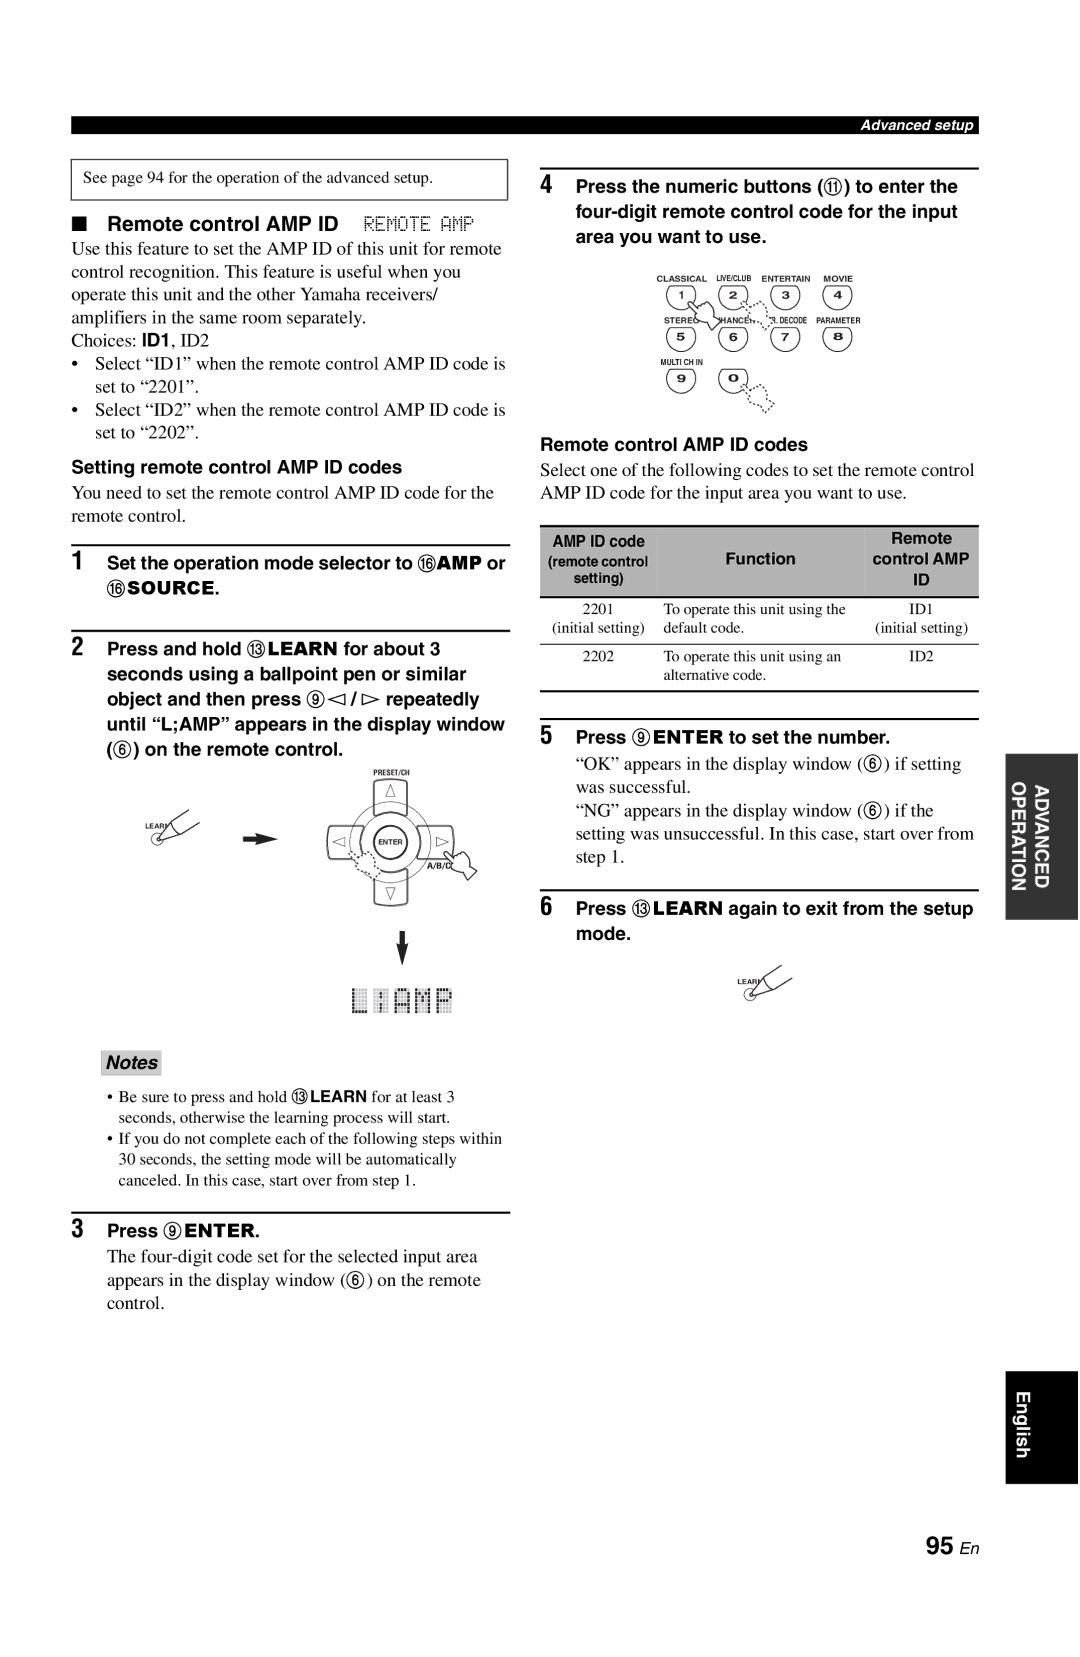
See page 94 for the operation of the advanced setup.
■ Remote control AMP ID REMOTE AMP
Use this feature to set the AMP ID of this unit for remote control recognition. This feature is useful when you operate this unit and the other Yamaha receivers/ amplifiers in the same room separately.
Choices: ID1, ID2
•Select “ID1” when the remote control AMP ID code is set to “2201”.
•Select “ID2” when the remote control AMP ID code is set to “2202”.
Setting remote control AMP ID codes
You need to set the remote control AMP ID code for the remote control.
1Set the operation mode selector to FAMP or
FSOURCE.
2Press and hold CLEARN for about 3 seconds using a ballpoint pen or similar object and then press 9l / h repeatedly until “L;AMP” appears in the display window (6) on the remote control.
PRESET/CH
LEARN
ENTER
A/B/C/D/E |
Notes
•Be sure to press and hold CLEARN for at least 3 seconds, otherwise the learning process will start.
•If you do not complete each of the following steps within 30 seconds, the setting mode will be automatically canceled. In this case, start over from step 1.
3Press 9ENTER.
The
Advanced setup
4Press the numeric buttons (A) to enter the
CLASSICAL LIVE/CLUB ENTERTAIN MOVIE
1 2 3 4
STEREO ENHANCER SUR. DECODE PARAMETER
5 6 7 8
MULTI CH IN
9 0
Remote control AMP ID codes
Select one of the following codes to set the remote control AMP ID code for the input area you want to use.
AMP ID code |
| Remote |
(remote control | Function | control AMP |
setting) |
| ID |
|
|
|
2201 | To operate this unit using the | ID1 |
(initial setting) | default code. | (initial setting) |
2202 | To operate this unit using an | ID2 |
| alternative code. |
|
5Press 9ENTER to set the number.
“OK” appears in the display window (6) if setting was successful.
“NG” appears in the display window (6) if the setting was unsuccessful. In this case, start over from step 1.
6Press CLEARN again to exit from the setup mode.
LEARN
OPERATION | ADVANCED |
|
|
English
