38CHAPTER 4: CONFIGURING THE SWITCH FROM THE WEB INTERFACE
To determine the exact IP address that the Switch assigns to itself during auto IP configuration, refer to the label on the top cover of the Switch. This label contains the MAC address and default IP address of the Switch.
For example, if the MAC address is 08004E000102, the IP address would be 169.254.1.2. The Switch also assigns the subnet mask 255.255.0.0 (default class B mask) to itself.
3Com recommends assigning an IP address to the Switch (either by using DHCP or a static IP address) to ensure successful communication between the Switch and other network devices.
IP Setup
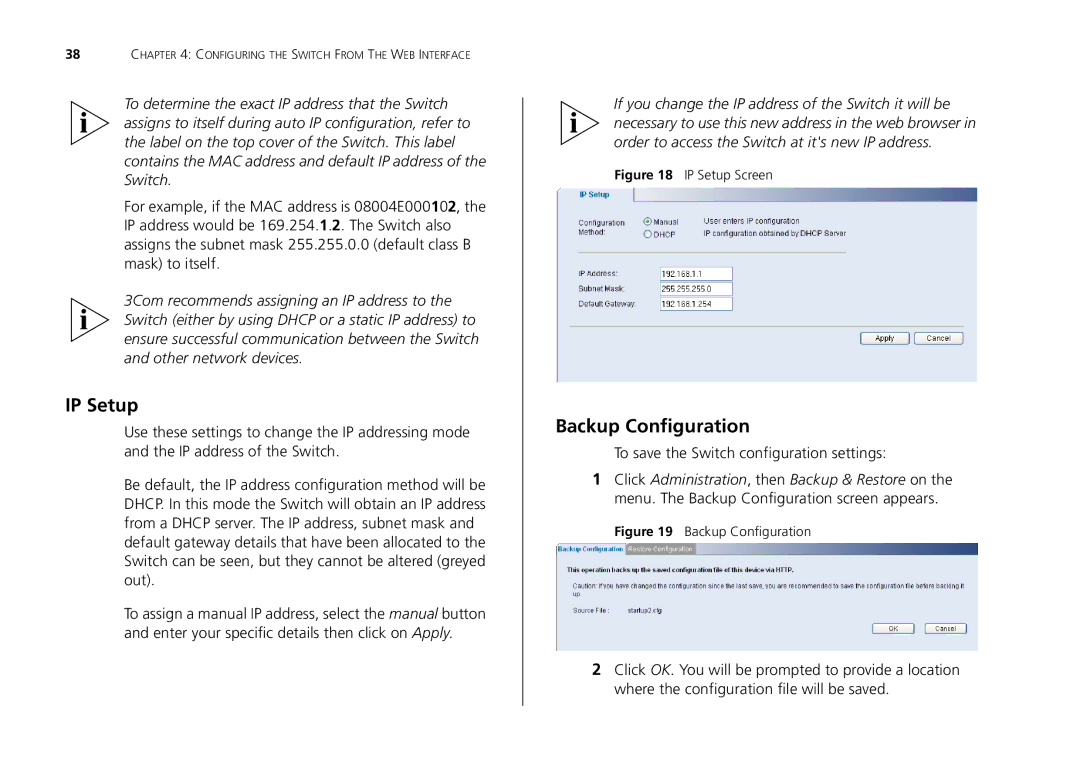
Use these settings to change the IP addressing mode and the IP address of the Switch.
Be default, the IP address configuration method will be DHCP. In this mode the Switch will obtain an IP address from a DHCP server. The IP address, subnet mask and default gateway details that have been allocated to the Switch can be seen, but they cannot be altered (greyed out).
To assign a manual IP address, select the manual button and enter your specific details then click on Apply.
If you change the IP address of the Switch it will be necessary to use this new address in the web browser in order to access the Switch at it's new IP address.
Figure 18 IP Setup Screen
Backup Configuration
To save the Switch configuration settings:
1Click Administration, then Backup & Restore on the menu. The Backup Configuration screen appears.
Figure 19 Backup Configuration
2Click OK. You will be prompted to provide a location where the configuration file will be saved.