74 | 3 System upgrade |
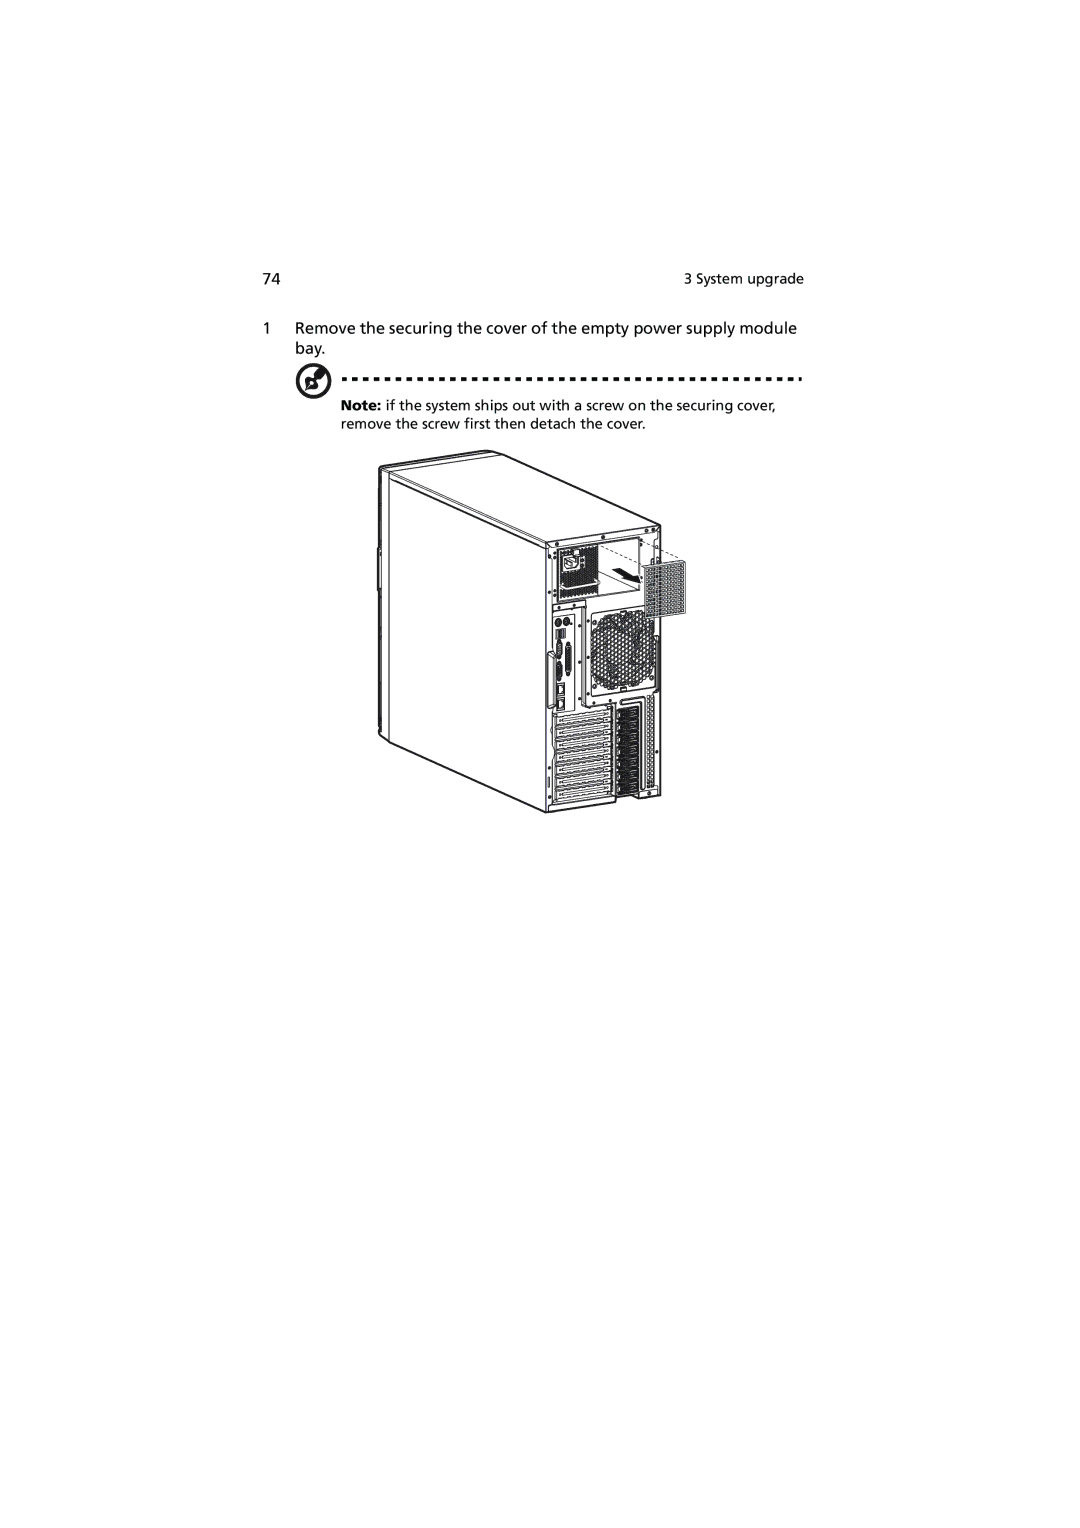
1Remove the securing the cover of the empty power supply module bay.
Note: if the system ships out with a screw on the securing cover, remove the screw first then detach the cover.
74 | 3 System upgrade |
1Remove the securing the cover of the empty power supply module bay.
Note: if the system ships out with a screw on the securing cover, remove the screw first then detach the cover.