SNMS
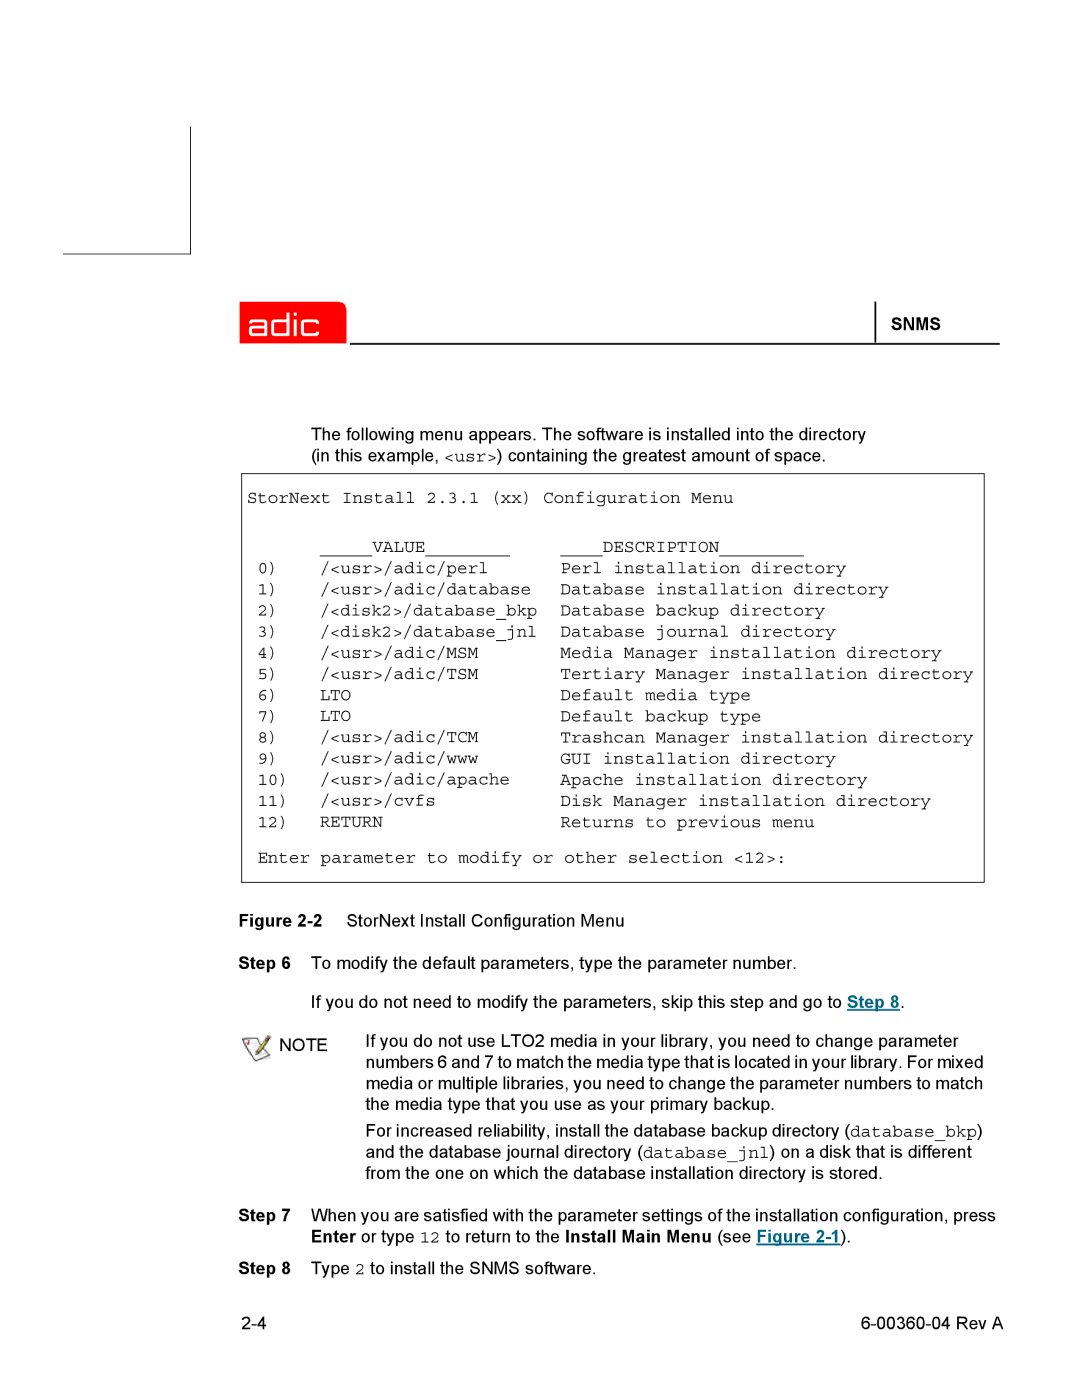
The following menu appears. The software is installed into the directory (in this example, <usr>) containing the greatest amount of space.
StorNext Install 2.3.1 (xx) Configuration Menu
| _____VALUE________ | ____DESCRIPTION________ |
0) | /<usr>/adic/perl | Perl installation directory |
1)/<usr>/adic/database Database installation directory
2)/<disk2>/database_bkp Database backup directory
3)/<disk2>/database_jnl Database journal directory
4) | /<usr>/adic/MSM | Media Manager installation directory |
5) | /<usr>/adic/TSM | Tertiary Manager installation directory |
6) | LTO | Default media type |
7) | LTO | Default backup type |
8) | /<usr>/adic/TCM | Trashcan Manager installation directory |
9) | /<usr>/adic/www | GUI installation directory |
10) | /<usr>/adic/apache | Apache installation directory |
11) | /<usr>/cvfs | Disk Manager installation directory |
12) | RETURN | Returns to previous menu |
Enter parameter to modify or other selection <12>:
Figure 2-2 StorNext Install Configuration Menu
Step 6 To modify the default parameters, type the parameter number.
If you do not need to modify the parameters, skip this step and go to Step 8.
NOTE | If you do not use LTO2 media in your library, you need to change parameter |
| numbers 6 and 7 to match the media type that is located in your library. For mixed |
| media or multiple libraries, you need to change the parameter numbers to match |
| the media type that you use as your primary backup. |
| For increased reliability, install the database backup directory (database_bkp) |
| and the database journal directory (database_jnl) on a disk that is different |
| from the one on which the database installation directory is stored. |
Step 7 When you are satisfied with the parameter settings of the installation configuration, press Enter or type 12 to return to the Install Main Menu (see Figure
Step 8 Type 2 to install the SNMS software.
