SNMS
Once the Status screen appears displaying successful completion of configuring one or more tape libraries, click Next to return to the Library Introduction screen.
Step 2 Click Done when you are ready to start the next step of the software configuration process.
The ICW screen appears and displays the word Completed after Step 3: Add Library. Step 3 Click Next to begin Step 4: Add Tape Drive.
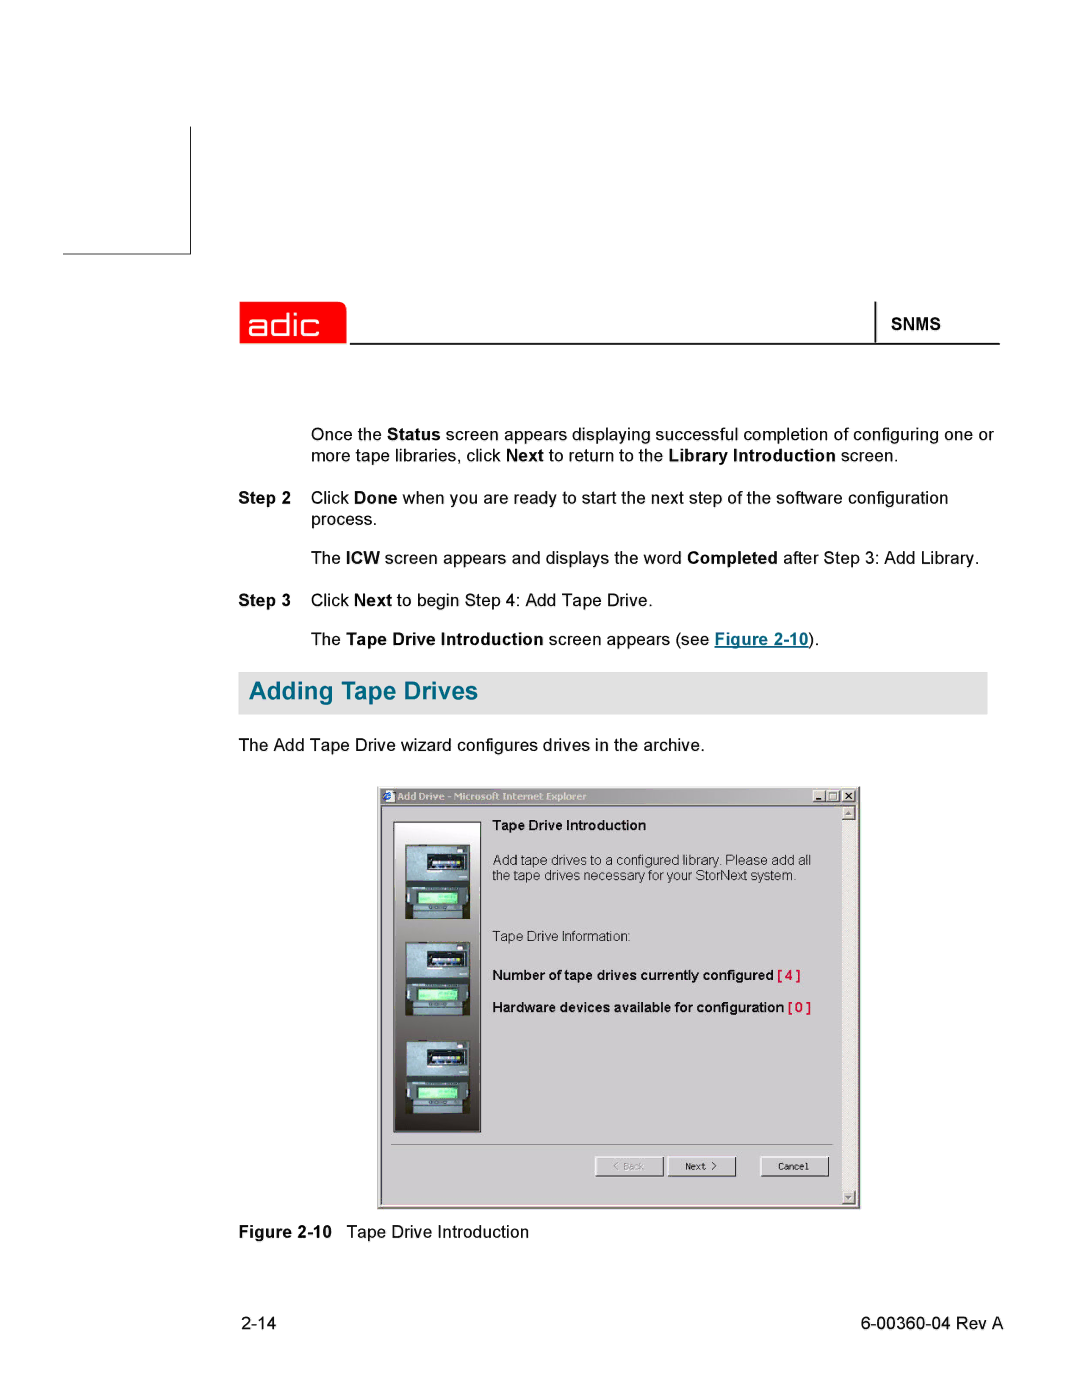
The Tape Drive Introduction screen appears (see Figure
Adding Tape Drives
The Add Tape Drive wizard configures drives in the archive.
Figure 2-10 Tape Drive Introduction
|
