Various Printing Operations
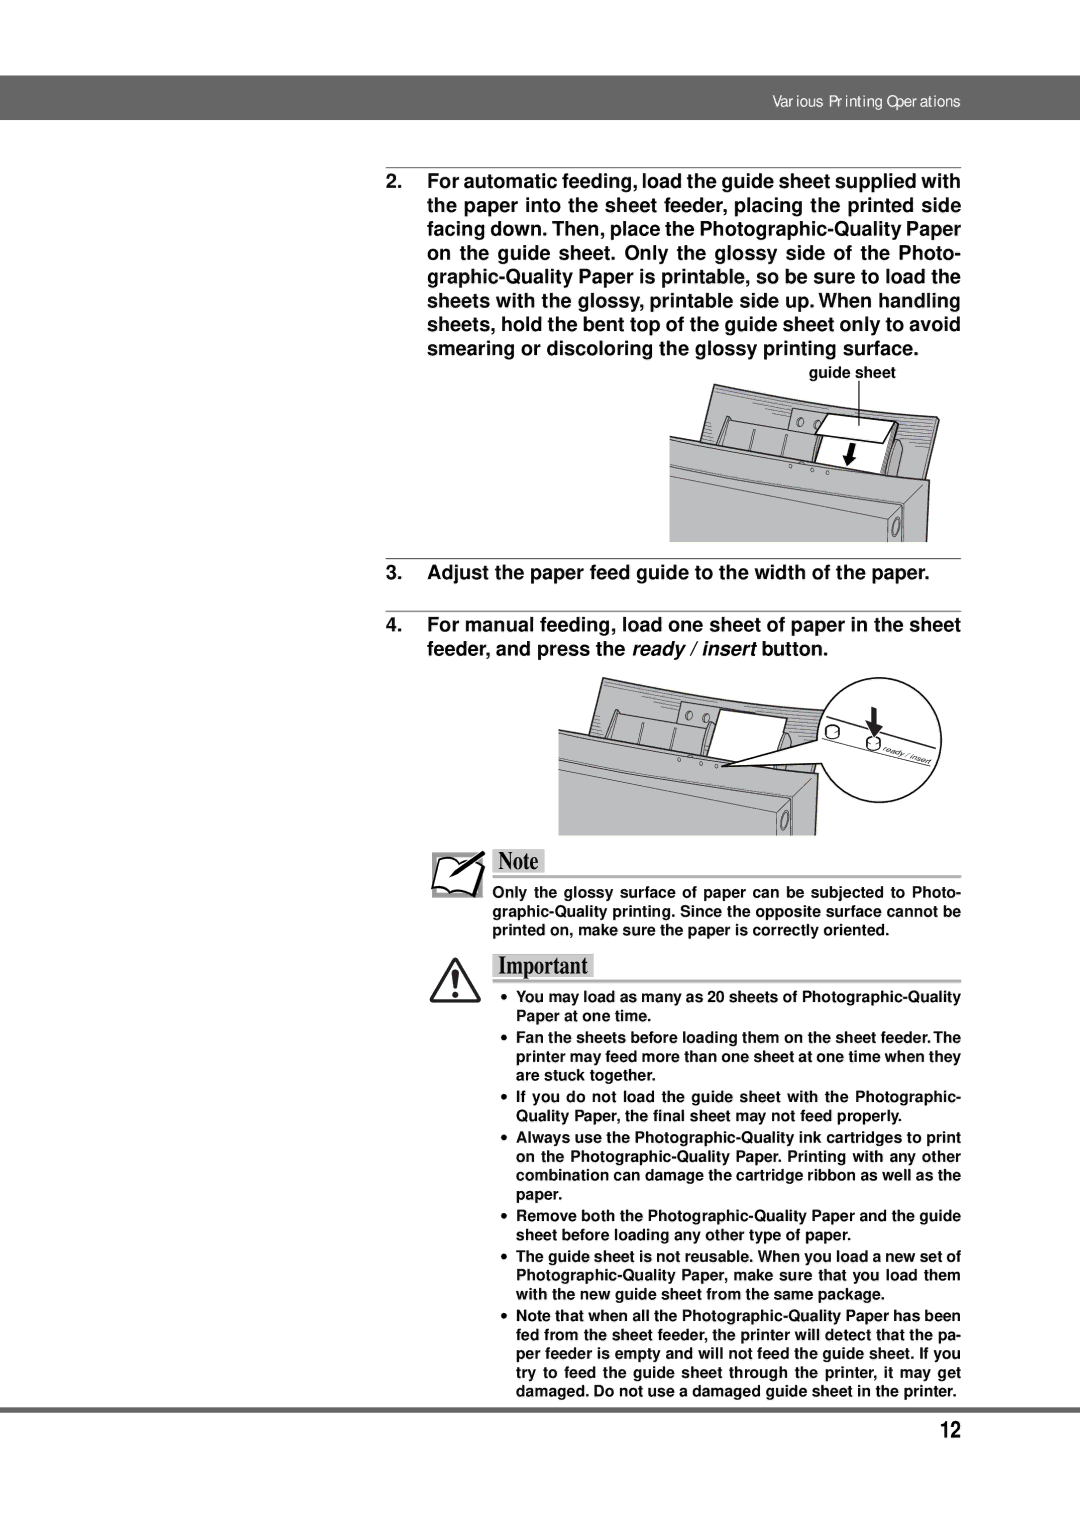
2.For automatic feeding, load the guide sheet supplied with the paper into the sheet feeder, placing the printed side facing down. Then, place the Photographic-Quality Paper on the guide sheet. Only the glossy side of the Photo- graphic-Quality Paper is printable, so be sure to load the sheets with the glossy, printable side up. When handling sheets, hold the bent top of the guide sheet only to avoid smearing or discoloring the glossy printing surface.
guide sheet
3.Adjust the paper feed guide to the width of the paper.
4.For manual feeding, load one sheet of paper in the sheet feeder, and press the ready / insert button.
 Note
Note
Only the glossy surface of paper can be subjected to Photo- graphic-Quality printing. Since the opposite surface cannot be printed on, make sure the paper is correctly oriented.
Important
∙ You may load as many as 20 sheets of Photographic-Quality
Paper at one time.
∙Fan the sheets before loading them on the sheet feeder. The printer may feed more than one sheet at one time when they are stuck together.
∙If you do not load the guide sheet with the Photographic- Quality Paper, the final sheet may not feed properly.
∙Always use the Photographic-Quality ink cartridges to print on the Photographic-Quality Paper. Printing with any other combination can damage the cartridge ribbon as well as the paper.
∙Remove both the Photographic-Quality Paper and the guide sheet before loading any other type of paper.
∙The guide sheet is not reusable. When you load a new set of Photographic-Quality Paper, make sure that you load them with the new guide sheet from the same package.
∙Note that when all the Photographic-Quality Paper has been fed from the sheet feeder, the printer will detect that the pa- per feeder is empty and will not feed the guide sheet. If you try to feed the guide sheet through the printer, it may get damaged. Do not use a damaged guide sheet in the printer.