Various Printing Operations
Step 4¨ Print
1.Click OK in the Print dialog box. Printing will begin.
Step 5¨ Transfer the Iron-On to Cloth
Use an iron to transfer the image to cloth after the printing on the
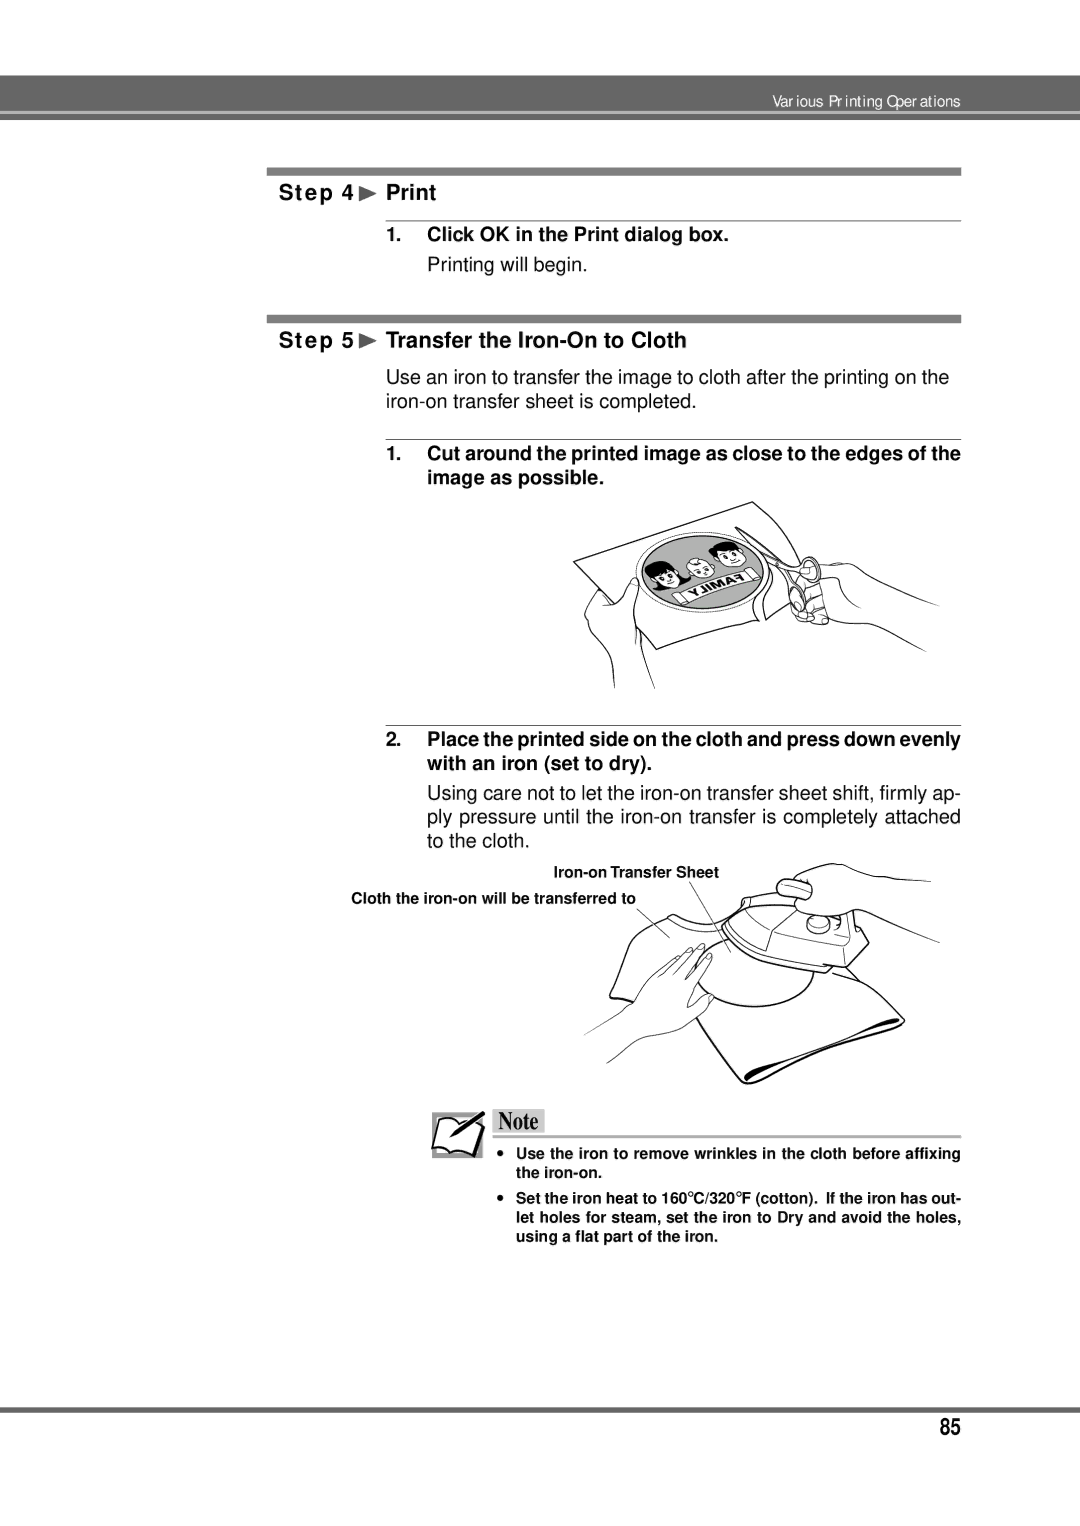
1.Cut around the printed image as close to the edges of the image as possible.
2.Place the printed side on the cloth and press down evenly with an iron (set to dry).
Using care not to let the
Cloth the
Note
∙Use the iron to remove wrinkles in the cloth before affixing the
∙Set the iron heat to 160°C/320°F (cotton). If the iron has out- let holes for steam, set the iron to Dry and avoid the holes, using a flat part of the iron.
85
