Synchronizing Music from Windows Media® Player (WMP) to the PMA430
Windows Media® Player (WMP) allows you to synchronize music between your computer and PMA430: That means, it will add music files to your PMA430 so that you have the same digital media on your PMA430 as you have in your Windows Media® Player library. The synchronization in is one way, that is to say, copying tracks from your computer to your PMA430, but not vice versa. You can choose to sync only certain songs or to sync your entire library.
Synchronizing Music from Windows Media® Player (WMP) 9 to the PMA430
Access the Copy to tab in WMP 9. On the left hand side, you should see music files from your music library (saved on your computer) and on the right, the files and
folder on your PMA430. Check the files you want to copy to the PMA430. Make sure you have selected the folder on the PMA430 into which you want to copy your music. In the top right corner of WMP, you will find the Copy button which starts the synchronization process.
Synchronizing Music from Windows Media® Player (WMP) 10 to the PMA430
Access the Synchronise tab in WMP 10. If this is the first time you are using this option, WMP will offer to set up automatic synchronisation of your music files. If this box is
checked, every time you connect you PMA430 to your computer, WMP will automatically start up and check to see whether any of the music files on the computer have not yet been copied to the PMA430. These files will then be copied
to your computer. If you choose to manually synchronise your files, you can always set up automatic synchronization by clicking the Set up sync button.
On the left hand side, you should see music files from your music library (saved on your computer) and on the right, the files and folder on your PMA430. Check the files you want to copy to the PMA430. Make sure you have selected the folder on the PMA430 into which you want to copy your music. On the tool bar, you will find the Start Sync button which starts the synchronization process.
Attention: Files deleted from the WMP music library will also be deleted from the PMA430.
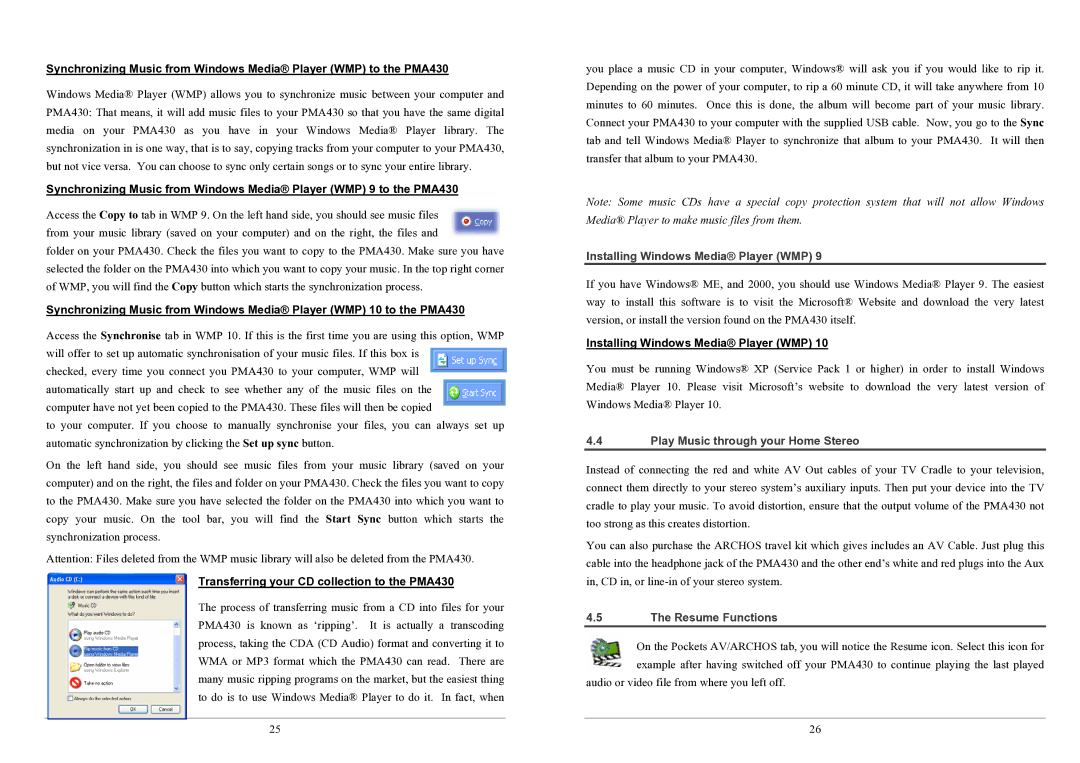
Transferring your CD collection to the PMA430
The process of transferring music from a CD into files for your PMA430 is known as ‘ripping’. It is actually a transcoding process, taking the CDA (CD Audio) format and converting it to WMA or MP3 format which the PMA430 can read. There are many music ripping programs on the market, but the easiest thing to do is to use Windows Media® Player to do it. In fact, when
25
you place a music CD in your computer, Windows® will ask you if you would like to rip it. Depending on the power of your computer, to rip a 60 minute CD, it will take anywhere from 10 minutes to 60 minutes. Once this is done, the album will become part of your music library. Connect your PMA430 to your computer with the supplied USB cable. Now, you go to the Sync tab and tell Windows Media® Player to synchronize that album to your PMA430. It will then transfer that album to your PMA430.
Note: Some music CDs have a special copy protection system that will not allow Windows Media® Player to make music files from them.
Installing Windows Media® Player (WMP) 9
If you have Windows® ME, and 2000, you should use Windows Media® Player 9. The easiest way to install this software is to visit the Microsoft® Website and download the very latest version, or install the version found on the PMA430 itself.
Installing Windows Media® Player (WMP) 10
You must be running Windows® XP (Service Pack 1 or higher) in order to install Windows Media® Player 10. Please visit Microsoft’s website to download the very latest version of Windows Media® Player 10.
4.4Play Music through your Home Stereo
Instead of connecting the red and white AV Out cables of your TV Cradle to your television, connect them directly to your stereo system’s auxiliary inputs. Then put your device into the TV cradle to play your music. To avoid distortion, ensure that the output volume of the PMA430 not too strong as this creates distortion.
You can also purchase the ARCHOS travel kit which gives includes an AV Cable. Just plug this cable into the headphone jack of the PMA430 and the other end’s white and red plugs into the Aux in, CD in, or
4.5The Resume Functions
On the Pockets AV/ARCHOS tab, you will notice the Resume icon. Select this icon for example after having switched off your PMA430 to continue playing the last played
audio or video file from where you left off.
26