16 Audio-Visual Settings
16.1TV Output
When your PMA430 is connected to a television either via the TV Cradle or with the optional travel cable, you may need to adjust the TV output settings to PAL for European television systems or to NTSC for North American television systems. Most all countries of the world use one of these two formats.
You can set the still image display to Progressive if you find that still images flicker on your TV screen. This is usually due to fine lines in the pictures and is not linked to the television nor the PMA430. Setting the parameter to Progressive will eliminate such flickering but will also reduce the perceived resolution.
16.2VideoCorder Settings
If you decide to use the Infrared (IR) Emitter for scheduled television recordings (to change the channels and turn on your TV tuner), you will need to set the infrared codes for your VCR, Cable Box, or satellite receiver. See the chapter
16.3Equalizer
Modifying the Equalizer settings allows you to set the sound quality. This is the same equalizer as in the Music playing application.
55
17 Hardware Settings
17.1LCD Settings
Changing this parameter llows you to to eliminate any LCD screen flickering.
17.2Light & Power
Adjusting your screen settings when running on the battery can save power and extend the autonomy of your device. In this section, you can set these values depending on whether your PMA430 is running on battery or is connected via the Adapter/Charger to the mains.
17.3Recalibrate
Run this application if it seems that the point you touch on the screen with the stylus does not aligned with the button or control you want. This application will recalibrate the touch screen for horizontal and vertical accuracy.
17.4Network
This application is the key to making a network connection so that the
-Via the infrared port
-Via a wired USB to Ethernet adapter (must be an ARCHOS approved adapter)
-Via the
In this example, we will make a Wifi connection at a public Wifi access point.
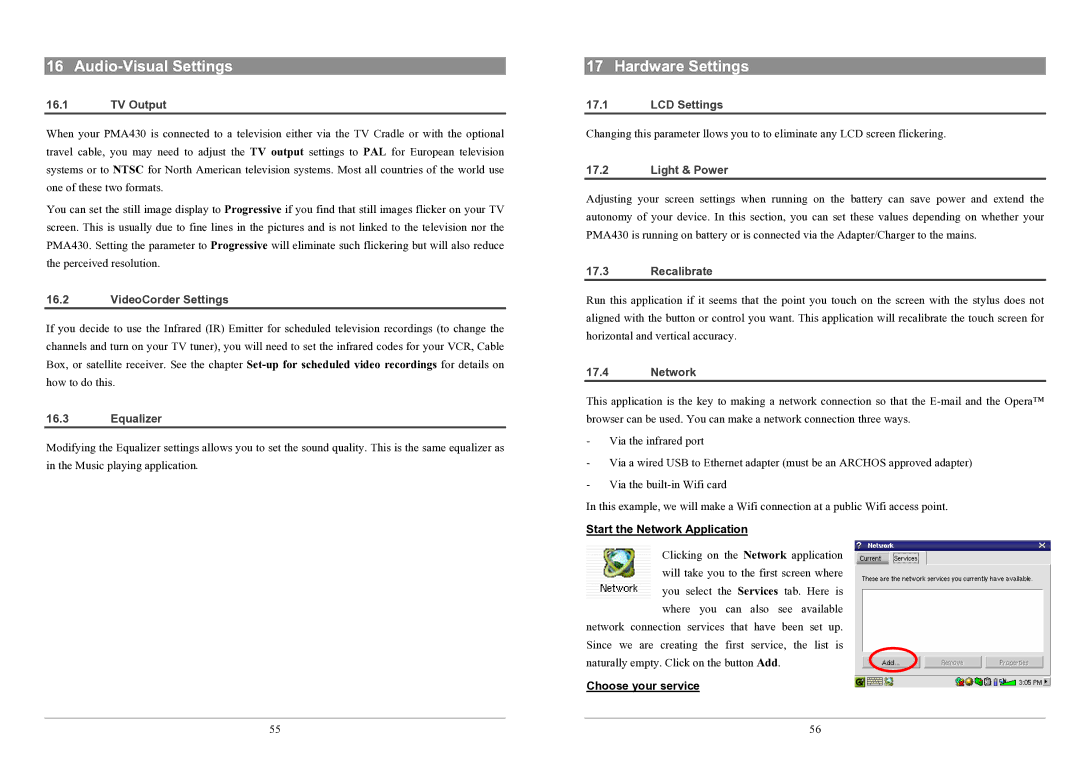
Start the Network Application
Clicking on the Network application will take you to the first screen where you select the Services tab. Here is where you can also see available
network connection services that have been set up. Since we are creating the first service, the list is naturally empty. Click on the button Add.
Choose your service
56