Hardware Installation
You can install the product on your desk or use the attached tripod to hang it from the wall or ceiling. (The product is provided with image flip function. Refer to the “Control Panel” for more information.)
Confirm the position for installation of the camera
1. Connect to the LAN cable
Plug one end of your LAN cable in the LAN socket on the back of the camera and connect the other end to the network that you want to access to.
Pluck in LAN socket
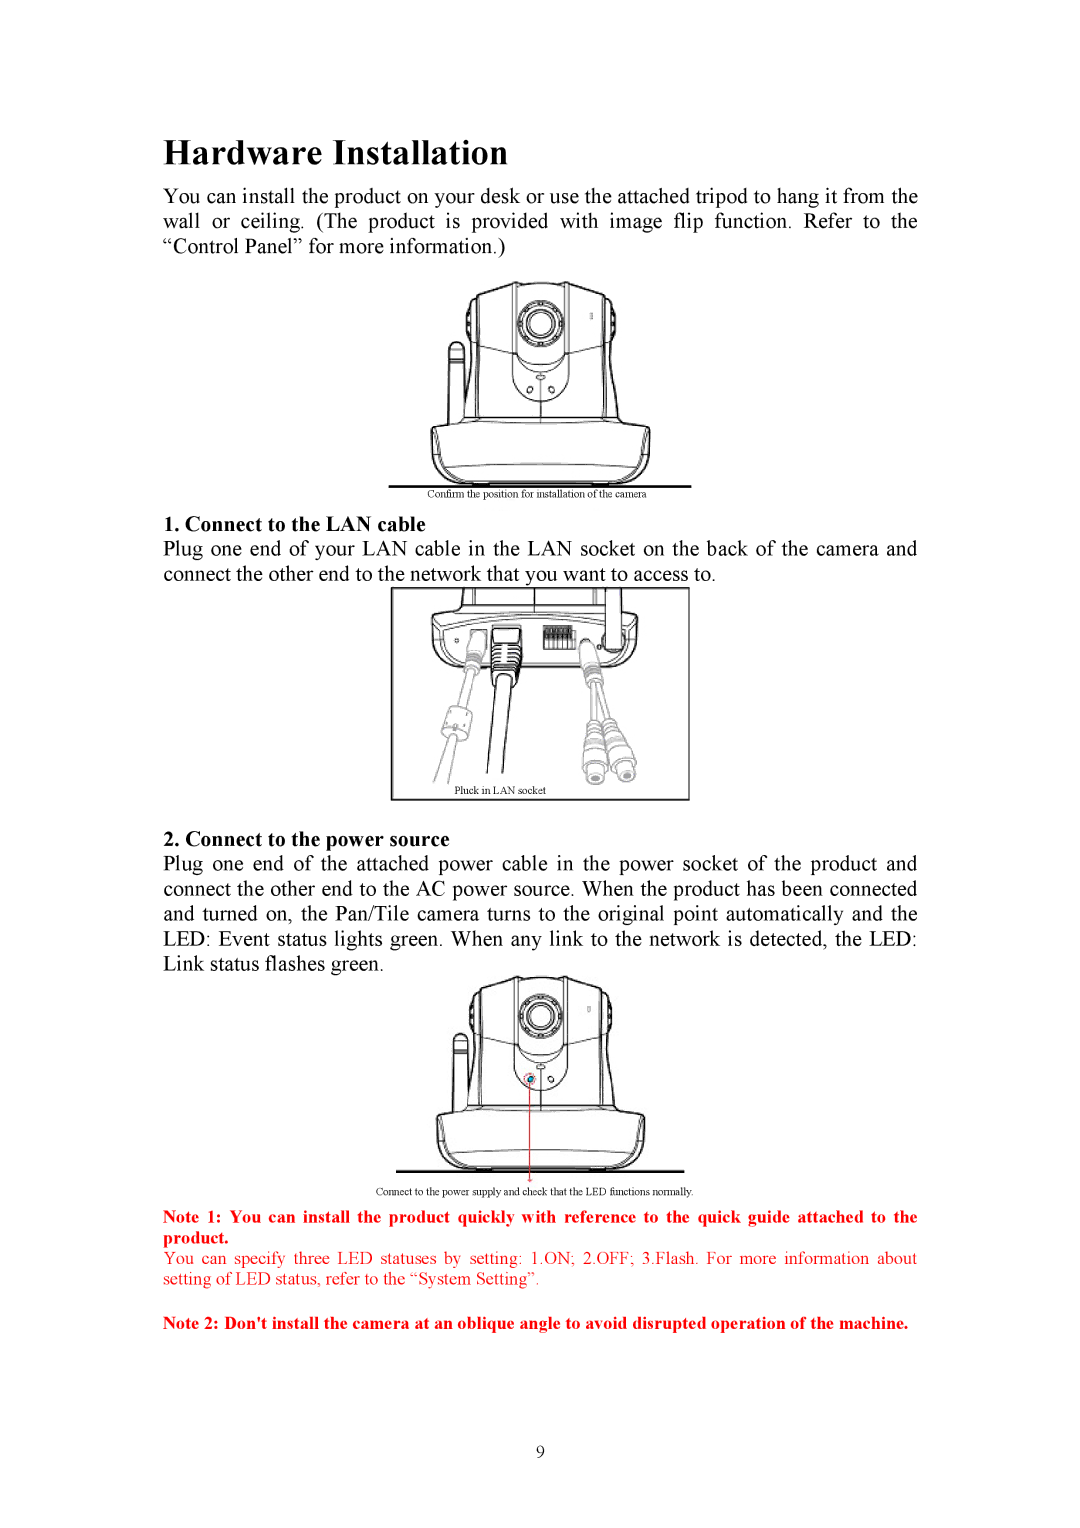
2. Connect to the power source
Plug one end of the attached power cable in the power socket of the product and connect the other end to the AC power source. When the product has been connected and turned on, the Pan/Tile camera turns to the original point automatically and the LED: Event status lights green. When any link to the network is detected, the LED: Link status flashes green.
Connect to the power supply and check that the LED functions normally.
Note 1: You can install the product quickly with reference to the quick guide attached to the product.
You can specify three LED statuses by setting: 1.ON; 2.OFF; 3.Flash. For more information about setting of LED status, refer to the “System Setting”.
Note 2: Don't install the camera at an oblique angle to avoid disrupted operation of the machine.
9