Section 2 – Cabinet Conversion
Upgrade the Control Panel
Perform the steps in this section to upgrade the old control panel with new buttons, joystick, and graphics.
Prepare the Control Panel
1.Disconnect the wires from the buttons and other controls.
2.Remove the nuts and bolts that hold the plastic cover to the control panel surface.
3.Remove the buttons, trackball (or other controls), the clear plastic cover, and artwork from the control panel.
4.Install the joystick in the control panel using the four nuts and bolts removed from the trackball assembly. You may need to remove the handle from the joystick to install the control panel artwork and plastic cover.
Apply Control Panel Graphics
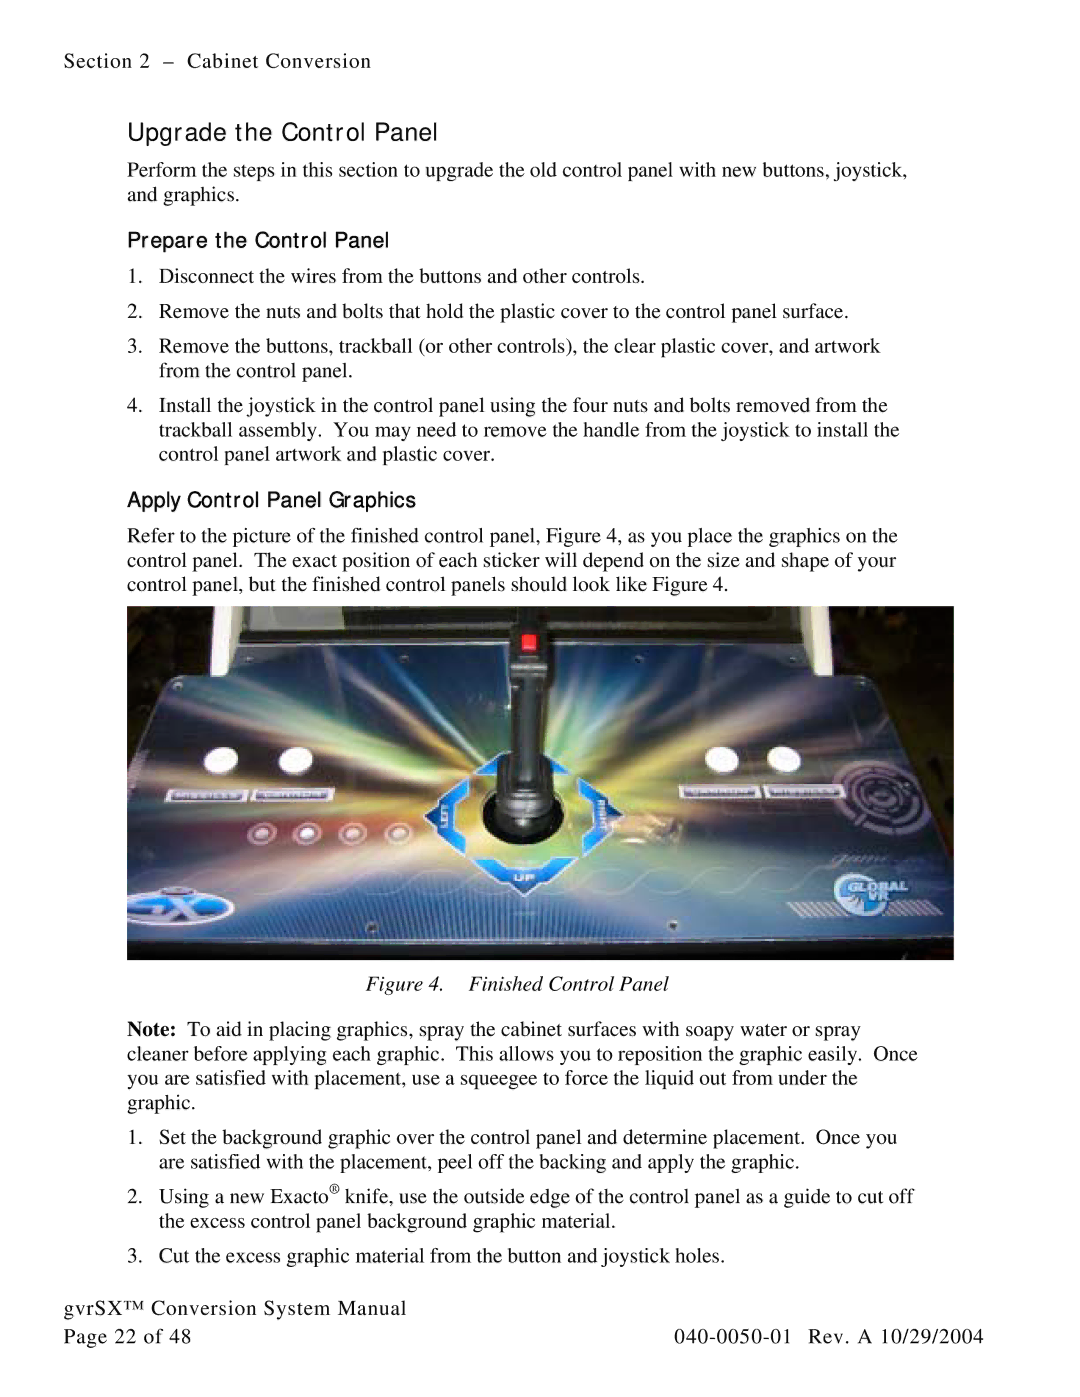
Refer to the picture of the finished control panel, Figure 4, as you place the graphics on the control panel. The exact position of each sticker will depend on the size and shape of your control panel, but the finished control panels should look like Figure 4.
Figure 4. Finished Control Panel
Note: To aid in placing graphics, spray the cabinet surfaces with soapy water or spray cleaner before applying each graphic. This allows you to reposition the graphic easily. Once you are satisfied with placement, use a squeegee to force the liquid out from under the graphic.
1.Set the background graphic over the control panel and determine placement. Once you are satisfied with the placement, peel off the backing and apply the graphic.
2.Using a new Exacto® knife, use the outside edge of the control panel as a guide to cut off the excess control panel background graphic material.
3.Cut the excess graphic material from the button and joystick holes.
gvrSX™ Conversion System Manual |
|
Page 22 of 48 |