Section 2 – Cabinet Conversion
Install the New Monitor
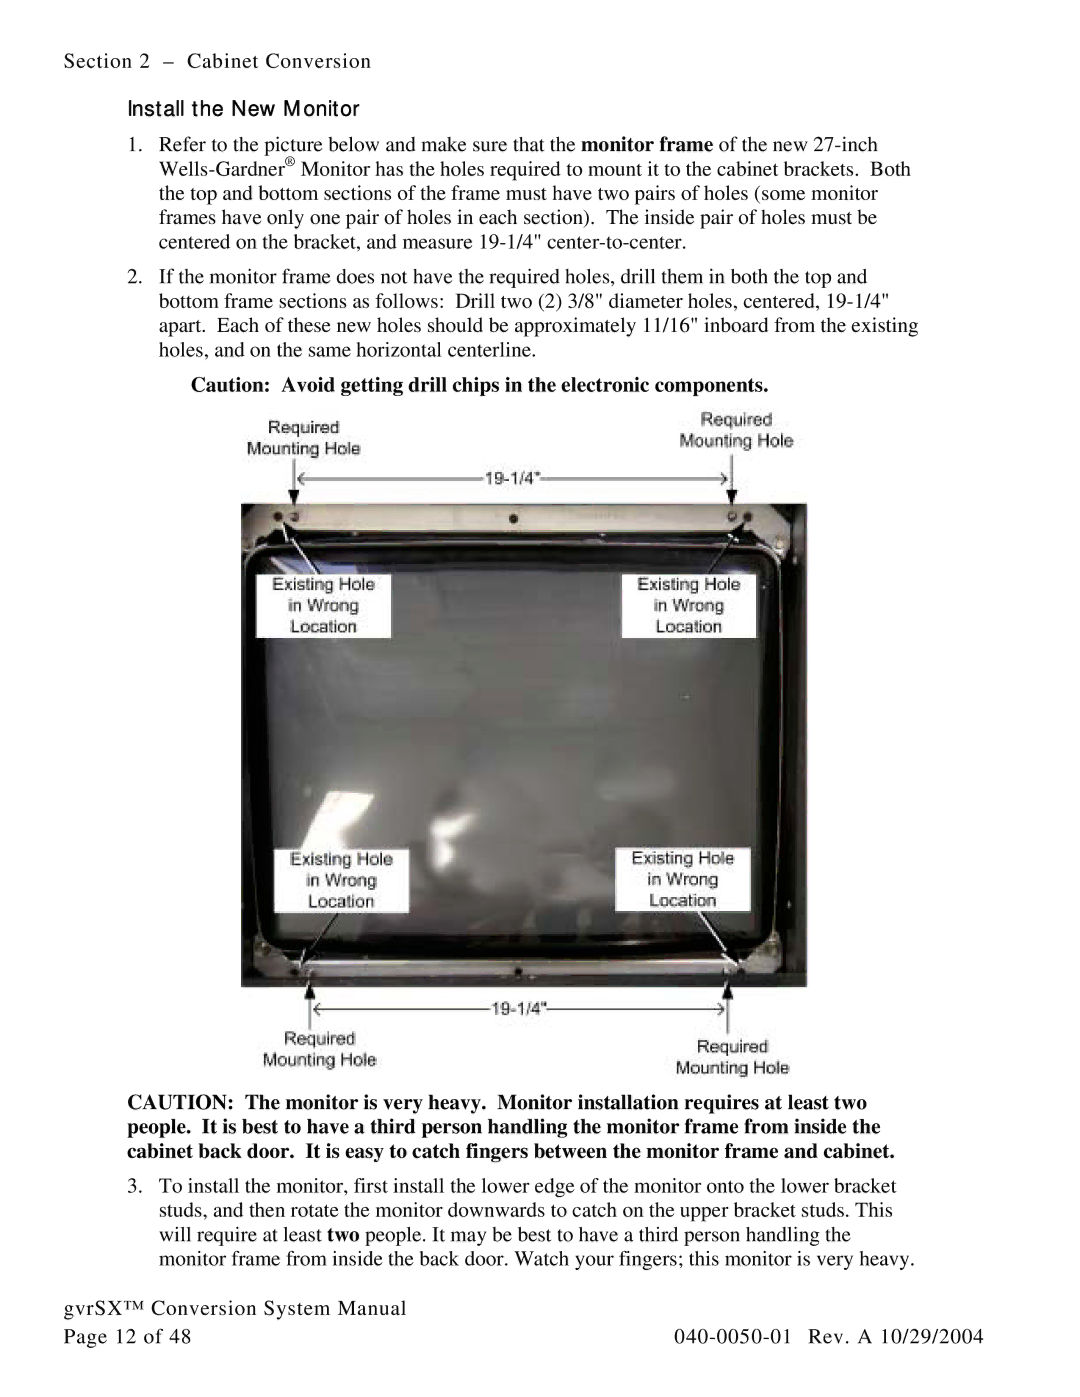
1.Refer to the picture below and make sure that the monitor frame of the new
2.If the monitor frame does not have the required holes, drill them in both the top and bottom frame sections as follows: Drill two (2) 3/8" diameter holes, centered,
Caution: Avoid getting drill chips in the electronic components.
CAUTION: The monitor is very heavy. Monitor installation requires at least two people. It is best to have a third person handling the monitor frame from inside the cabinet back door. It is easy to catch fingers between the monitor frame and cabinet.
3.To install the monitor, first install the lower edge of the monitor onto the lower bracket studs, and then rotate the monitor downwards to catch on the upper bracket studs. This will require at least two people. It may be best to have a third person handling the monitor frame from inside the back door. Watch your fingers; this monitor is very heavy.
gvrSX™ Conversion System Manual |
|
Page 12 of 48 |