Ativa AWGR54 user manual Setting WPA/WPA2

Models: AWGR54

1 106
Download 106 pages 8.56 Kb
Page 55
Image 55

Using the Web-Based Advanced User Interface

Setting WPA/WPA2

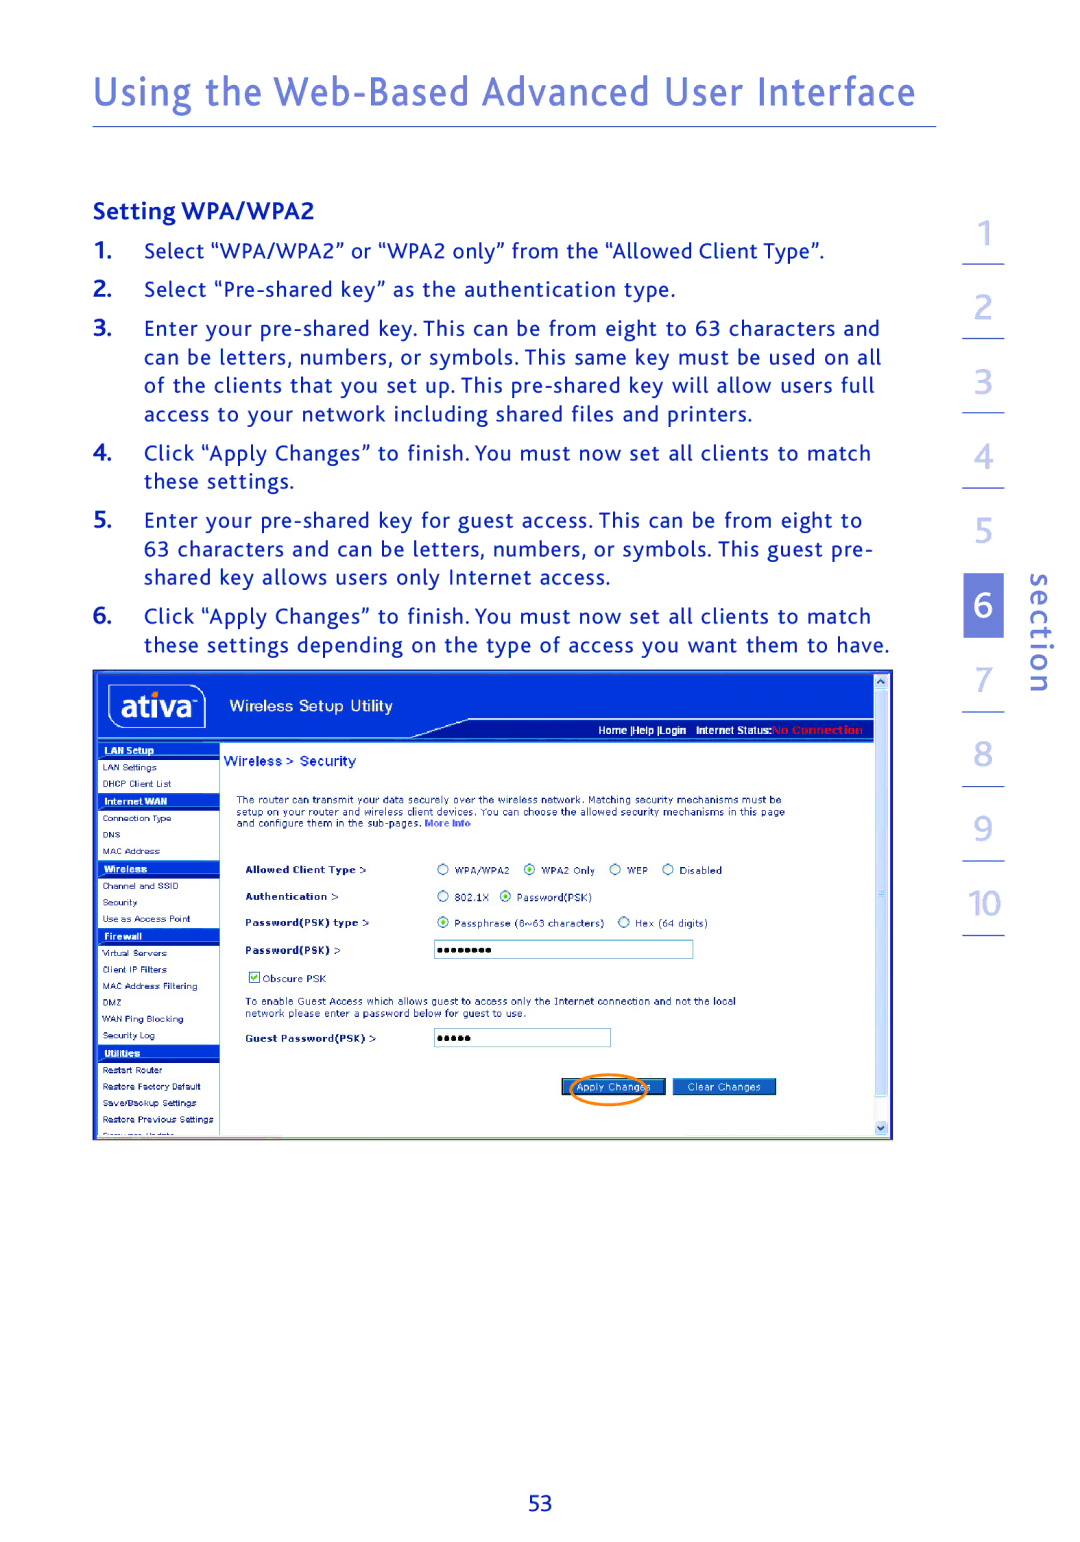
1.Select “WPA/WPA2” or “WPA2 only” from the “Allowed Client Type”.

2.Select “Pre-shared key” as the authentication type.

3.Enter your pre-shared key. This can be from eight to 63 characters and can be letters, numbers, or symbols. This same key must be used on all of the clients that you set up. This pre-shared key will allow users full access to your network including shared files and printers.

4.Click “Apply Changes” to finish. You must now set all clients to match these settings.

5.Enter your pre-shared key for guest access. This can be from eight to

63 characters and can be letters, numbers, or symbols. This guest pre- shared key allows users only Internet access.

6.Click “Apply Changes” to finish. You must now set all clients to match these settings depending on the type of access you want them to have.

1

2

3

4

5

6

7

8

9

10

section

53

Page 55
Image 55
Ativa AWGR54 user manual Setting WPA/WPA2