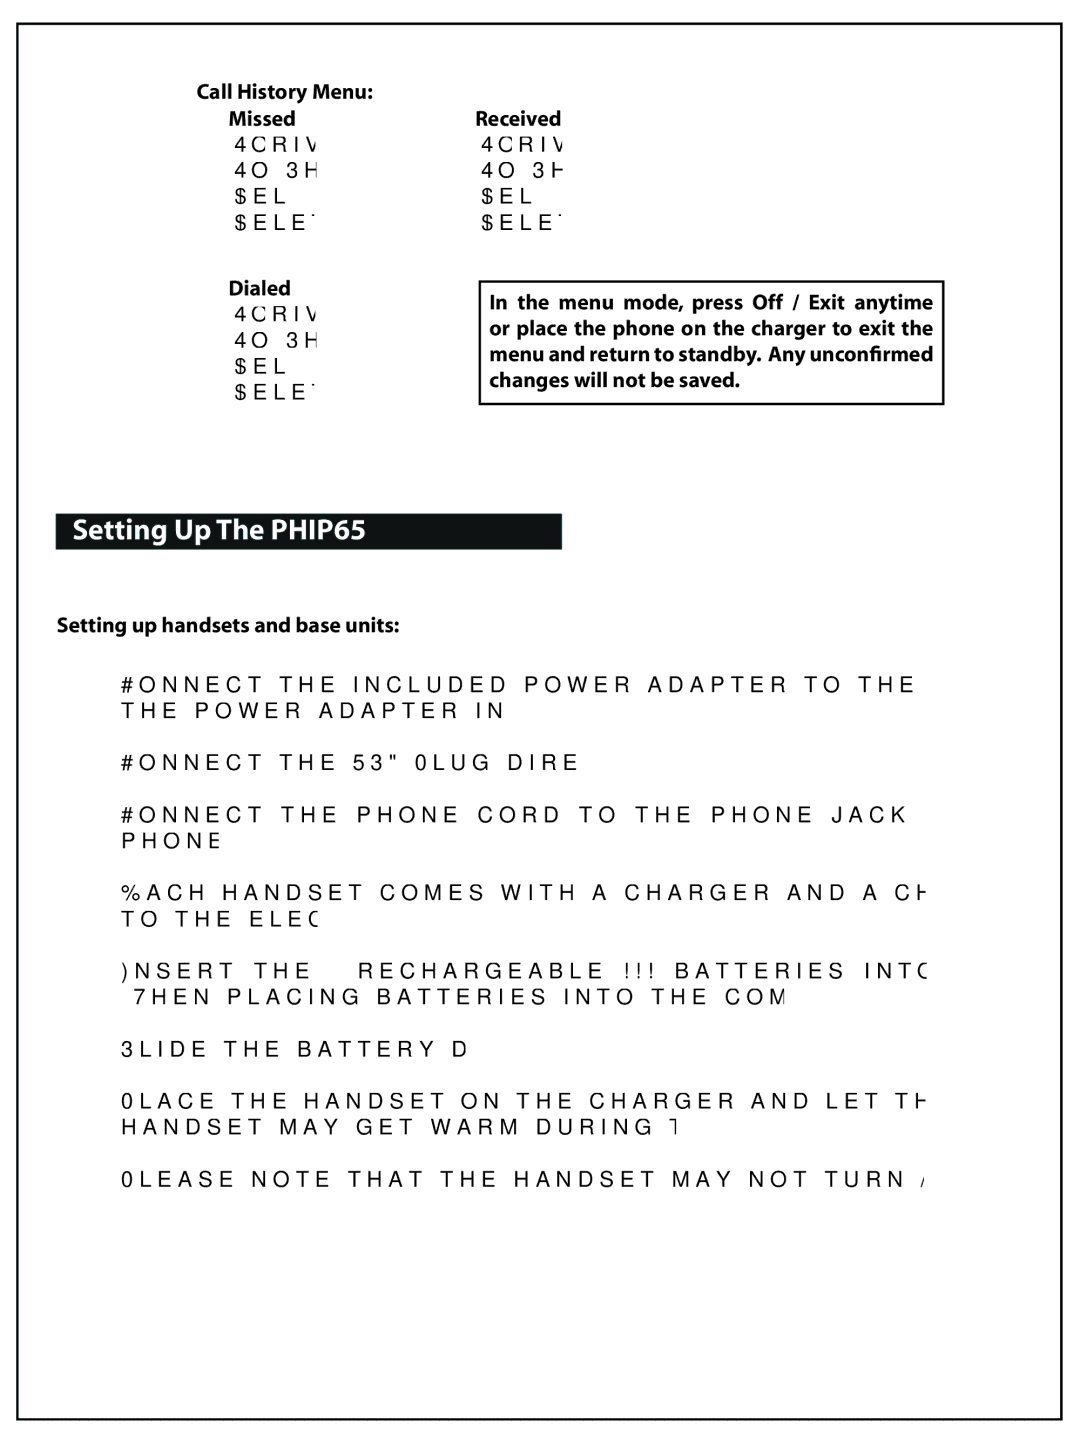
Call History Menu: Missed
To Private
To Shared
Delete
Delete All
Dialed
To Private
To Shared
Delete
Delete All
Received
To Private
To Shared
Delete
Delete All
In the menu mode, press Off / Exit anytime or place the phone on the charger to exit the menu and return to standby. Any unconfirmed changes will not be saved.
Setting Up The PHIP65
Setting up handsets and base units:
1.Connect the included power adapter to the power port of the base station. Then plug the power adapter into an electrical outlet.
2.Connect the USB Plug directly to your PC’s USB port.
3.Connect the phone cord to the phone jack on the back of the base unit and to the wall phone jack.
4.Each handset comes with a charger and a charging adapter. Connect the charging adapter to the electrical outlet.
5.Insert the 2 rechargeable AAA batteries into the battery compartment on the handset. *When placing batteries into the compartment, note the battery polarities.
6.Slide the battery door firmly into place.
7.Place the handset on the charger and let the batteries charge for 14 hours before using. The handset may get warm during the initial charge; this is normal.
8.Please note that the handset may not turn ON for up to 15 minutes if the batteries are low.
8
