Manuals
/
Brands
/
TV and Video
/
DVR
/
AVE
/
TV and Video
/
DVR
AVE
MV DR4000
- page 54
1
54
87
87
Download
87 pages, 4.04 Mb
52
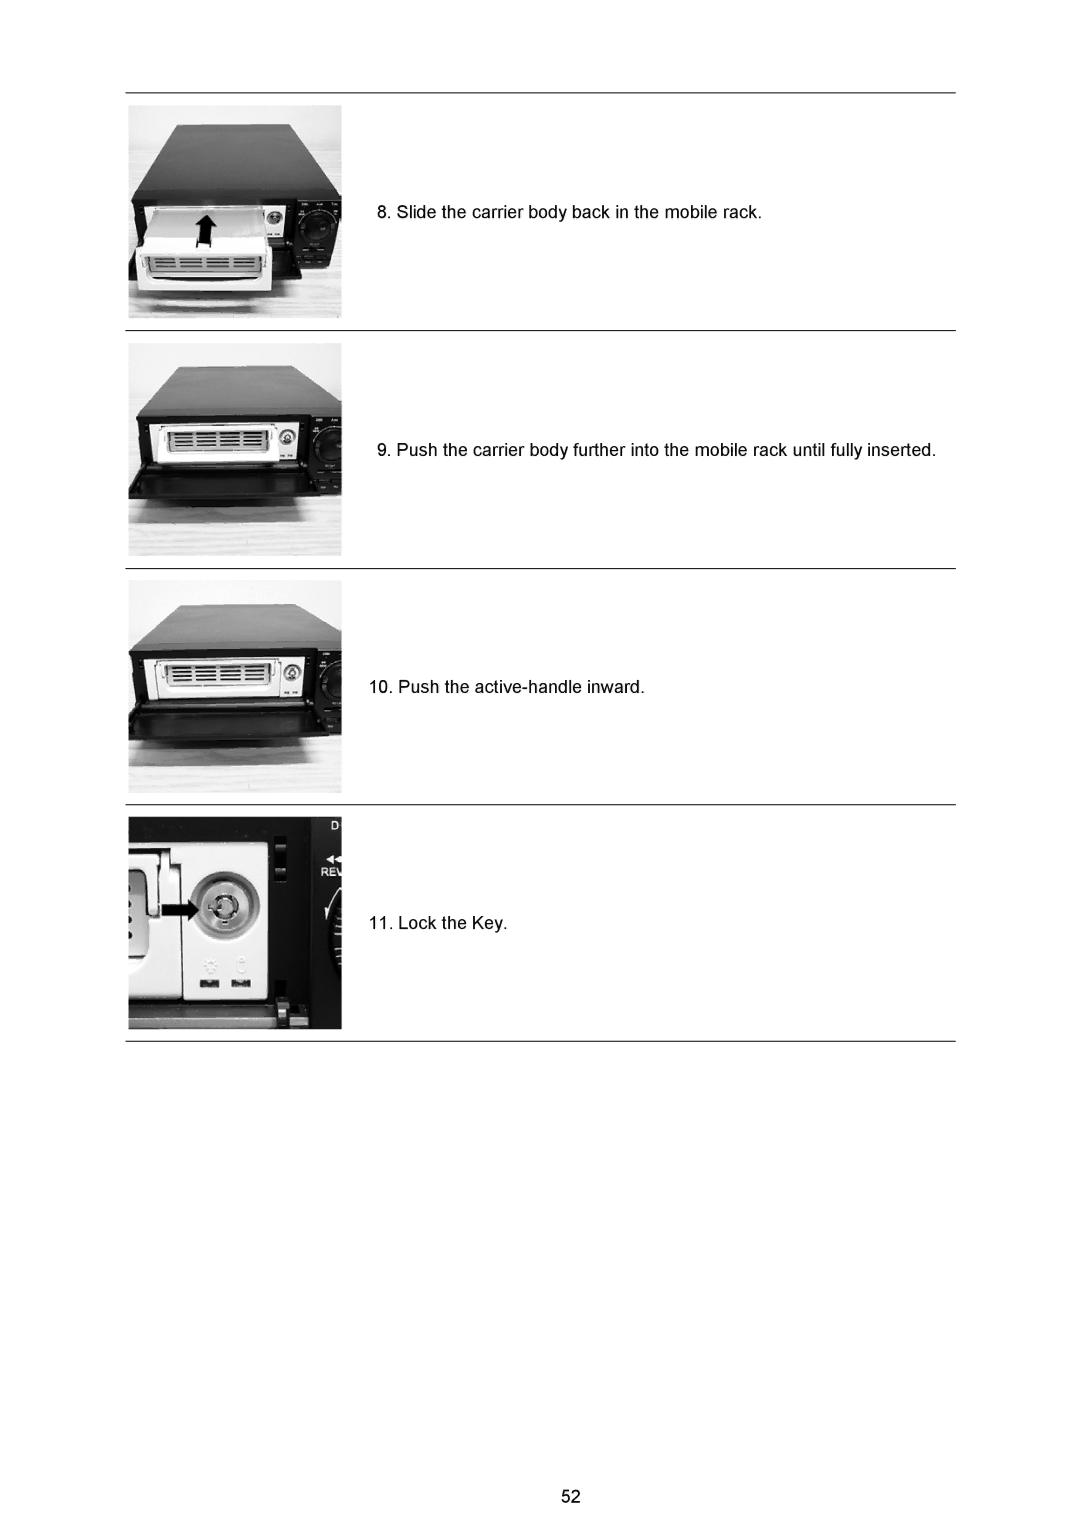
8. Slide the carrier body back in the mobile rack.
9. Push the carrier body further into the mobile rack until fully inserted.
10. Push the active-handle inward.
11. Lock the Key.
Contents
Main
Page
SAFETY PRECAUTIONS
Table Of Contents
Page
1. PRODUCT FEATURES
1.1 Product Introduction
1.2 Product Features
2. DESCRIPTION OF THE FRONT/REAR VIEW
2.1 Front View
Page
Page
25
31 32 33
26 28
29 30 34 35 36 37
2.3 ALARM In/Out
ALARM1 IN ALARM4 IN ALARM2 IN ALARM3 IN
ALARM OUT RECORD IN GROUND
DISK FULL ALARM RESET
3. INSTALLATION
3.1 Basic Connection
3.2 Hard-Disk Drive Installation
Page
single channel with 2x2 zoom in
3.4 Updating System Software
13 12
4. BASIC OPERATIONS
Page
4.2 Recording Operations
03:00 06: 00 08:00 12:0 0 14:00
START END START END Start Manual Recording
Timer Manual Timer Manual
4.2.3 Alarm / Motion Recording
4.2.4 Externally triggered Recording
4.3 Playback Operations
4.3.2 Slow Forward/ Reverse
4.3.4 Play Back Recorded Video from a HDD of the mobile rack
24
4.4 Search Operations
Take the following steps to proceed with the full-list search function.
4.4.2 Alarm list Search
4.4.3 TIME Search
4.4.4 THUMBNAIL Search
4.4.5 SD CARD Search
4.5 Backup Operations
Page
Page
5. MENU SETUP
5.1 REC SETTING
5.2 ALARM / MOTION SETTING
Page
Page
5.3 TIMER/ SEQ/ TITLE
Page
5.4 COMMUNICATION
Page
Page
5.5 DISK SETTING
5.6 SYSTEM
Page
Page
6. RS-232 & RS-485 Protocol
6.1 Setup
6.2 Communication Protocol
Page
Page
7. IDE Hard Disk Installation
7.1 Built-in hard disk
7.2 Mobile Rack HDD Installation
Page
Page
8. System Default
Page
9. O.S.D. Message
No. O.S.D. Message Meanings
10. Network Viewer and Image Viewer
10.1 The Network Viewer
t
RJ-45 socke
Page
Page
Page
Page
Page
Page
Page
Page
11. Index Table
12. Network Configuration
RJ-45 PIN configuration for LAN Hub
RJ-45 socke
t
12.1.3 Connect to WAN (INTERNET)
12.2 Configure Your DVR Network Settings
12.2.2 Enable DHCP Function
12.2.3 Set IP Address
Page
Page
Page
12.5 TCP/IP Configuration setting
Page
Page
13. Microsoft Internet Explorer
13.1 Connecting the 4CH DVR
Page
Page
Page
13.3 Change Timer Record Setting
13.4 Change Pan/Tilt/Zoom Setting
Page
14. SPECIFICATIONS
APPENDIX 1. SCANIP