45
TIMER PROGRAMMING
GROUP DEFAULT
NAME . . . . . . . . . . . . . . . .
PARENTAL LOCK OFF
KEEP EPISODES
back | store | GO |
|
|
|
PARENTAL LOCK CODE
OLD CODE | . . . . |
NEW CODE | . . . . |
CONFIRM CODE | . . . . |
START TIME and STOP TIME … Key in when you want to start and stop recording.
DATE … The date you want your Timer executed. (WEEKDAYS) … Appears when you highlight
DATE and press the green button on Beo4. All the weekdays are shown – starting with M for Monday.
PROTECTION … Select whether or not you want to protect the recording from the space management feature. Options are ON and OFF. If you activate protection for a daily or weekly Timer, all of the episodes of the programme are protected. For further information about space management, refer to page 19.
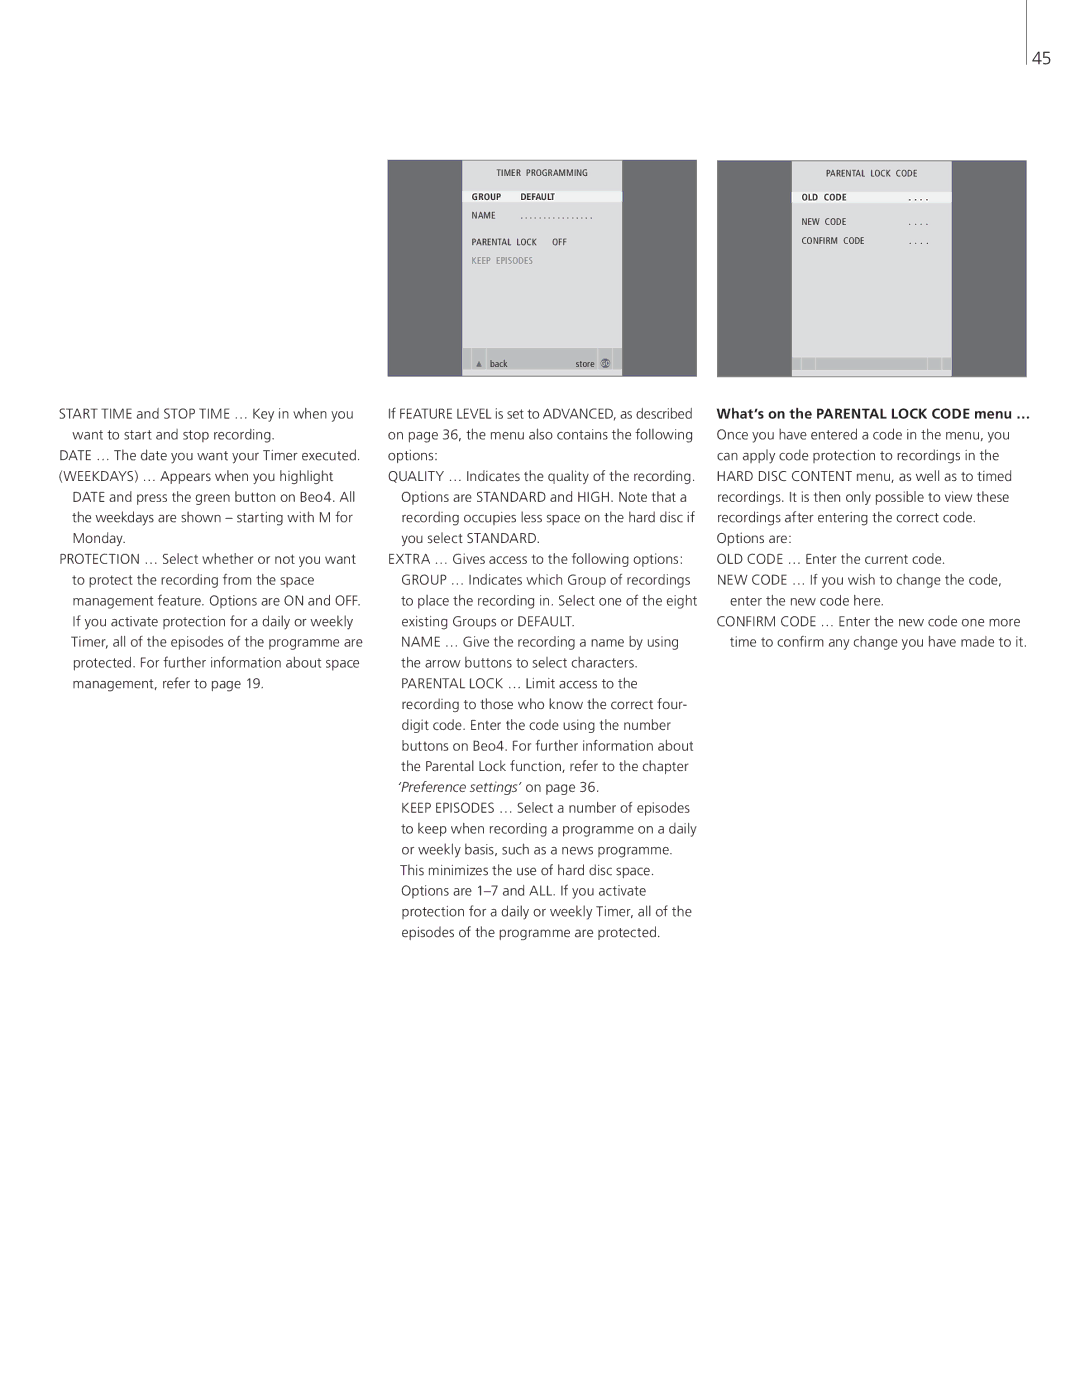
If FEATURE LEVEL is set to ADVANCED, as described on page 36, the menu also contains the following options:
QUALITY … Indicates the quality of the recording. Options are STANDARD and HIGH. Note that a recording occupies less space on the hard disc if you select STANDARD.
EXTRA … Gives access to the following options: GROUP … Indicates which Group of recordings to place the recording in. Select one of the eight existing Groups or DEFAULT.
NAME … Give the recording a name by using the arrow buttons to select characters. PARENTAL LOCK … Limit access to the recording to those who know the correct four- digit code. Enter the code using the number buttons on Beo4. For further information about the Parental Lock function, refer to the chapter ‘Preference settings’ on page 36.
KEEP EPISODES … Select a number of episodes to keep when recording a programme on a daily or weekly basis, such as a news programme.
This minimizes the use of hard disc space. Options are
What’s on the PARENTAL LOCK CODE menu … Once you have entered a code in the menu, you can apply code protection to recordings in the HARD DISC CONTENT menu, as well as to timed recordings. It is then only possible to view these recordings after entering the correct code. Options are:
OLD CODE … Enter the current code.
NEW CODE … If you wish to change the code, enter the new code here.
CONFIRM CODE … Enter the new code one more time to confirm any change you have made to it.
