Installation Guidelines
Installing the projection lamp.
1Unplug the projector from the wall outlet.
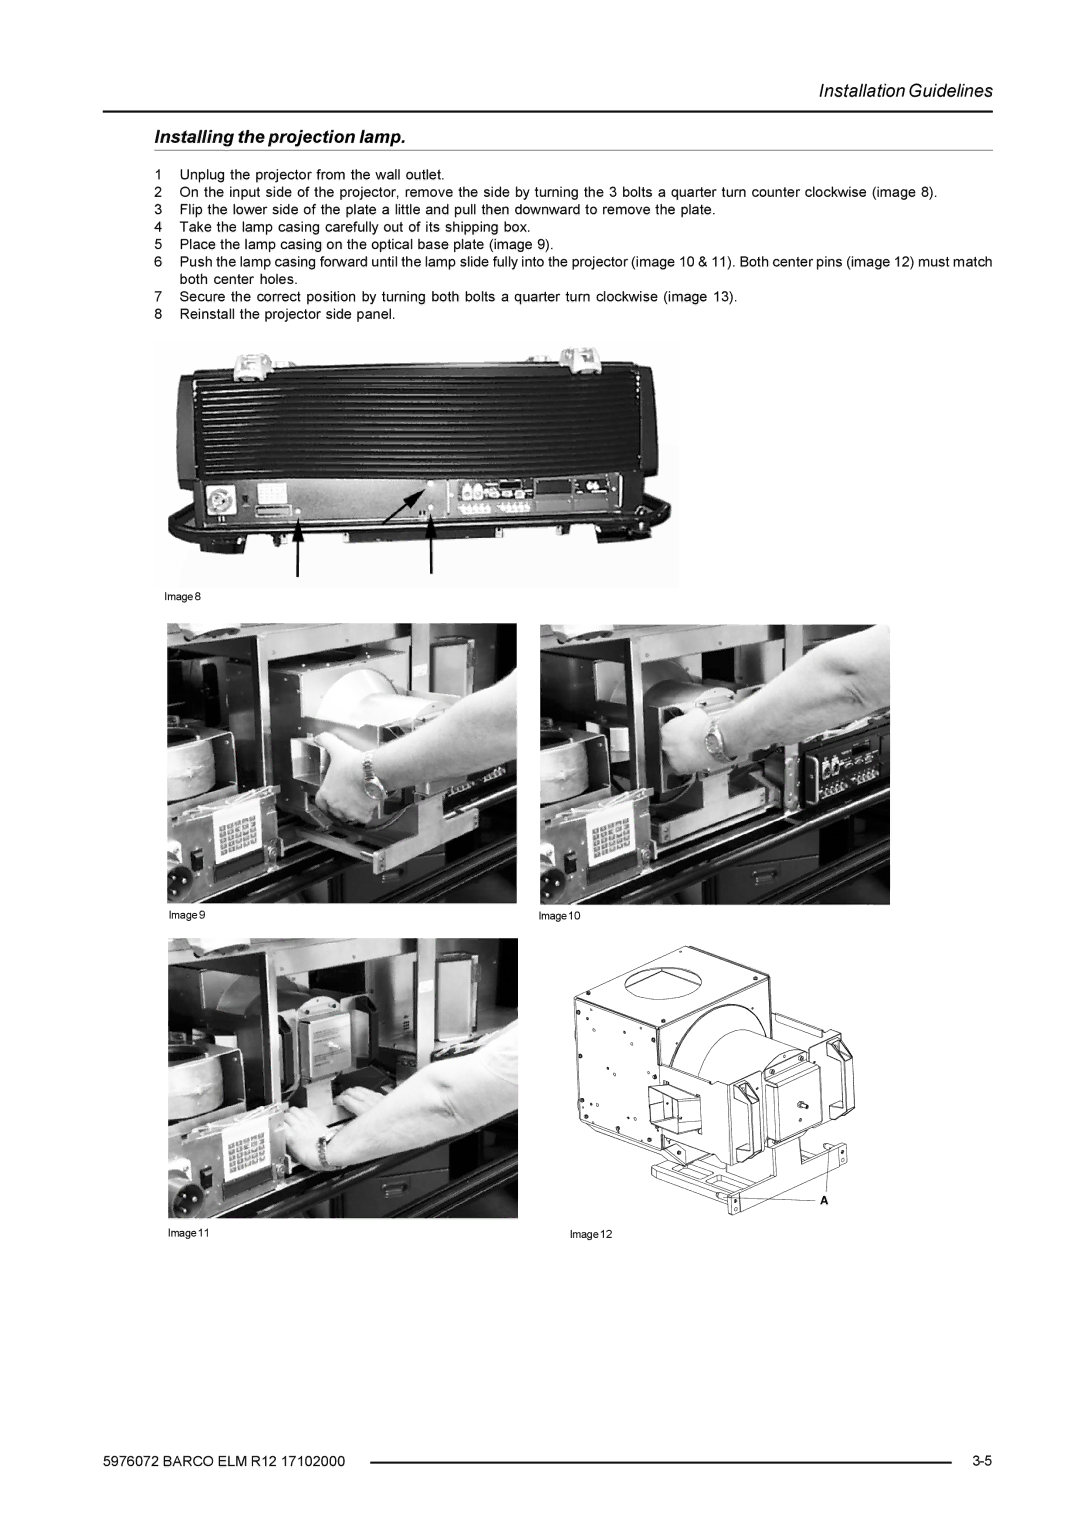
2On the input side of the projector, remove the side by turning the 3 bolts a quarter turn counter clockwise (image 8).
3 Flip the lower side of the plate a little and pull then downward to remove the plate.
4 Take the lamp casing carefully out of its shipping box.
5 Place the lamp casing on the optical base plate (image 9).
6 Push the lamp casing forward until the lamp slide fully into the projector (image 10 & 11). Both center pins (image 12) must match both center holes.
7 Secure the correct position by turning both bolts a quarter turn clockwise (image 13). 8 Reinstall the projector side panel.
Image 8
Image 9 | Image 10 |
A
Image 11 | Image 12 |
5976072 BARCO ELM R12 17102000 |
| |
|