TROUBLESHOOTING
Troubleshooting Your Bendix® XVision® Night Vision System
|
|
|
|
|
| |
Situation |
|
| Possible Solutions |
| ||
|
|
|
| |||
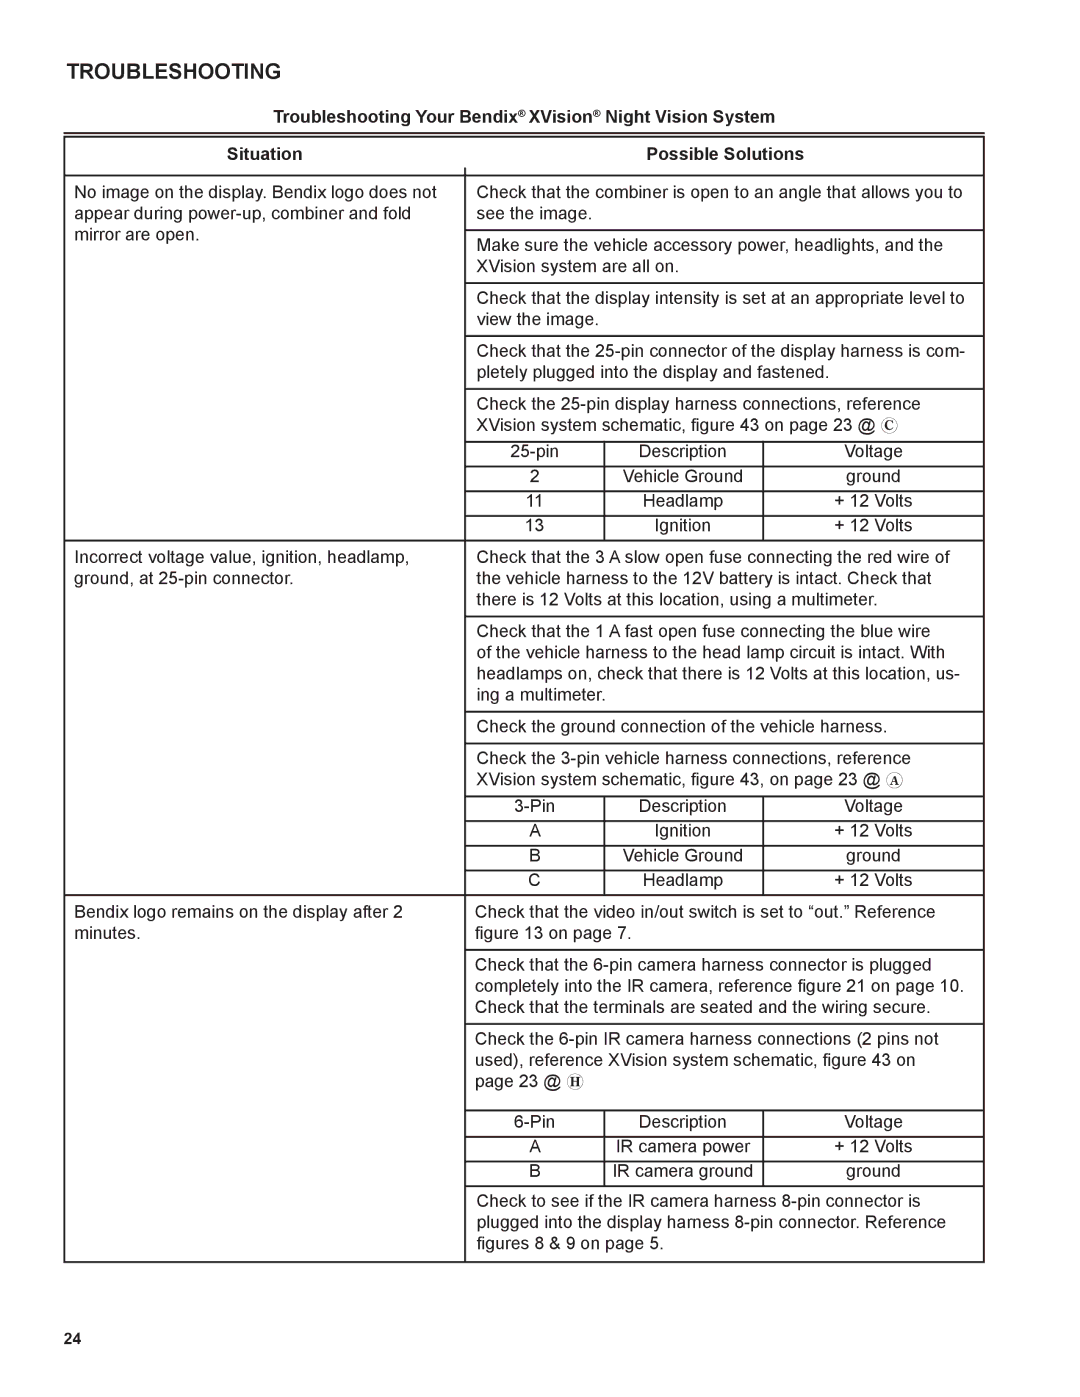
No image on the display. Bendix logo does not | Check that the combiner is open to an angle that allows you to | |||||
appear during | see the image. |
|
|
| ||
mirror are open. |
|
|
|
|
| |
Make sure the vehicle accessory power, headlights, and the | ||||||
| ||||||
| XVision system are all on. |
| ||||
|
|
|
| |||
| Check that the display intensity is set at an appropriate level to | |||||
| view the image. |
|
|
| ||
|
|
|
| |||
| Check that the | |||||
| pletely plugged into the display and fastened. |
| ||||
|
|
|
| |||
| Check the | |||||
| XVision system schematic, figure 43 on page 23 @ # | |||||
|
|
|
|
|
| |
|
| Description |
| Voltage | ||
| 2 |
| Vehicle Ground |
| ground | |
| 11 |
| Headlamp |
| + 12 Volts | |
| 13 |
| Ignition |
| + 12 Volts | |
Incorrect voltage value, ignition, headlamp, | Check that the 3 A slow open fuse connecting the red wire of | |||||
ground, at | the vehicle harness to the 12V battery is intact. Check that | |||||
| there is 12 Volts at this location, using a multimeter. | |||||
|
| |||||
| Check that the 1 A fast open fuse connecting the blue wire | |||||
| of the vehicle harness to the head lamp circuit is intact. With | |||||
| headlamps on, check that there is 12 Volts at this location, us- | |||||
| ing a multimeter. |
|
|
| ||
|
| |||||
| Check the ground connection of the vehicle harness. | |||||
|
| |||||
| Check the | |||||
| XVision system schematic, figure 43, on page 23 @ ! | |||||
|
|
|
| |||
|
| Description |
| Voltage | ||
| A |
| Ignition |
| + 12 Volts | |
| B |
| Vehicle Ground |
| ground | |
| C |
| Headlamp |
| + 12 Volts | |
Bendix logo remains on the display after 2 | Check that the video in/out switch is set to “out.” Reference | |||||
minutes. | figure 13 on page 7. |
| ||||
|
| |||||
| Check that the | |||||
| completely into the IR camera, reference figure 21 on page 10. | |||||
| Check that the terminals are seated and the wiring secure. | |||||
|
| |||||
| Check the | |||||
| used), reference XVision system schematic, figure 43 on | |||||
| page 23 @ ( |
|
|
| ||
|
|
|
| |||
|
| Description |
| Voltage | ||
| A |
| IR camera power |
| + 12 Volts | |
| B |
| IR camera ground |
| ground | |
| Check to see if the IR camera harness | |||||
| plugged into the display harness | |||||
| figures 8 & 9 on page 5. |
| ||||
|
|
|
|
|
| |
24
