Display menu
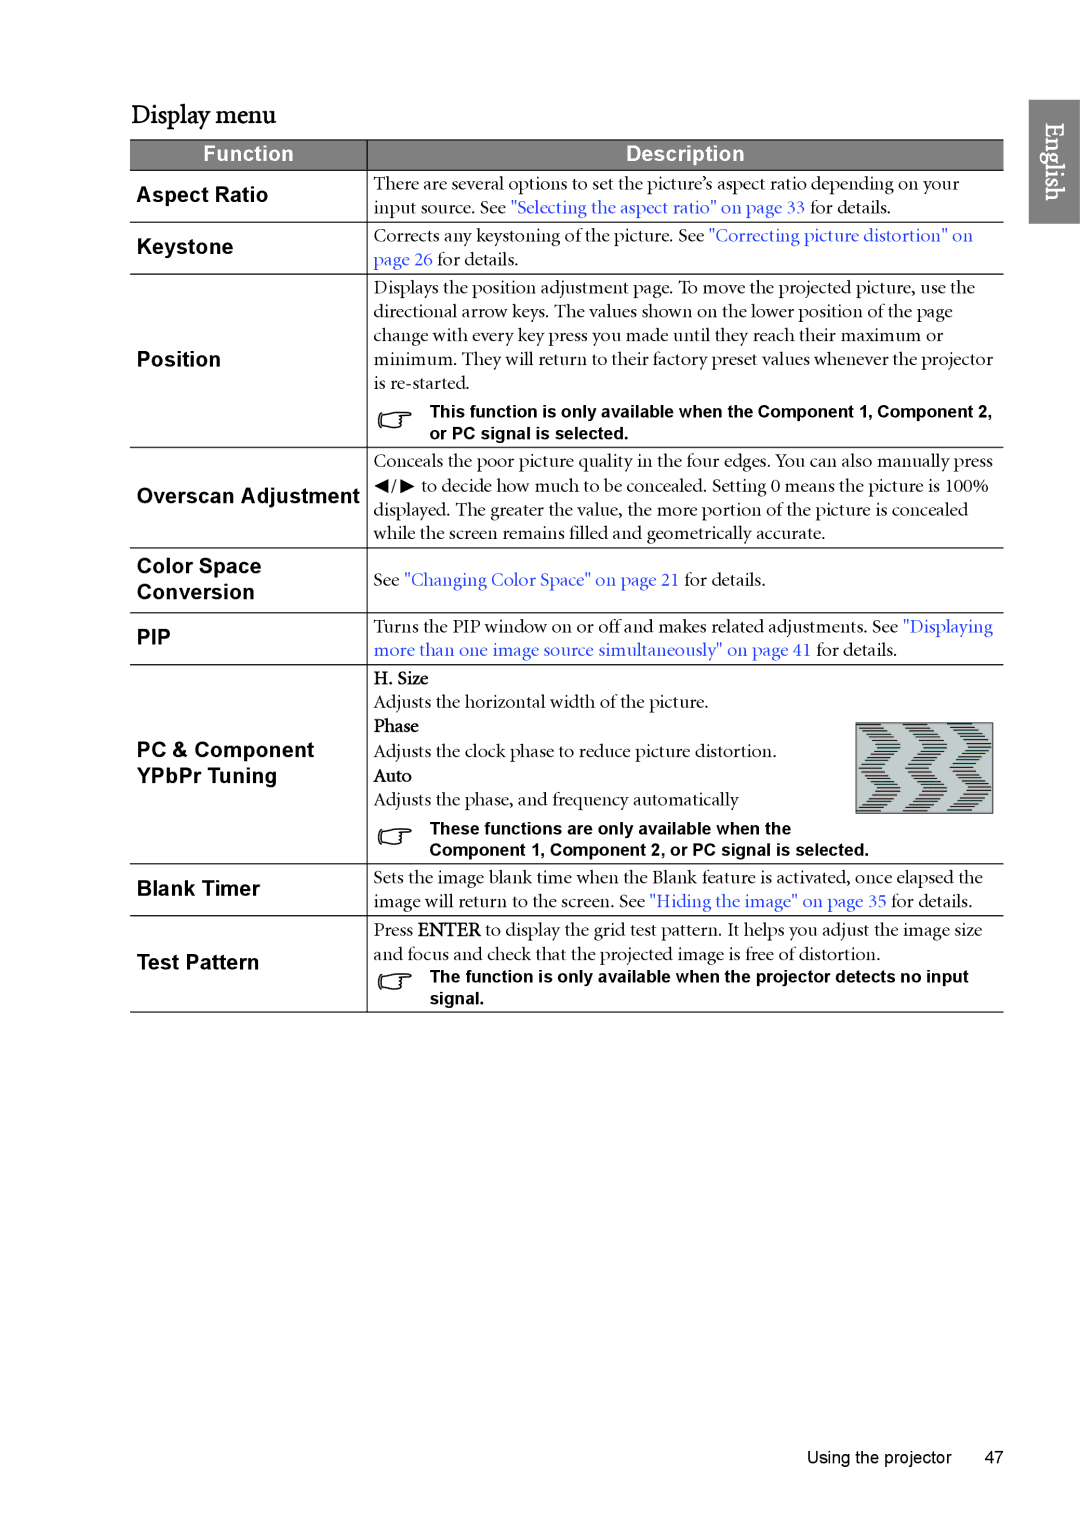
Function | Description | |
Aspect Ratio | There are several options to set the picture’s aspect ratio depending on your | |
input source. See "Selecting the aspect ratio" on page 33 for details. | ||
| ||
|
| |
Keystone | Corrects any keystoning of the picture. See "Correcting picture distortion" on | |
page 26 for details. | ||
| ||
|
| |
| Displays the position adjustment page. To move the projected picture, use the | |
| directional arrow keys. The values shown on the lower position of the page | |
Position | change with every key press you made until they reach their maximum or | |
minimum. They will return to their factory preset values whenever the projector | ||
| is | |
| This function is only available when the Component 1, Component 2, | |
| or PC signal is selected. | |
| Conceals the poor picture quality in the four edges. You can also manually press | |
Overscan Adjustment | / to decide how much to be concealed. Setting 0 means the picture is 100% | |
displayed. The greater the value, the more portion of the picture is concealed | ||
| while the screen remains filled and geometrically accurate. | |
|
| |
Color Space | See "Changing Color Space" on page 21 for details. | |
Conversion | ||
| ||
|
| |
PIP | Turns the PIP window on or off and makes related adjustments. See "Displaying | |
more than one image source simultaneously" on page 41 for details. | ||
| ||
|
| |
| H. Size | |
| Adjusts the horizontal width of the picture. | |
PC & Component | Phase | |
Adjusts the clock phase to reduce picture distortion. | ||
YPbPr Tuning | Auto | |
| Adjusts the phase, and frequency automatically | |
| These functions are only available when the | |
| Component 1, Component 2, or PC signal is selected. | |
Blank Timer | Sets the image blank time when the Blank feature is activated, once elapsed the | |
image will return to the screen. See "Hiding the image" on page 35 for details. | ||
| ||
|
| |
| Press ENTER to display the grid test pattern. It helps you adjust the image size | |
Test Pattern | and focus and check that the projected image is free of distortion. | |
The function is only available when the projector detects no input | ||
| ||
| signal. |
English
Using the projector | 47 |
