Adjusting the projected image
Adjusting the projection angle
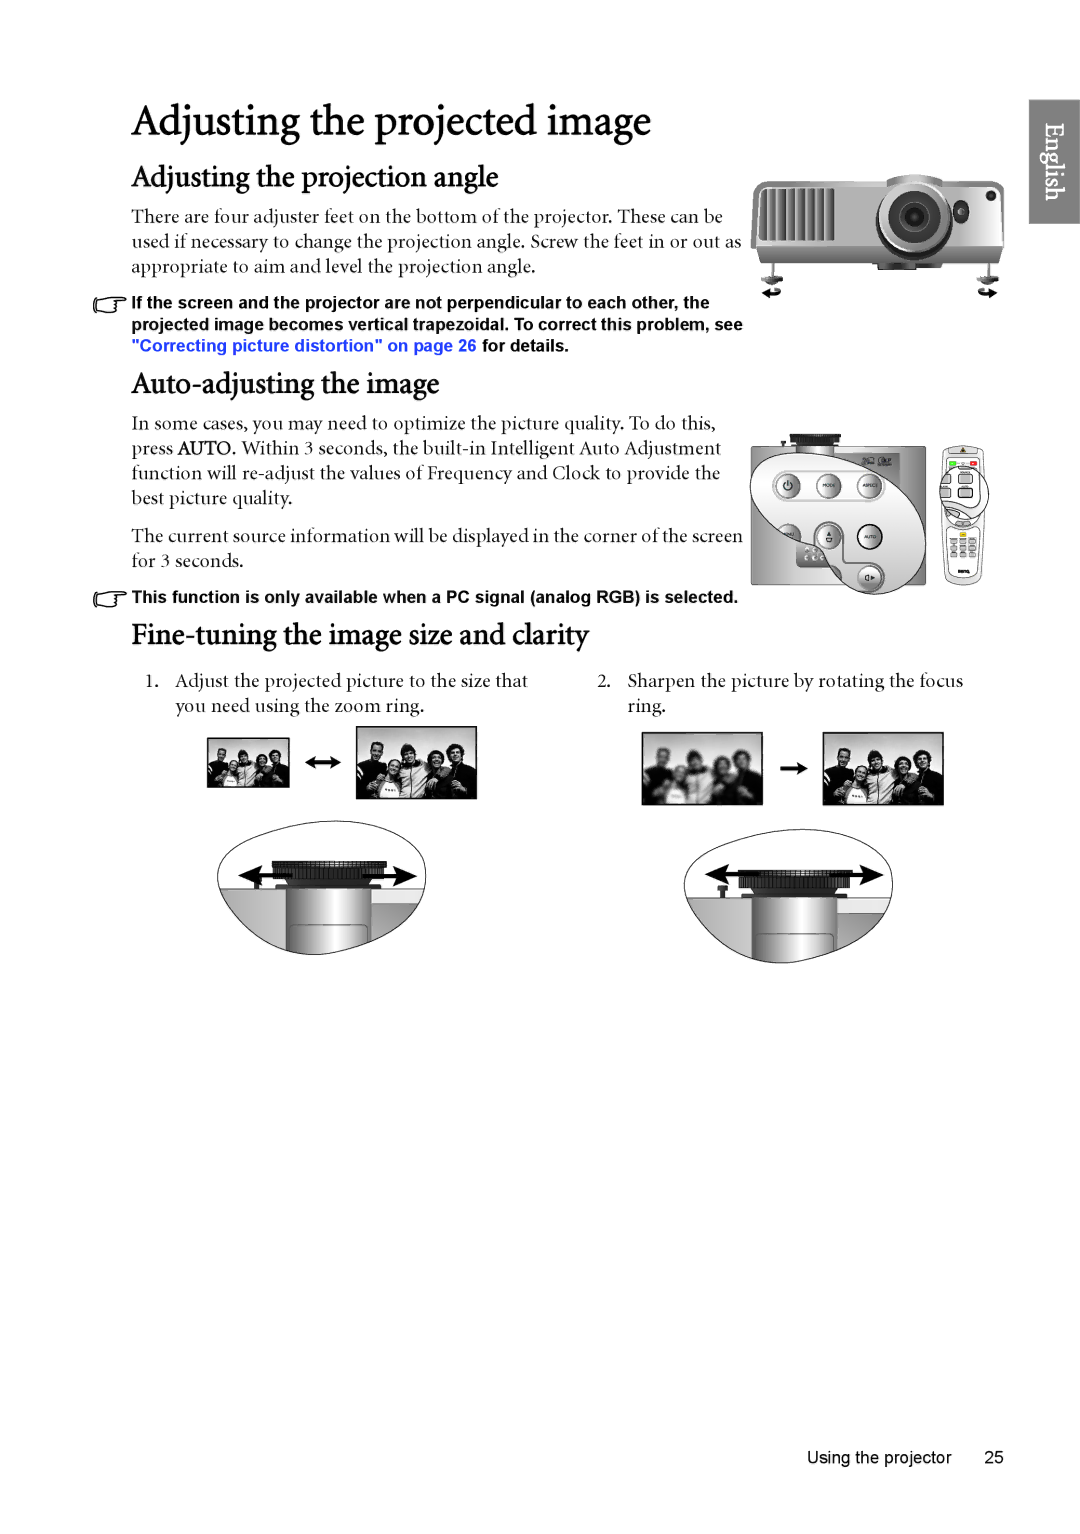
There are four adjuster feet on the bottom of the projector. These can be used if necessary to change the projection angle. Screw the feet in or out as appropriate to aim and level the projection angle.
![]() If the screen and the projector are not perpendicular to each other, the projected image becomes vertical trapezoidal. To correct this problem, see "Correcting picture distortion" on page 26 for details.
If the screen and the projector are not perpendicular to each other, the projected image becomes vertical trapezoidal. To correct this problem, see "Correcting picture distortion" on page 26 for details.
Auto-adjusting the image
In some cases, you may need to optimize the picture quality. To do this, press AUTO. Within 3 seconds, the
The current source information will be displayed in the corner of the screen for 3 seconds.
![]() This function is only available when a PC signal (analog RGB) is selected.
This function is only available when a PC signal (analog RGB) is selected.
Fine-tuning the image size and clarity
1. Adjust the projected picture to the size that | 2. Sharpen the picture by rotating the focus | |||||||||||||||||||||||||||||||||||||||||||||||||||||||||||||||||||||
you need using the zoom ring. | ring. | |||||||||||||||||||||||||||||||||||||||||||||||||||||||||||||||||||||
|
|
|
|
|
|
|
|
|
|
|
|
|
|
|
|
|
|
|
|
|
|
|
|
|
|
|
|
|
|
|
|
|
|
|
|
|
|
|
|
|
|
|
|
|
|
|
|
|
|
|
|
|
|
|
|
|
|
|
|
|
|
|
|
|
|
|
|
|
|
|
|
|
|
|
|
|
|
|
|
|
|
|
|
|
|
|
|
|
|
|
|
|
|
|
|
|
|
|
|
|
|
|
|
|
|
|
|
|
|
|
|
|
|
|
|
|
|
|
|
|
|
|
|
|
|
|
|
|
|
|
|
|
|
|
|
|
|
|
|
|
|
|
|
|
|
|
|
|
|
|
|
|
|
|
|
|
|
|
|
|
|
|
|
|
|
|
|
|
|
|
|
|
|
|
|
|
|
|
|
|
|
|
|
|
|
|
|
|
|
|
|
|
|
|
|
|
|
|
|
|
|
|
|
|
|
|
|
|
|
|
|
|
|
|
|
|
|
|
|
|
|
|
|
|
|
|
|
|
|
|
|
|
|
|
|
|
|
|
|
|
|
|
|
|
|
|
|
|
|
|
|
|
|
|
|
|
|
|
|
|
|
|
|
|
|
|
|
|
|
|
|
|
|
|
|
|
|
|
|
|
|
|
|
|
|
|
|
|
|
|
|
|
|
|
|
|
|
|
|
|
|
|
|
|
|
|
|
|
|
|
|
|
|
|
|
|
|
|
|
|
|
|
|
|
|
|
|
|
|
|
|
|
|
|
|
|
|
|
|
|
|
|
|
|
|
|
|
|
|
|
|
|
|
|
English
Using the projector | 25 |