Divar Installation Manual Hardware setup
EN
Rack mounting
The Divar can be mounted in a
•left and right rack mount ears
•four Torx screws with integrated lock washers.
•a Torx screwdriver
Mounting
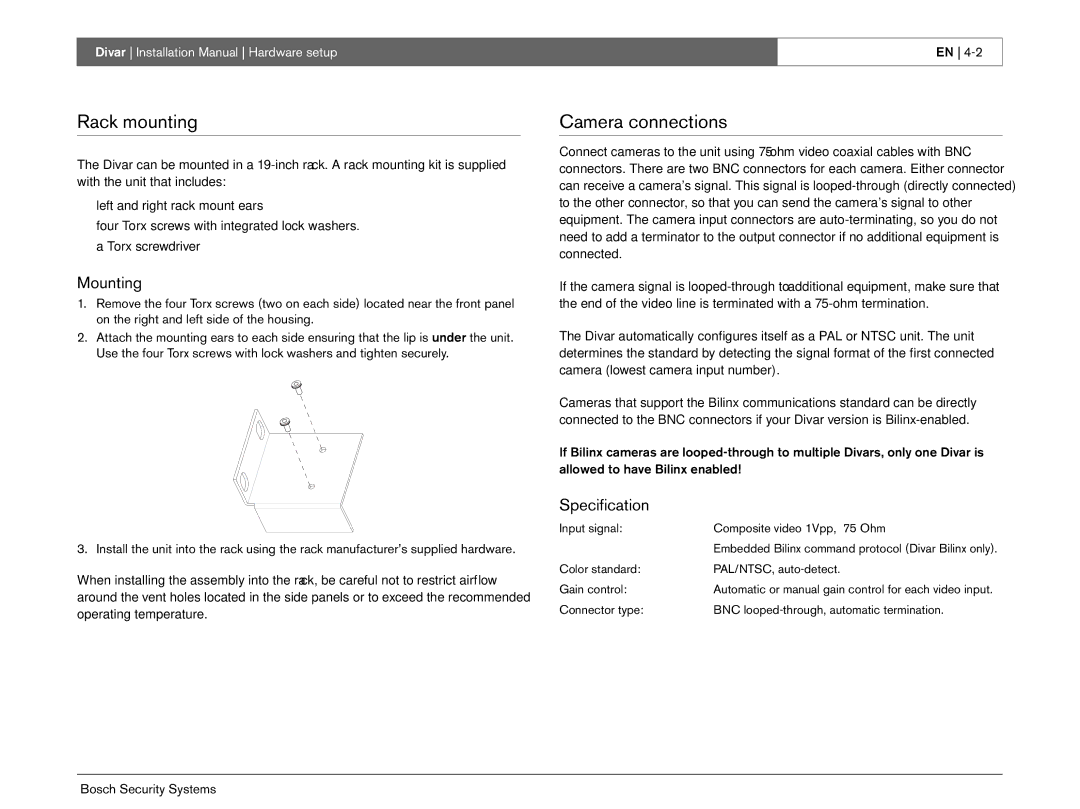
1.Remove the four Torx screws (two on each side) located near the front panel on the right and left side of the housing.
2.Attach the mounting ears to each side ensuring that the lip is under the unit. Use the four Torx screws with lock washers and tighten securely.
3. Install the unit into the rack using the rack manufacturer’s supplied hardware.
When installing the assembly into the rack, be careful not to restrict airflow around the vent holes located in the side panels or to exceed the recommended operating temperature.
Camera connections
Connect cameras to the unit using
If the camera signal is
The Divar automatically configures itself as a PAL or NTSC unit. The unit determines the standard by detecting the signal format of the first connected camera (lowest camera input number).
Cameras that support the Bilinx communications standard can be directly connected to the BNC connectors if your Divar version is
If Bilinx cameras are
Specification
Input signal: | Composite video 1Vpp, 75 Ohm |
| Embedded Bilinx command protocol (Divar Bilinx only). |
Color standard: | PAL/NTSC, |
Gain control: | Automatic or manual gain control for each video input. |
Connector type: | BNC |
Bosch Security Systems
