Mounting 2
Mounting
The switch can be mounted on a desktop, shelf, or rack mounted. Mounting instructions follow.
Desktop or Shelf Mounting
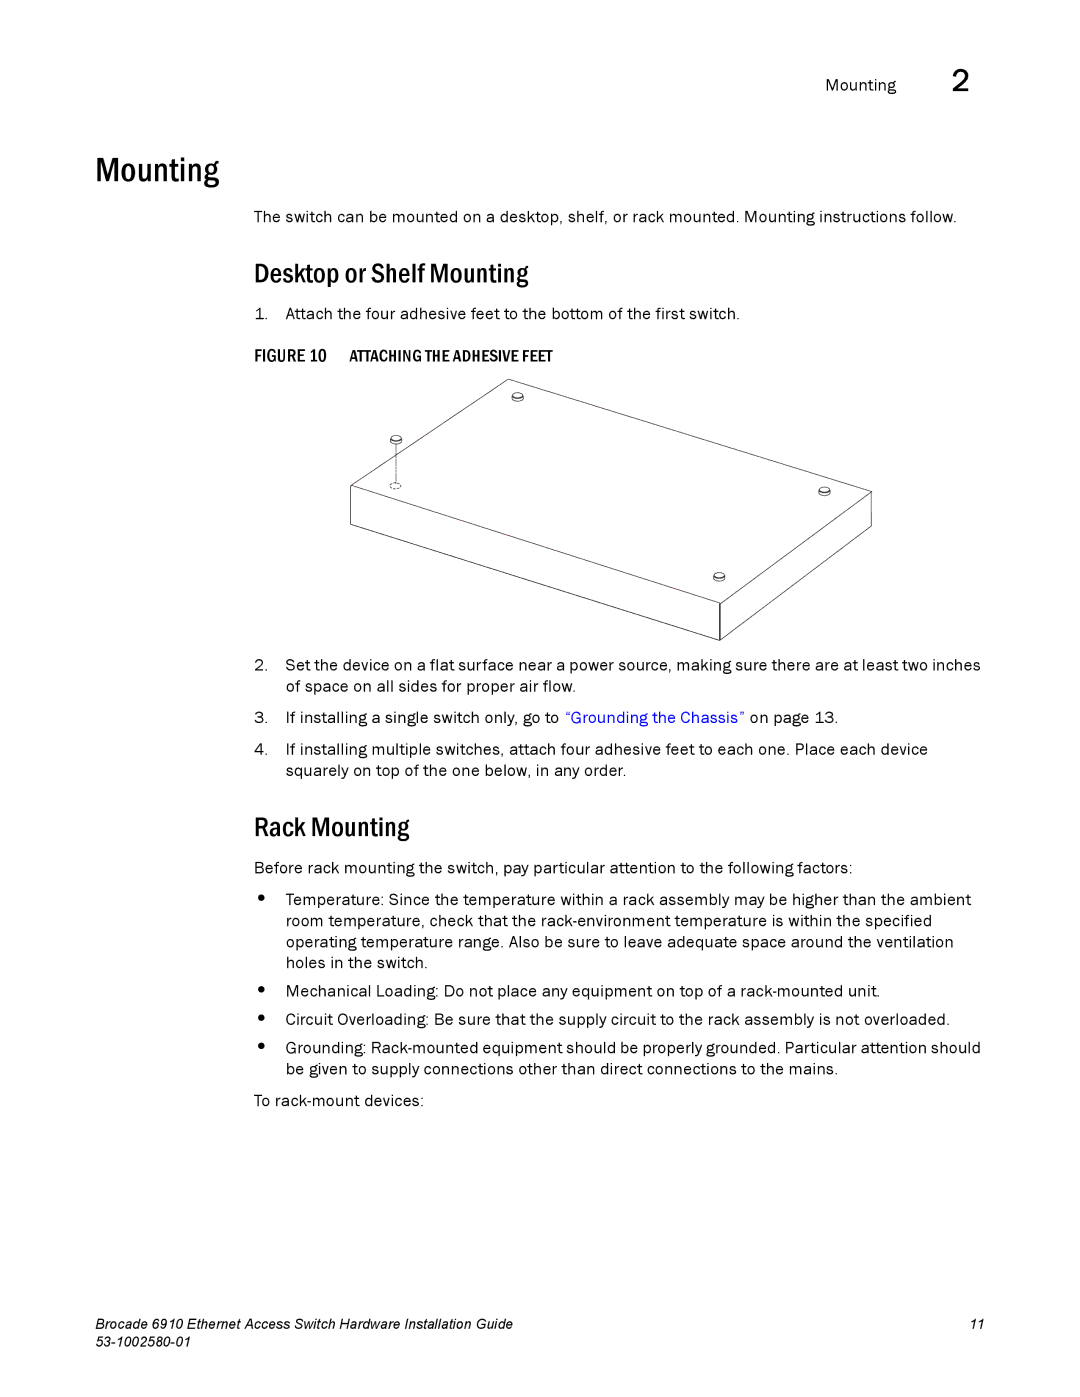
1. Attach the four adhesive feet to the bottom of the first switch.
FIGURE 10 ATTACHING THE ADHESIVE FEET
2.Set the device on a flat surface near a power source, making sure there are at least two inches of space on all sides for proper air flow.
3.If installing a single switch only, go to “Grounding the Chassis” on page 13.
4.If installing multiple switches, attach four adhesive feet to each one. Place each device squarely on top of the one below, in any order.
Rack Mounting
Before rack mounting the switch, pay particular attention to the following factors:
•Temperature: Since the temperature within a rack assembly may be higher than the ambient room temperature, check that the
•Mechanical Loading: Do not place any equipment on top of a
•Circuit Overloading: Be sure that the supply circuit to the rack assembly is not overloaded.
•Grounding:
To
Brocade 6910 Ethernet Access Switch Hardware Installation Guide | 11 |
|
|