EDITING A LABEL
Using Block Layouts
1Press the ![]() or
or ![]() key.
key.
2Press the OK or Enter key to display the Tape Width screen, and then select a tape width using the ![]() or
or ![]() key.
key.
3Press the OK or Enter key.
When the tape width has not changed, the last block layout selected is displayed. When the tape width has changed, the default layout for the new tape width is displayed.
4Select a block layout using the ![]() or
or ![]() key.
key.
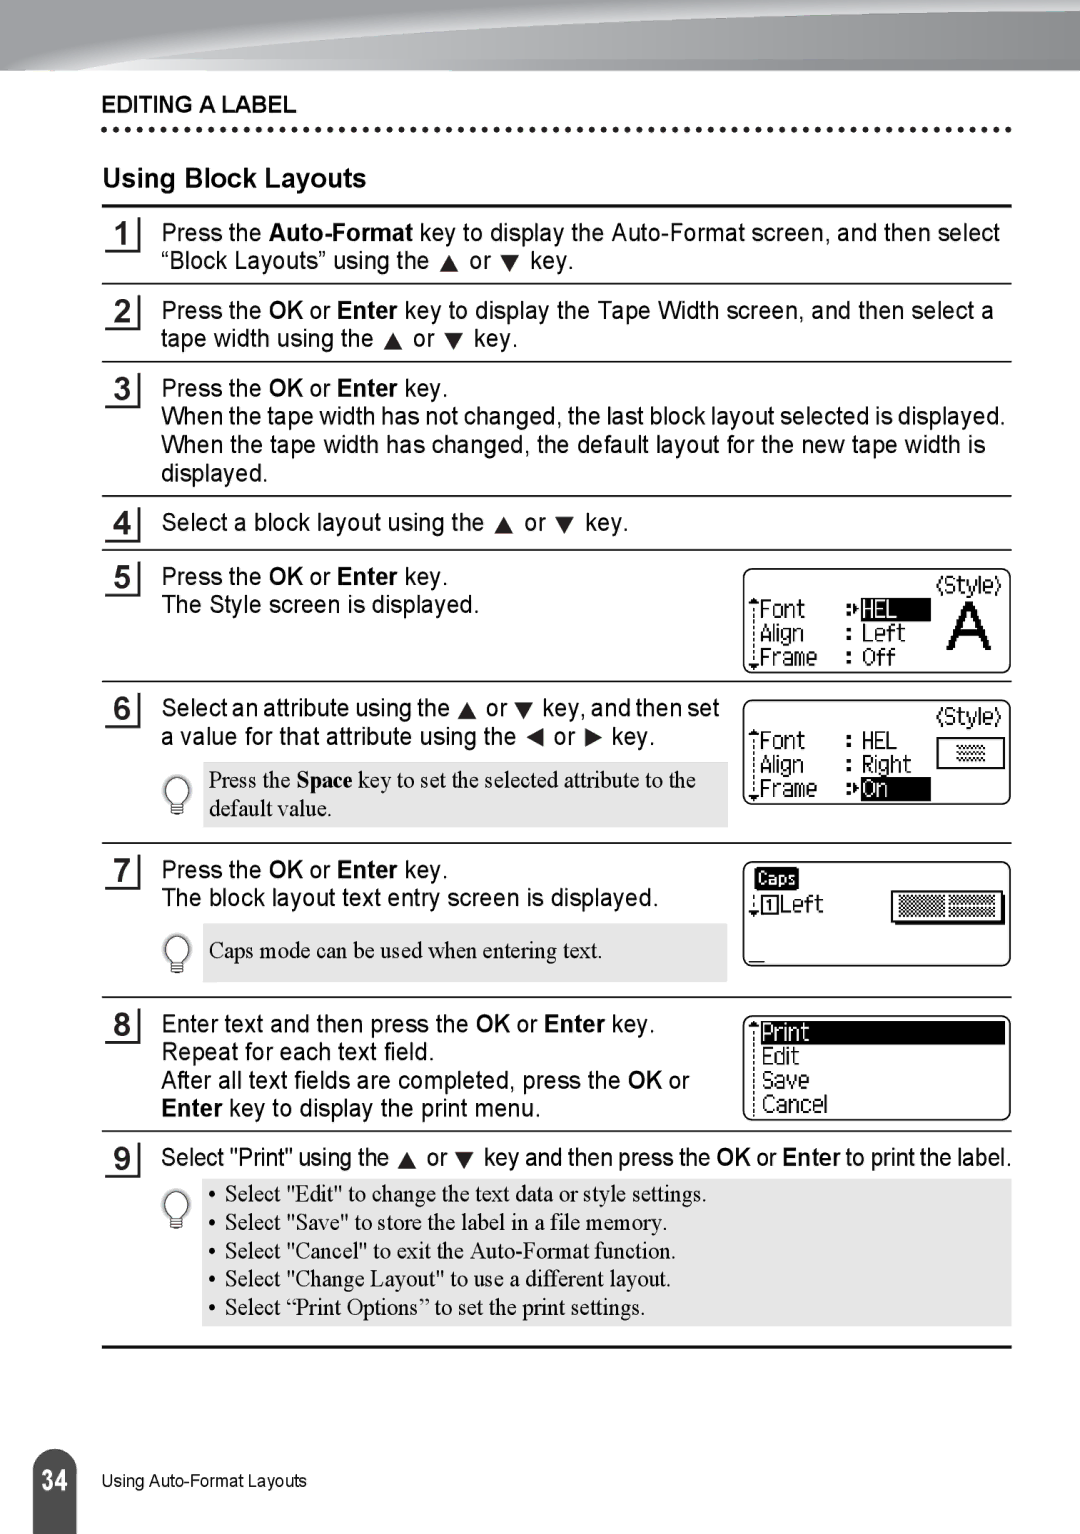
5Press the OK or Enter key. The Style screen is displayed.
6Select an attribute using the ![]() or
or ![]() key, and then set a value for that attribute using the
key, and then set a value for that attribute using the ![]() or
or ![]() key.
key.
Press the Space key to set the selected attribute to the default value.
7Press the OK or Enter key.
The block layout text entry screen is displayed.
![]() Caps mode can be used when entering text.
Caps mode can be used when entering text.
8
Enter text and then press the OK or Enter key. Repeat for each text field.
After all text fields are completed, press the OK or Enter key to display the print menu.
9
Select "Print" using the ![]() or
or ![]() key and then press the OK or Enter to print the label.
key and then press the OK or Enter to print the label.
• Select "Edit" to change the text data or style settings.
• Select "Save" to store the label in a file memory.
•Select "Cancel" to exit the
•Select "Change Layout" to use a different layout.
•Select “Print Options” to set the print settings.
34 | Using |