PUB.
English
Français
Español
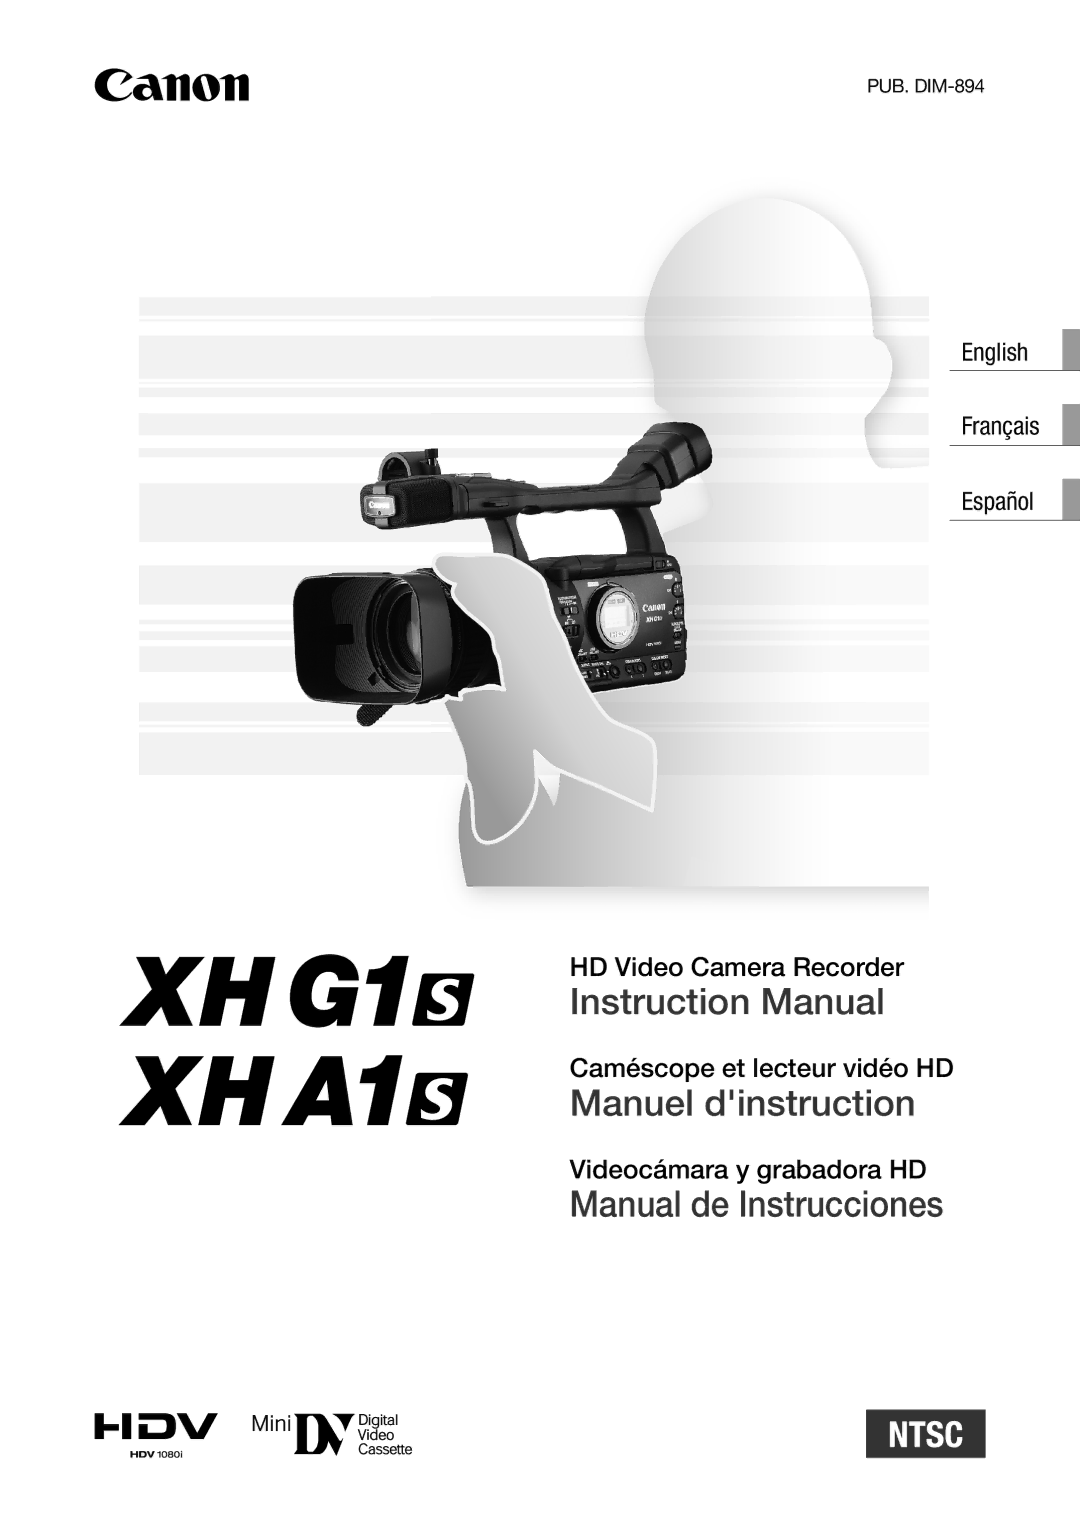
HD Video Camera Recorder
Instruction Manual
Caméscope et lecteur vidéo HD
Manuel d'instruction
Videocámara y grabadora HD
Manual de Instrucciones
PUB.
English
Français
Español
HD Video Camera Recorder
Instruction Manual
Caméscope et lecteur vidéo HD
Manuel d'instruction
Videocámara y grabadora HD
Manual de Instrucciones