Cisco IE 3000 Switch Getting Started Guide
To run Express Setup:
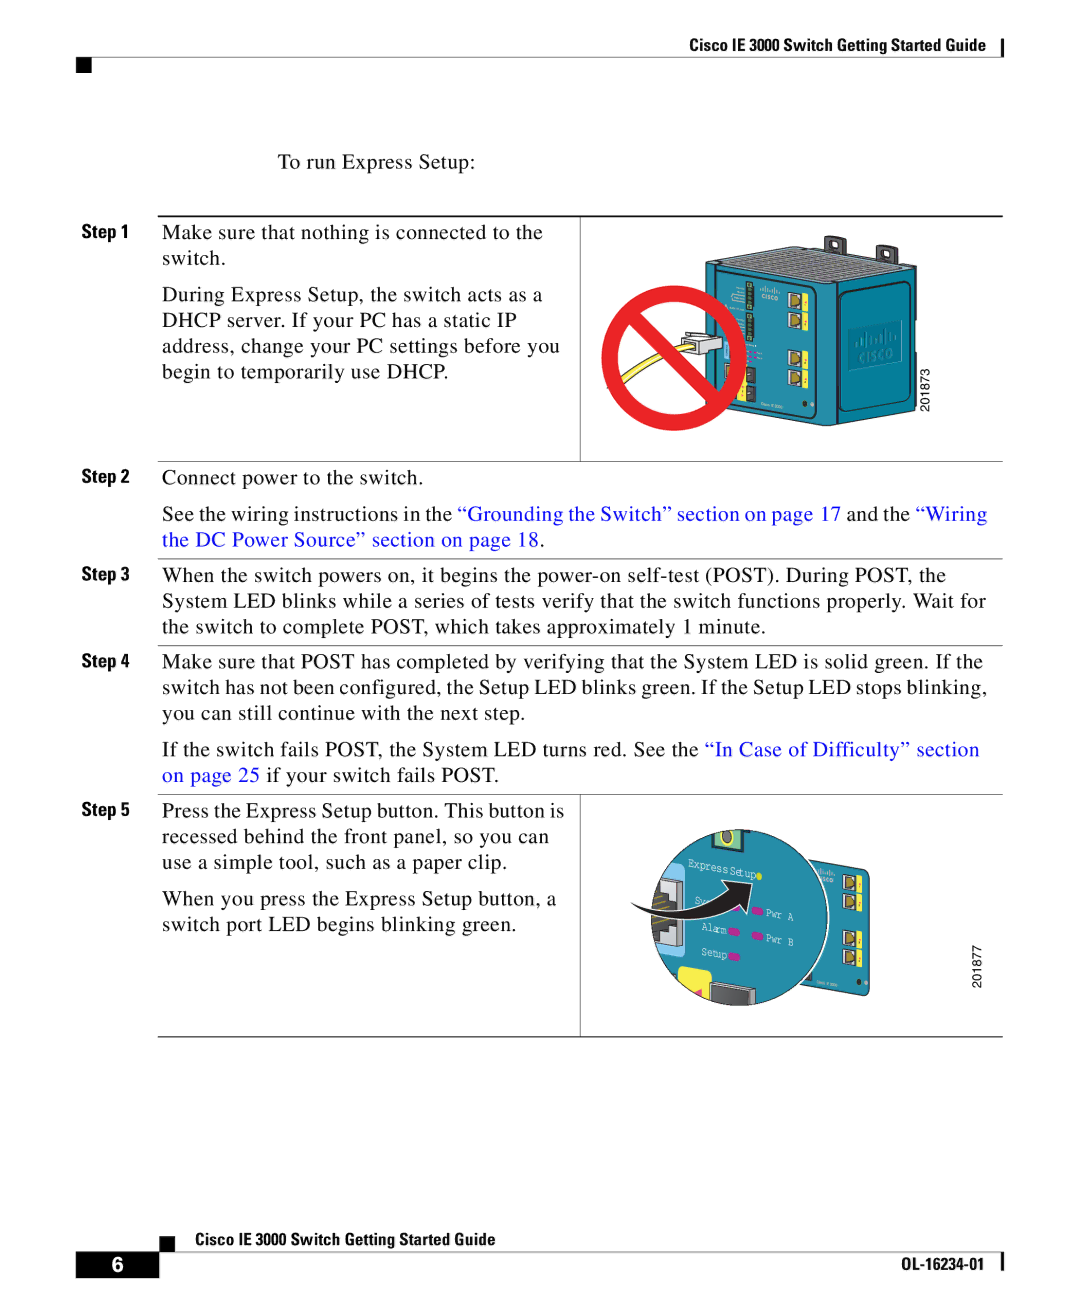
Step 1 Make sure that nothing is connected to the switch.
During Express Setup, the switch acts as a DHCP server. If your PC has a static IP address, change your PC settings before you begin to temporarily use DHCP.
 201873
Step 2 Connect power to the switch.
See the wiring instructions in the “Grounding the Switch” section on page 17 and the “Wiring the DC Power Source” section on page 18.
Step 3 When the switch powers on, it begins the
Step 4 Make sure that POST has completed by verifying that the System LED is solid green. If the switch has not been configured, the Setup LED blinks green. If the Setup LED stops blinking, you can still continue with the next step.
If the switch fails POST, the System LED turns red. See the “In Case of Difficulty” section on page 25 if your switch fails POST.
Step 5 Press the Express Setup button. This button is recessed behind the front panel, so you can use a simple tool, such as a paper clip.
When you press the Express Setup button, a switch port LED begins blinking green.
Express |
|
Setup |
|
System |
|
Pwr | A |
Alarm |
|
Pwr | B |
Setup |
|
| 2 |
201877
Cisco IE 3000 Switch Getting Started Guide
6 |
| |
|