Installing a Port Adapter
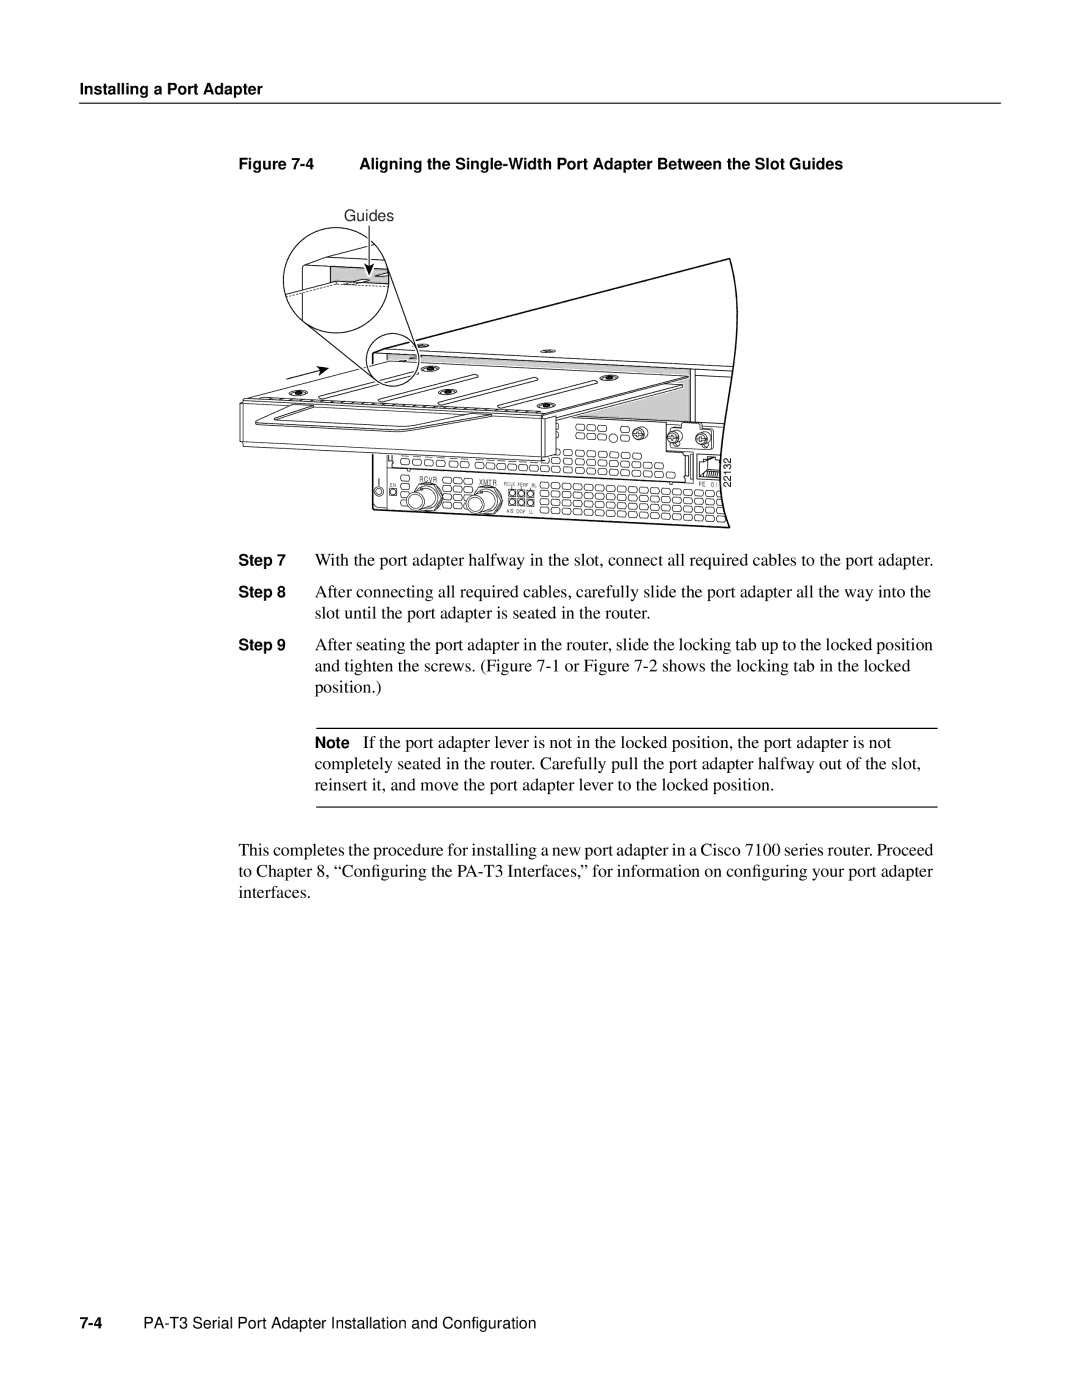
Figure 7-4 Aligning the Single-Width Port Adapter Between the Slot Guides
Guides
5 |
|
I | EN |
RCVR
XMTR | RCLK FERF RL |
| AIS OOF LL |
FE | 0 | / |
22132
Step 7 With the port adapter halfway in the slot, connect all required cables to the port adapter.
Step 8 After connecting all required cables, carefully slide the port adapter all the way into the slot until the port adapter is seated in the router.
Step 9 After seating the port adapter in the router, slide the locking tab up to the locked position and tighten the screws. (Figure
Note If the port adapter lever is not in the locked position, the port adapter is not completely seated in the router. Carefully pull the port adapter halfway out of the slot, reinsert it, and move the port adapter lever to the locked position.
This completes the procedure for installing a new port adapter in a Cisco 7100 series router. Proceed to Chapter 8, “Configuring the
