safety instructions for belt and disc sander
Plan your work. | , | attachment to doa |
USETHERIGHTTOOL | Don t forcetoo[or |
job it was not designed to do.
CAUTION:Thismachineisnotdesignedforheavydeburring
operations. When finishing metals, sparks or hot fragments could cause a fire. To avoid this. disconnect any dust col-
lectieg hose fromthesander. Also, remove all traces of wood dustfrom inside dust traps in the sander.
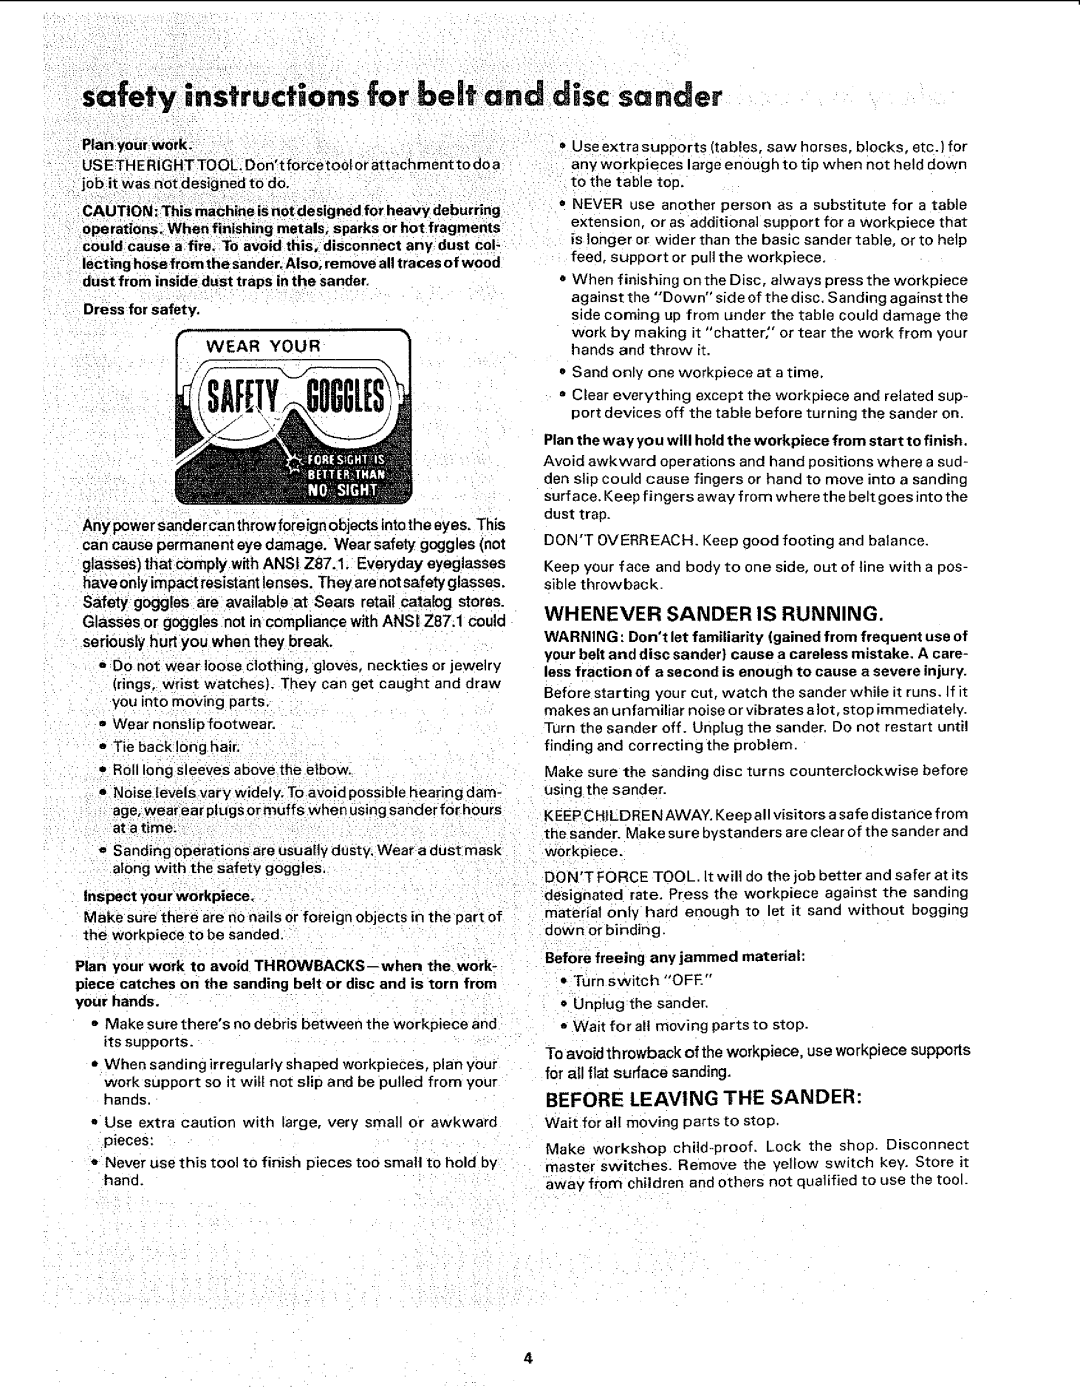
Dress for safety,
WEAR YOUR
•Use extra supports (tables, saw horses, blocks, etc.) for
any workpieces large enough to tip when not held down
to the table _oD,
•NEVER use another person as a substitute for a table
extension or as additional support for a workplace that
is longer or wider than the basic sander table, or to help feed support or pull the workp=eca,
=When finishing on the Disc, always press the workpieca against the "'Down" side of the disc. Sanding against the side coming up from under the table could damage the
work by making it "chatter," or tear the work from your hands and throw it.
•Sand only one workpiece at a time,
•Clear everything except the workoiece and related sup- port devices off the table before turning the sanaer on.
Plan the way you will hold the workpiece from start to finish.
Any power sandercan throw foreignobjects intothe eyes. This
can cause permanent eye damage. Wear safety goggles (not glasses) that cornpty with ANSI Z87.1. Everyday eyeglasses have only impact resistant lenses. Theyare not safety glasses. Safety goggles are available at Sears retail catalog stores.
Glasses or goggles not in compliance with ANSI Z87.1 could seriously hurt you when they break,
=Do not waarioosa clothing, gloves, neckties or jewelry
(rings. wrist watches). Tney can get caught and draw you into moving parts.
=Wear nonslio footwear.
-Tie back long hair.
•Roll long sleeves above the elbow.
- Noise levels vary widely. To avoid possible hearing dam- age, Wear ear plugs ormuffs when using sander for hours
at a time.
o Sanding operationaare usually dusty. Wear a dust mask along with the safety goggles.
Inspect your workpieoe,
Make sure there are no nails or foreign objects in the part of the workDiece to be sanded,
Plan your work to avoid
•Make sure there's no debris between the workpiece and its supports.
•When sanding irregularly shaped workpiecas, plan your work support so it wit{ not slip and be pulled from your hands.
•Use extra caution with large, very small or awkward pieces:
•Never use this tool to finish pieces too small to hold by hand.
Avoid awkward oeerations and hand positions where a sud- den slip could cause fingers or hand to move into a sanding surface. Keep fingers away from where the belt goes into the dust trap,
DON'T OVERREACH. Keep good footing and balance
Keep your face and booy to one side. out of line with a pos- sible throwback
WHENEVER SANDER IS RUNNING.
WARNING: Don't let familiarity (gained from frequent use of your belt and disc sander} cause a careless mistake. A care- less fraction of a second is enough to cause a severe injury.
Before starting your cut, watch the sander while it runs. If it makes an unfamiliar noise or vibrates alot, stop immediately.
Turn the sander off. Unplug the sander. Do not restart until
finding and correcting tee problem.
Make sure the sanding disc turns counterclockwise before using the sander.
KEEP CHILDREN AWAY. Keep all visitors a safe distance from the sander. Make sure bystanders are clear of the sander and workpiece.
DON'T FORCE TOOL. It will do the job better and safer at its
designated rate. Press the workeiece against the sanding
material only hard enough to let it sand without bogging down or binding.
Before freeing any jammed material:
•Turn switch "ORE"
•Unplug the sander.
•Wait for all moving parts to stop.
To avoid throwback of the workpiece, use work!_iece supports for all flat surface sanding.
BEFORE LEAVING THE SANDER:
Wait for all moving parts to stop,
Make workshop
away from children and others not qualified to use tne tool.