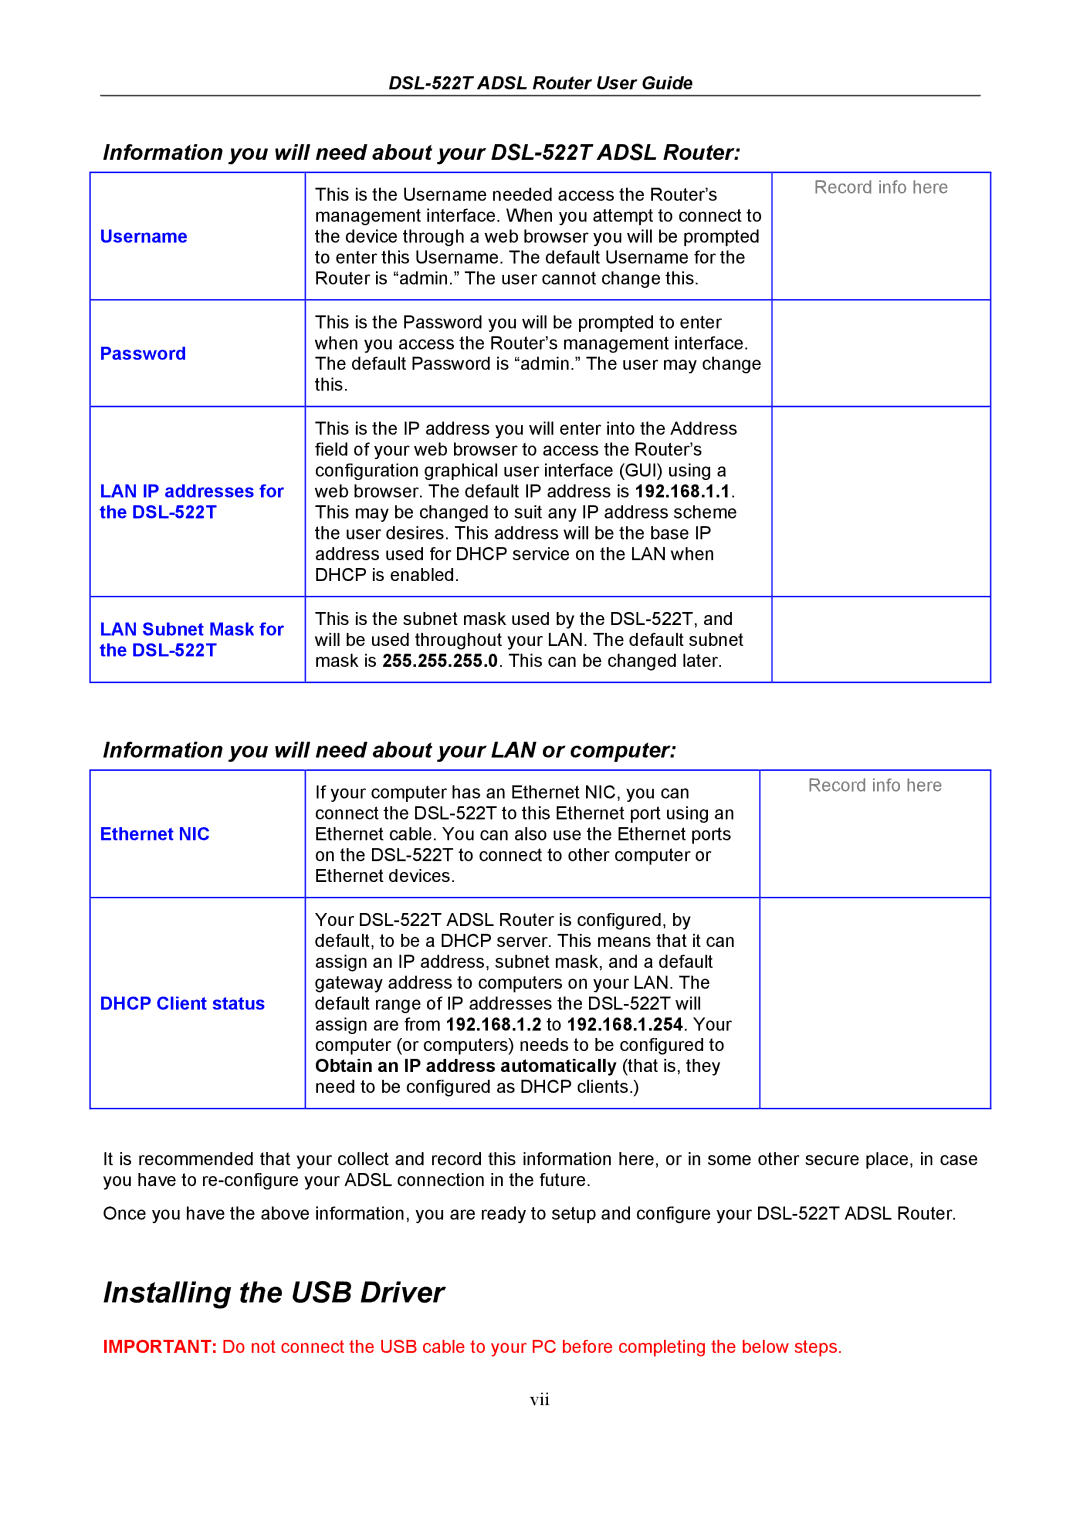
Information you will need about your DSL-522T ADSL Router:
| This is the Username needed access the Router’s | Record info here |
Username | management interface. When you attempt to connect to |
|
the device through a web browser you will be prompted |
| |
| to enter this Username. The default Username for the |
|
| Router is “admin.” The user cannot change this. |
|
|
|
|
| This is the Password you will be prompted to enter |
|
Password | when you access the Router’s management interface. |
|
The default Password is “admin.” The user may change |
| |
|
| |
| this. |
|
|
|
|
| This is the IP address you will enter into the Address |
|
| field of your web browser to access the Router’s |
|
| configuration graphical user interface (GUI) using a |
|
LAN IP addresses for | web browser. The default IP address is 192.168.1.1. |
|
the | This may be changed to suit any IP address scheme |
|
| the user desires. This address will be the base IP |
|
| address used for DHCP service on the LAN when |
|
| DHCP is enabled. |
|
|
|
|
LAN Subnet Mask for | This is the subnet mask used by the |
|
will be used throughout your LAN. The default subnet |
| |
the |
| |
mask is 255.255.255.0. This can be changed later. |
| |
|
| |
|
|
|
Information you will need about your LAN or computer:
| If your computer has an Ethernet NIC, you can | Record info here |
| connect the |
|
Ethernet NIC | Ethernet cable. You can also use the Ethernet ports |
|
| on the |
|
| Ethernet devices. |
|
|
|
|
| Your |
|
| default, to be a DHCP server. This means that it can |
|
| assign an IP address, subnet mask, and a default |
|
DHCP Client status | gateway address to computers on your LAN. The |
|
default range of IP addresses the |
| |
| assign are from 192.168.1.2 to 192.168.1.254. Your |
|
| computer (or computers) needs to be configured to |
|
| Obtain an IP address automatically (that is, they |
|
| need to be configured as DHCP clients.) |
|
|
|
|
It is recommended that your collect and record this information here, or in some other secure place, in case you have to
Once you have the above information, you are ready to setup and configure your
Installing the USB Driver
IMPORTANT: Do not connect the USB cable to your PC before completing the below steps.
vii
