Setup menu
Change PIN code
1Follow steps
2Use […/†] to select ‘Change PIN code’.
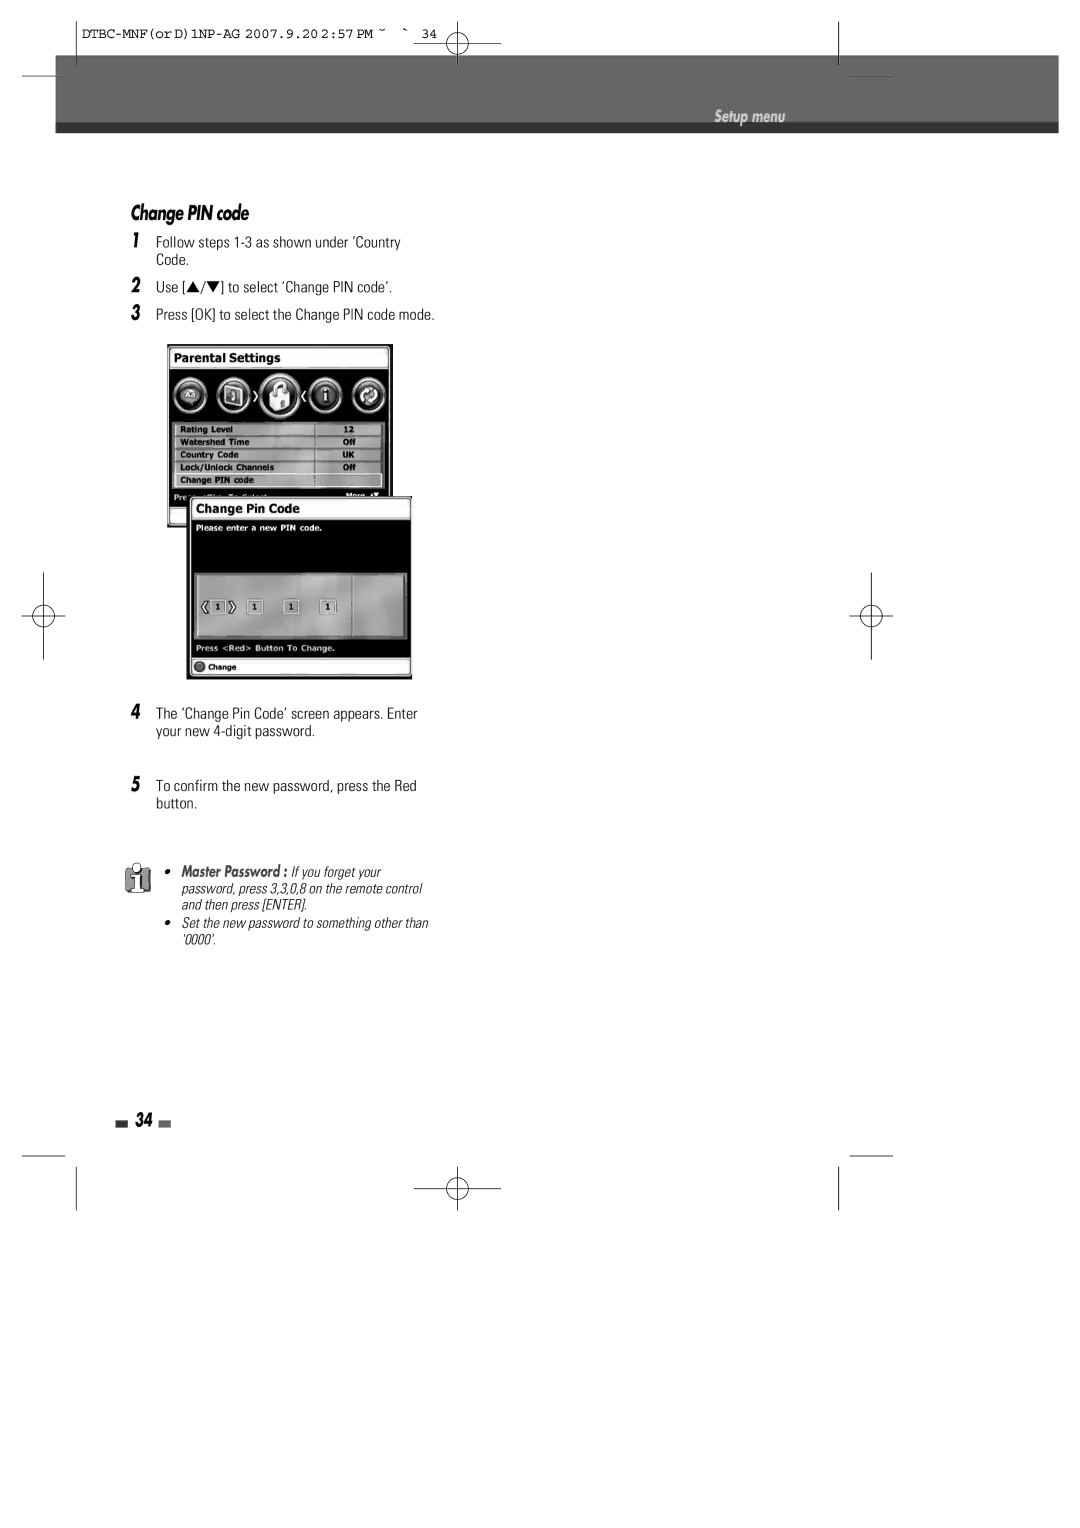
3Press [OK] to select the Change PIN code mode.
4The ‘Change Pin Code’ screen appears. Enter your new
5To confirm the new password, press the Red button.
•Master Password : If you forget your password, press 3,3,0,8 on the remote control and then press [ENTER].
•Set the new password to something other than '0000'.
34