Timeri Recordingi
 Timer Recording using Manual Record Screen
The Timer Recording function allows you to record up to 16 programs within a period of one year.
1Insert recordable media such as DVD±R, DVD±RW if you want to record to DVD.
2Press [TIMER].
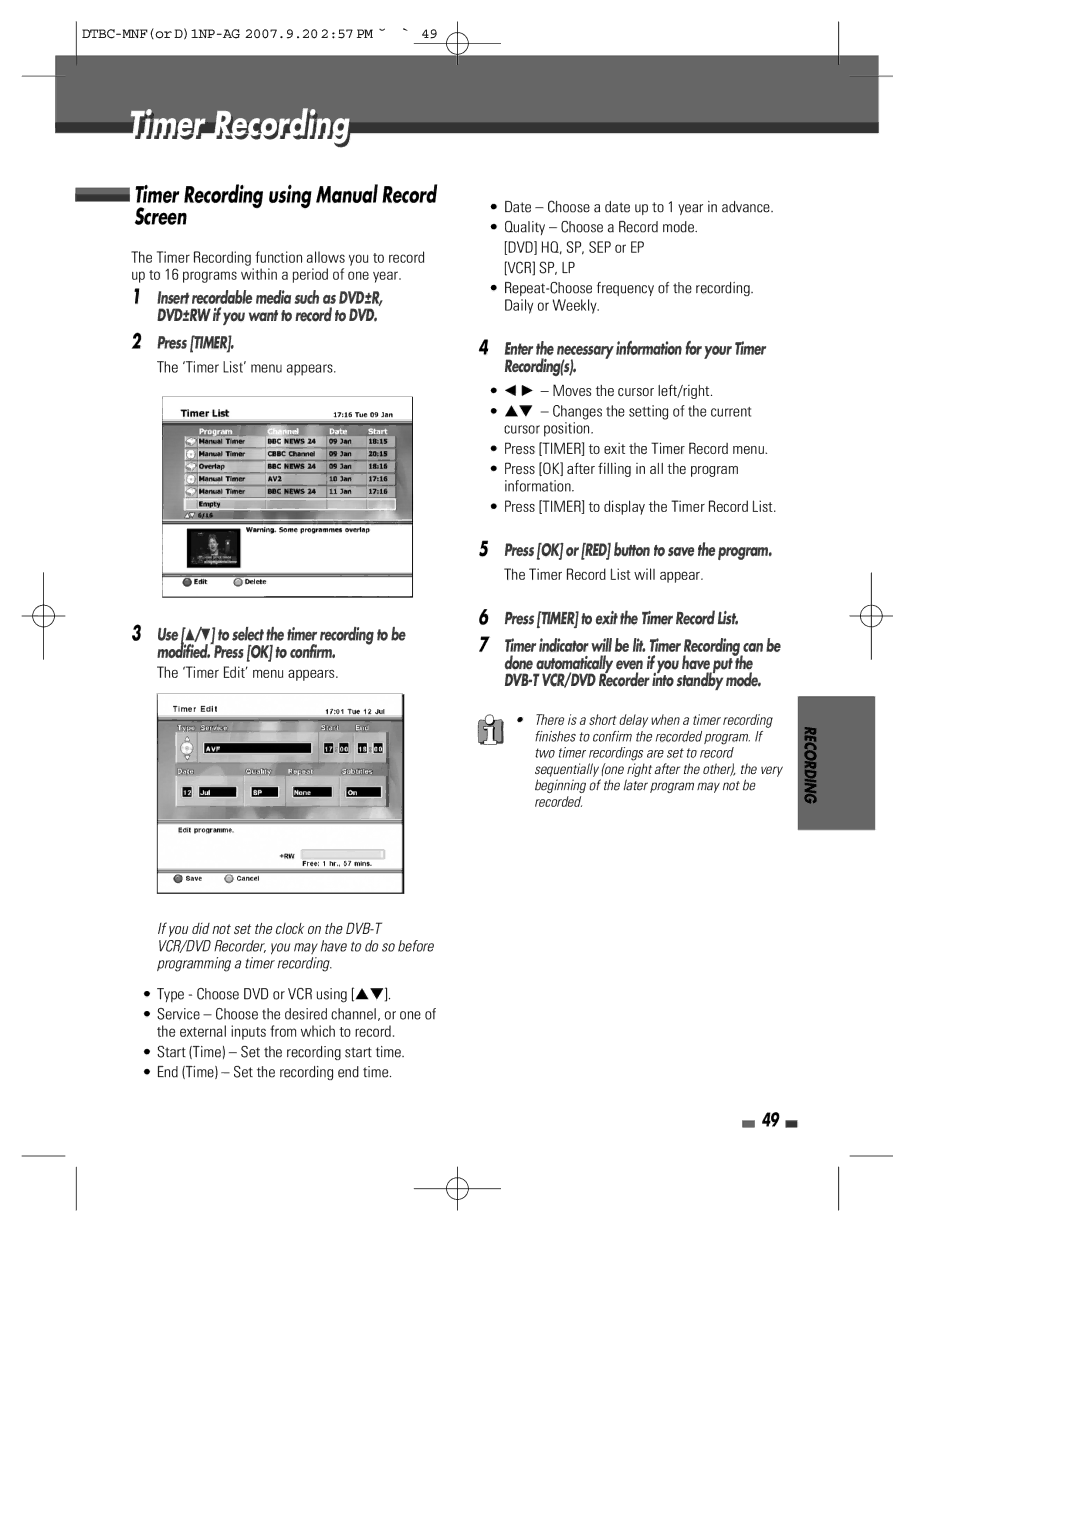
The ‘Timer List’ menu appears.
3Use […/†] to select the timer recording to be modified. Press [OK] to confirm.
The ‘Timer Edit’ menu appears.
•Date – Choose a date up to 1 year in advance.
•Quality – Choose a Record mode. [DVD] HQ, SP, SEP or EP
[VCR] SP, LP
•
4Enter the necessary information for your Timer Recording(s).
•œ √ – Moves the cursor left/right.
•…† – Changes the setting of the current cursor position.
•Press [TIMER] to exit the Timer Record menu.
•Press [OK] after filling in all the program information.
•Press [TIMER] to display the Timer Record List.
6 Press [TIMER] to exit the Timer Record List.
7 Timer indicator will be lit. Timer Recording can be done automatically even if you have put the
• There is a short delay when a timer recording finishes to confirm the recorded program. If two timer recordings are set to record sequentially (one right after the other), the very beginning of the later program may not be recorded.
RECORDING
If you did not set the clock on the
•Type - Choose DVD or VCR using […†].
•Service – Choose the desired channel, or one of the external inputs from which to record.
•Start (Time) – Set the recording start time.
•End (Time) – Set the recording end time.
