Editing a Title
When you insert a DVD±R or DVD±RW disc already recorded by your VCR/DVD Recorder, you can edit the titles and chapters in a variety of ways.
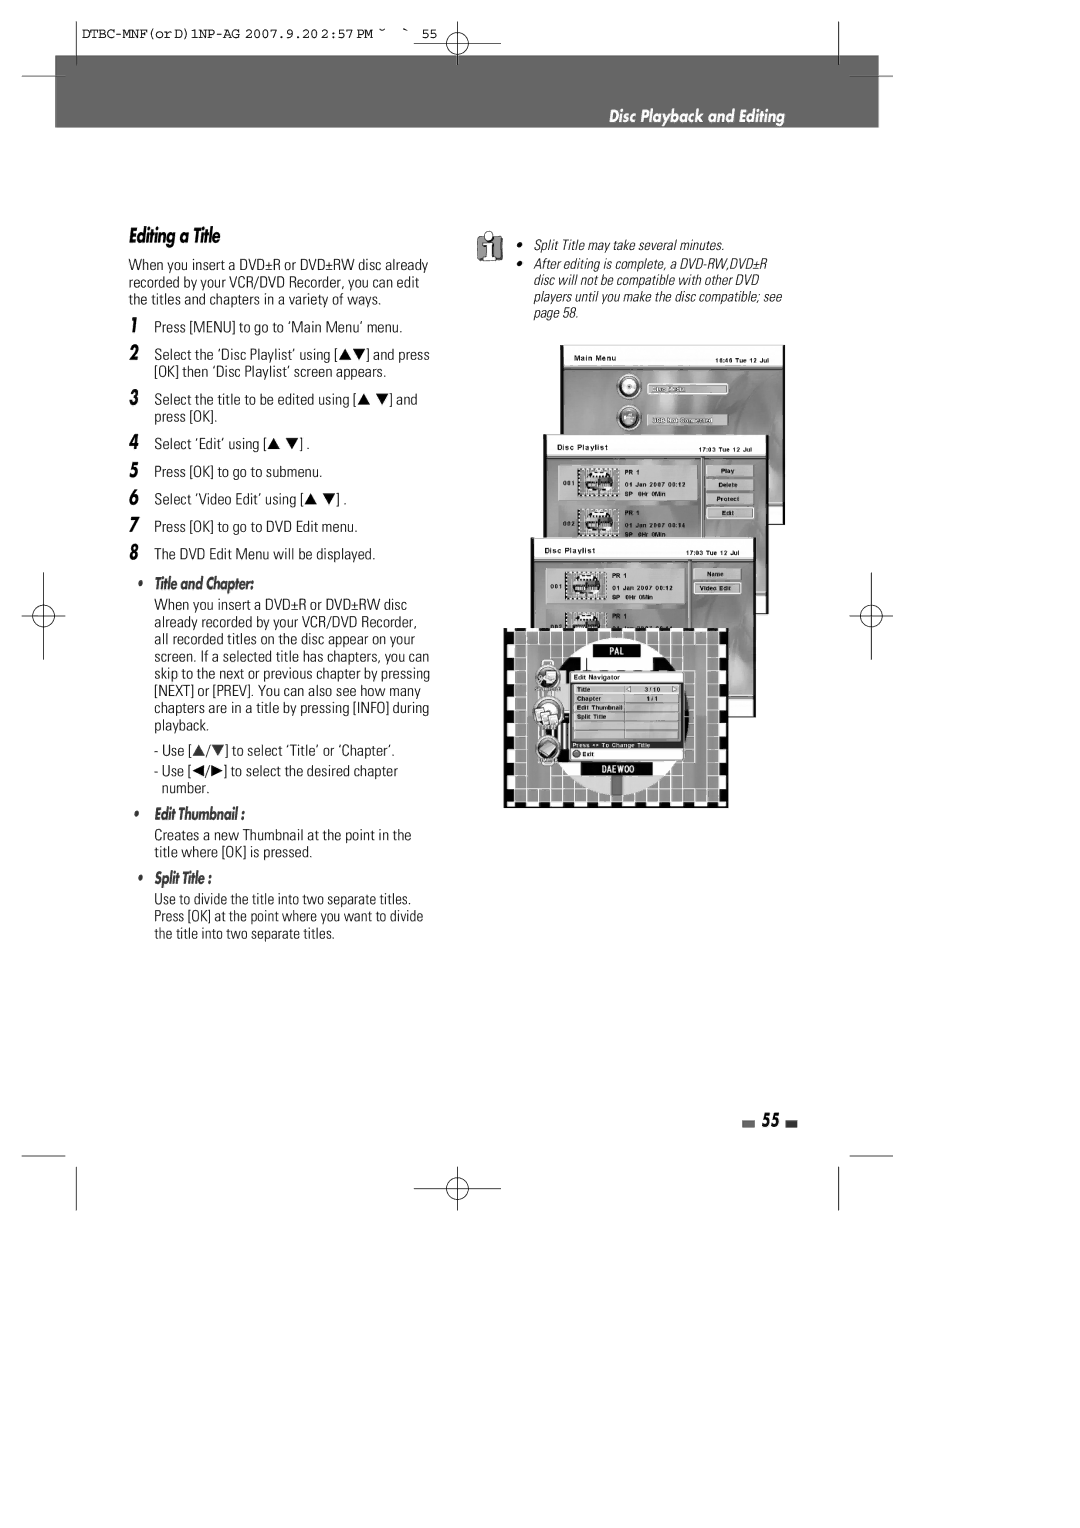
1Press [MENU] to go to ‘Main Menu’ menu.
2Select the ‘Disc Playlist’ using […†] and press [OK] then ‘Disc Playlist’ screen appears.
3Select the title to be edited using [… †] and press [OK].
4Select ‘Edit’ using [… †] .
5Press [OK] to go to submenu.
6Select ‘Video Edit’ using [… †] .
7Press [OK] to go to DVD Edit menu.
8The DVD Edit Menu will be displayed.
•Title and Chapter:
When you insert a DVD±R or DVD±RW disc already recorded by your VCR/DVD Recorder, all recorded titles on the disc appear on your screen. If a selected title has chapters, you can skip to the next or previous chapter by pressing [NEXT] or [PREV]. You can also see how many chapters are in a title by pressing [INFO] during playback.
-Use […/†] to select ‘Title’ or ‘Chapter’.
-Use [œ/√] to select the desired chapter number.
•Edit Thumbnail :
Creates a new Thumbnail at the point in the title where [OK] is pressed.
•Split Title :
Use to divide the title into two separate titles. Press [OK] at the point where you want to divide the title into two separate titles.
Disc Playback and Editing
•Split Title may take several minutes.
•After editing is complete, a
55