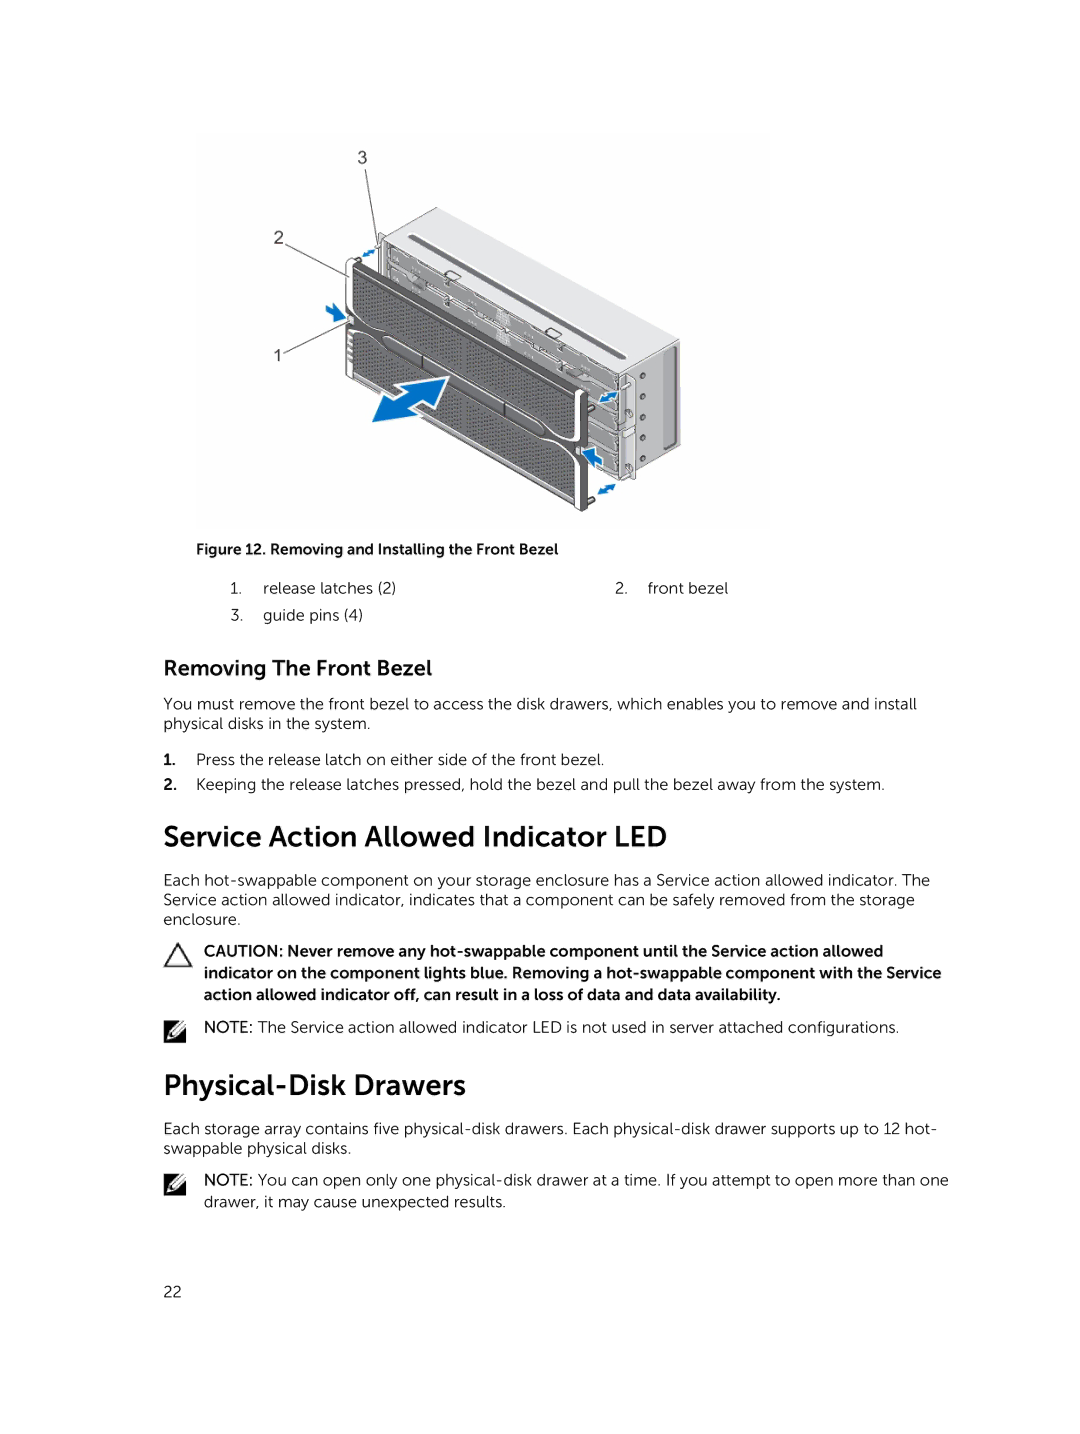
Figure 12. Removing and Installing the Front Bezel
1. | release latches (2) | 2. front bezel |
3. | guide pins (4) |
|
Removing The Front Bezel
You must remove the front bezel to access the disk drawers, which enables you to remove and install physical disks in the system.
1.Press the release latch on either side of the front bezel.
2.Keeping the release latches pressed, hold the bezel and pull the bezel away from the system.
Service Action Allowed Indicator LED
Each
CAUTION: Never remove any
NOTE: The Service action allowed indicator LED is not used in server attached configurations.
Physical-Disk Drawers
Each storage array contains five
NOTE: You can open only one
22