W . d e l l . c o m s u p p o r t . d e l l . c o m
Dell Inspiron 1200
January D8833
Contents
Completing the Power Management Wizard
Using a Battery
Connecting to a Wireless Local Area Network
Radios Including Wireless Networking
Connecting to a Wireless Network in Microsoft Windows XP
Microsoft Windows Logo Key Functions
Program is designed for an earlier Windows operating system
If you hear an unfamiliar scraping or grinding sound
Resolving Software and Hardware Incompatibilities
Using Microsoft Windows XP System Restore
If only part of the display is readable
Contents
Finding Information
What Are You Looking For? Find It Here Warranty information
Finding Information
Service Tag and Microsoft Windows License
Updates
Order status, warranty, and repair information
What Are You Looking For? Find It Here
At premier.support.dell.com. The website may not be
Follow the instructions on the screen
Click the topic that describes your problem
Click the arrow icon
Front View
About Your Computer
Display latch release
About Your Computer
V I C E S T a T U S L I G H T S
R D D R I V E a N D K E Y B O a R D S T a T U S L I G H T S
Left Side View
Audio connectors
Back View
Battery
Right Side View
USB C O N N E C T O R S
D E O C O N N E C T O R
Bottom View
Cover Battery
Memory module
Fan
Connecting to the Internet
Setting Up Your Computer
Setting Up Your Internet Connection
Setting Up Your Computer
If you have a CD, click Use the CD I got from an ISP
Transferring Information to a New Computer
Next
Click Files and Settings Transfer Wizard
Start the Files and Settings Transfer Wizard
Connecting a USB Printer
Setting Up a Printer
USB connector on computer
Printer Cable
Uninterruptible Power Supplies
Power Protection Devices
Surge Protectors
Line Conditioners
Using a Battery
Using a Battery
Battery Performance
Low-Battery Warning
Checking the Battery Charge
Dell QuickSet Battery Meter
Recalibrating a Battery
Charging the Battery
Recalibrating a Battery Through the System Setup Utility
Storing a Battery
Removing a Battery
Installing a Battery
Using a Battery
Power Management Tips
Power Management
Power Management Wizard
Setting Sleep Modes
Selecting a Power Scheme
Setting Battery Alarms and Actions
Power Management Modes
Completing the Power Management Wizard
Standby Mode
Power Schemes Tab
Power Options Properties
Hibernate Mode
Power Meter Tab
Alarms Tab
Advanced Tab
Hibernate Tab
Power Management
Playing a CD or DVD
Using CDs, DVDs, and Other Multimedia
Using CDs, DVDs, and Other Multimedia
Volume icon Volume meter Mute icon
Adjusting the Volume
Adjusting the Picture
Using CDs, DVDs, and Other Multimedia
Using the Keyboard and Touch Pad
Using the Keyboard and Touch Pad
Numeric Keypad
Numeric keypad
Key Combinations
Opens the Search Results-Computer dialog box
Speaker Functions
Microsoft Windows Logo Key Functions
Customizing the Touch Pad
Touch Pad
Installing a PC Card
Using PC Cards
PC Card Types
Extended PC Cards
Release latch
Removing a PC Card or Blank
PC Card
Connecting to a Network Adapter
Setting Up a Network
Network Setup Wizard
Setting Up a Network
Connecting to a Wireless Network in Microsoft Windows XP
Connecting to a Wireless Local Area Network
Click Checklist for creating a network
Determining Your Network Type
Setting Up a Network
Setting Up a Network
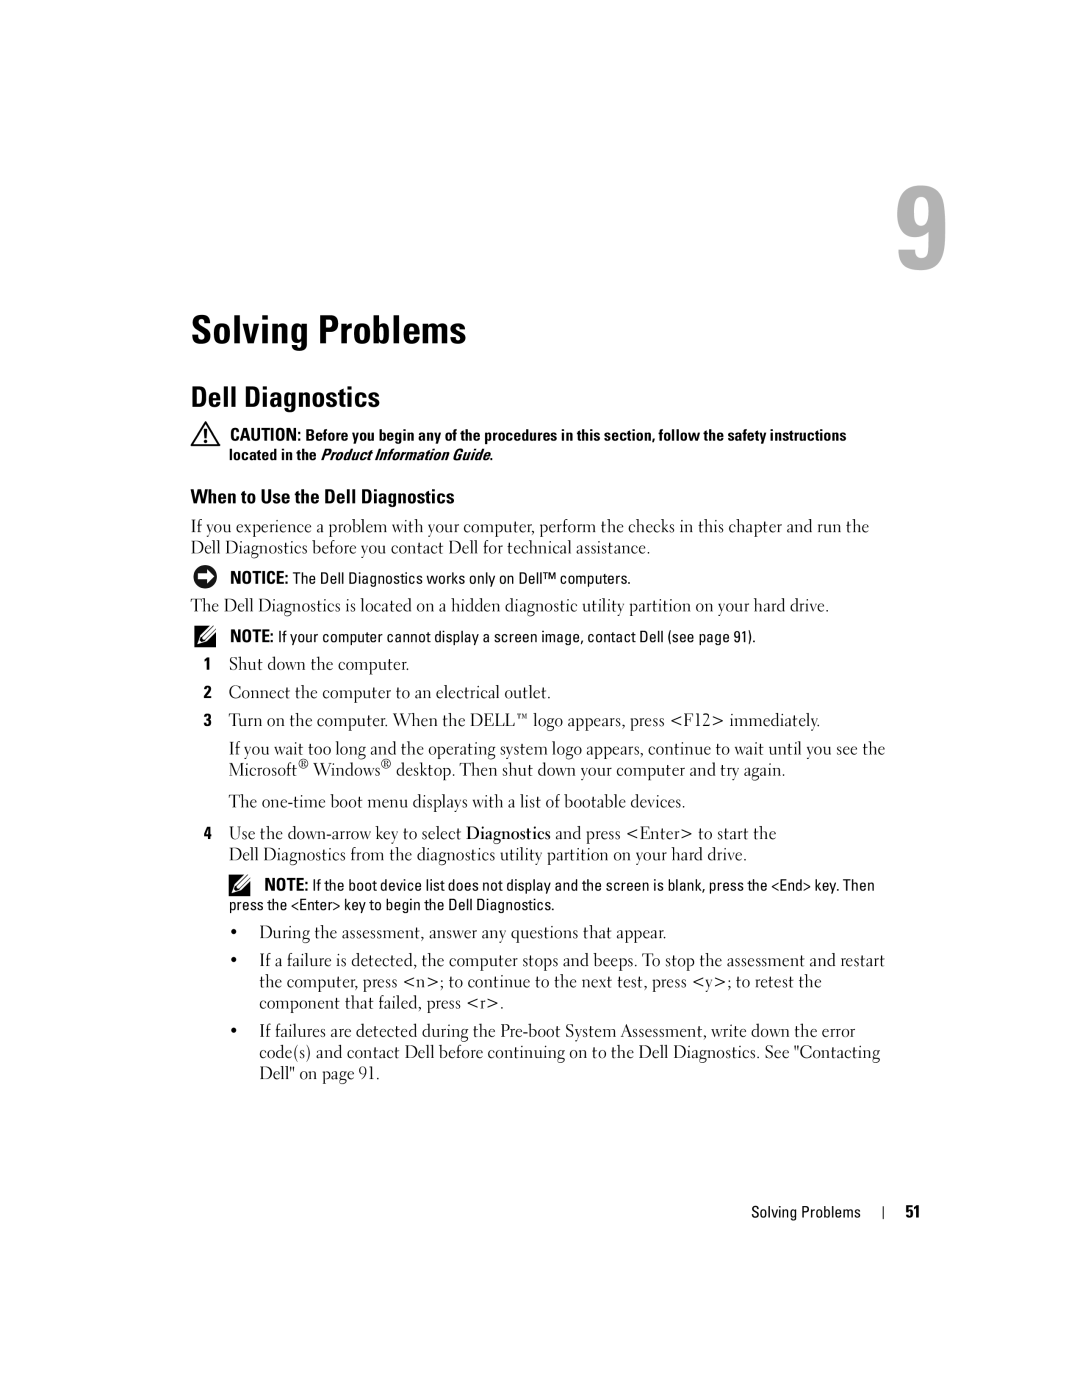
Dell Diagnostics
Solving Problems
When to Use the Dell Diagnostics
Solving Problems
Tab Function
Dell Diagnostics Main Menu
Option Function
Drive Problems
CD and DVD drive problems If there is no audio
Mail, Modem, and Internet Problems
Error Messages
Keyboard Problems
Shut down the computer, wait 1 minute, and turn it on again
External Keyboard Problems
Unexpected Characters
Computer does not start up
Lockups and Software Problems
Computer stops responding
Product Information Guide
Program crashes repeatedly
Other software problems
Program is designed for an earlier Windows operating system
Solid blue screen appears
Network Problems
Memory Problems
Power Problems
PC Card Problems
Printer Problems
Scanner Problems
No sound from external speakers
Sound and Speaker Problems
No sound from integrated speakers
No sound from headphones
Touch Pad or Mouse Problems
If the display is blank
Video and Display Problems
Drivers
What Is a Driver?
If the display is difficult to read
If only part of the display is readable
Under Pick a Category, click Performance and Maintenance
Reinstalling Drivers and Utilities
Using Windows XP Device Driver Rollback
Identifying Drivers
Resolving Software and Hardware Incompatibilities
Manually Reinstalling Drivers
Click Roll Back Driver
Click Properties
Creating a Restore Point
Using Microsoft Windows XP System Restore
Click System Restore
Restoring Your Operating System
Undoing the Last System Restore
Using Dell PC Restore by Symantec
Click Performance and Maintenance
Click the System Restore tab
Removing PC Restore
Solving Problems
Before You Begin
Adding and Replacing Parts
Recommended Tools
Turning Off Your Computer
Before Working Inside Your Computer
Memory
Captive screw
Memory module Securing clips Adding and Replacing Parts
Hard Drive
Adding and Replacing Parts
Appendix
Specifications
Sodimm DDR
Three 4-pin USB 2.0 connectors
Ms rise+fall maximum Refresh rate 60 Hz Appendix
Type active-matrix TFT
1024 x 768 at 262 K colors Response time typical
297 mm
Power Consumption panel with Backlight typical
Maximum
1024 x 768 at 262 K colors
Information on battery life and operating
Power-intensive conditions
43 WHr
Operating conditions and can be
W . d e l l . c o m s u p p o r t . d e l l . c o m
Overview
Using the System Setup Program
Viewing the System Setup Screens
Commonly Used Options
System Setup Screens
Changing the Boot Sequence
Dell Technical Support Policy U.S. Only
Definition of Dell-Installed Software and Peripherals
Performing a One-Time Boot
FCC Notices U.S. Only
Macrovision Product Notice
Definition of Third-Party Software and Peripherals
Class a
FCC Identification Information
Contacting Dell
Class B
General Support
Tech Support Services
Tech Support
Sales
Austria Vienna Website support.euro.dell.com
AutoTech automated technical support
Spare Parts Sales & Extended Service Sales 866 440
Customer Care Home Sales/Small Business
Customer Care med./large business, government
Inspiron Technical Support OptiPlex, Latitude,
Switches, routers, and so on Customer Care
Dell Precision Technical Support servers and storage
Technical Support projectors, PDAs, printers
General Support 01-899-753-0777
International Access Code Country Code
Greece Website support.euro.dell.com
General Support dial from within Jamaica only Appendix
Technical Support servers
100
101
General Support 001-800-220-1006
102
General Support 001-800-882-1519
General Support 001-800-507-0962
103
General Support 0800-50-669
Fax 21 424 01
Customer Technical Support, Customer Service 604 633
International Access Code Mail dellzasupport@dell.com
104
Sales Penang, Malaysia
105
106
PowerConnect, and PowerVault Transaction Sales
107
108
Index
Index
109
110
111
112