SETUP AND CONNECTIONS
STEP 2: PLACE BATTERIES IN THE REMOTE CONTROL
Follow these steps whenever you need to install or change the batteries in your TV’s remote control.
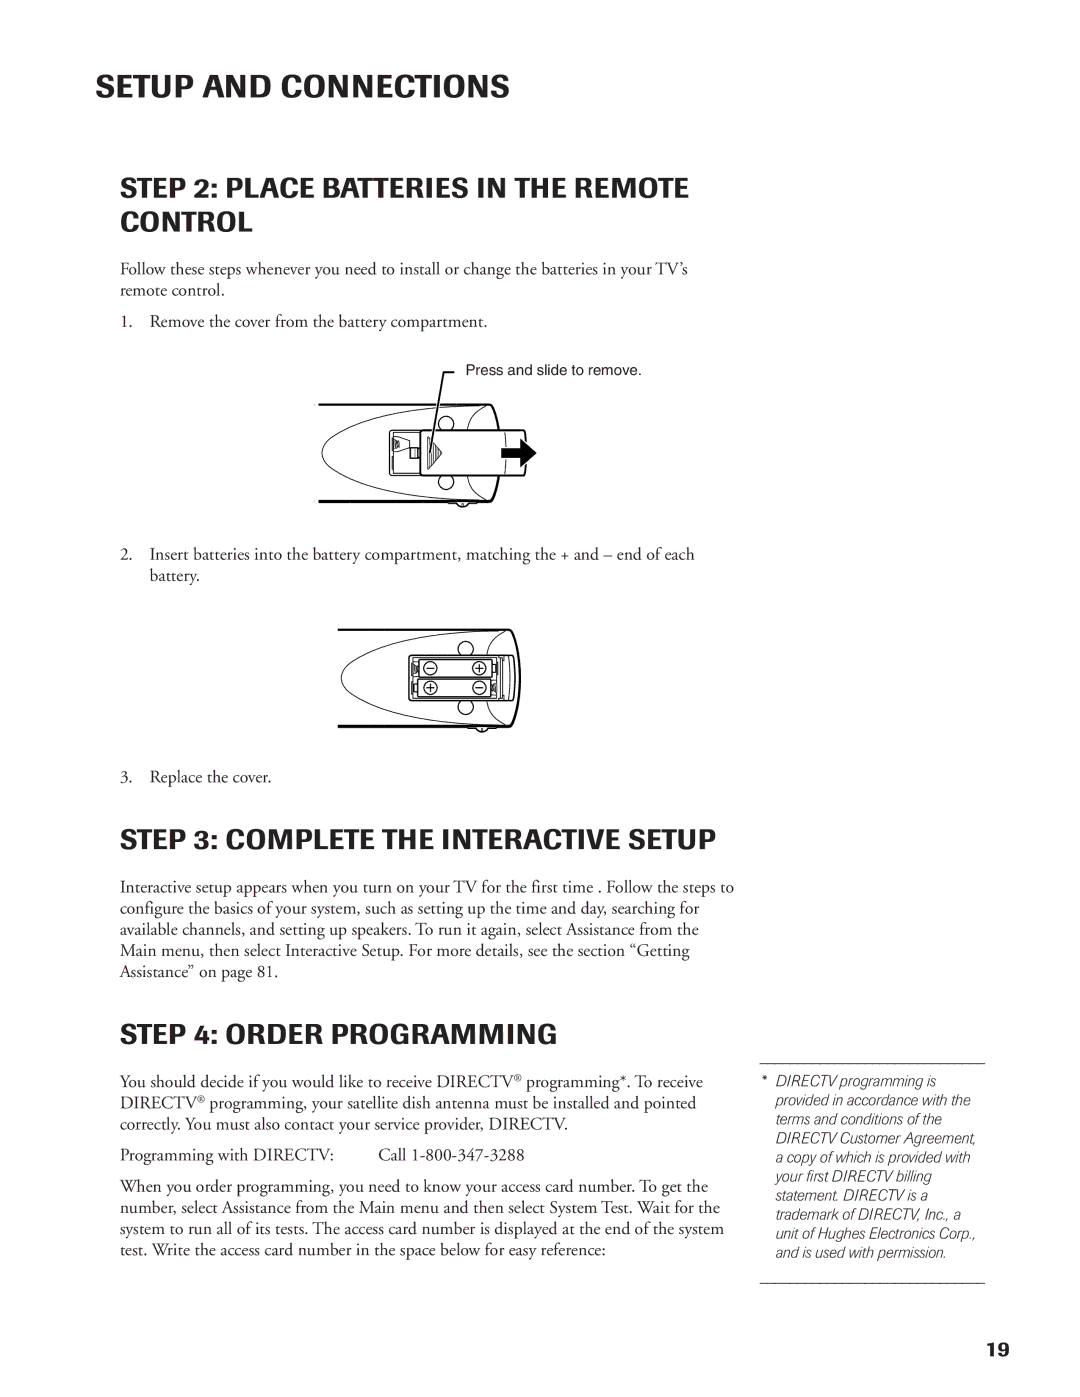
1. Remove the cover from the battery compartment.
Press and slide to remove.
2.Insert batteries into the battery compartment, matching the + and – end of each battery.
3. Replace the cover.
STEP 3: COMPLETE THE INTERACTIVE SETUP
Interactive setup appears when you turn on your TV for the first time . Follow the steps to configure the basics of your system, such as setting up the time and day, searching for available channels, and setting up speakers. To run it again, select Assistance from the Main menu, then select Interactive Setup. For more details, see the section “Getting Assistance” on page 81.
STEP 4: ORDER PROGRAMMING
You should decide if you would like to receive DIRECTV® programming*. To receive DIRECTV® programming, your satellite dish antenna must be installed and pointed correctly. You must also contact your service provider, DIRECTV.
Programming with DIRECTV: | Call |
When you order programming, you need to know your access card number. To get the number, select Assistance from the Main menu and then select System Test. Wait for the system to run all of its tests. The access card number is displayed at the end of the system test. Write the access card number in the space below for easy reference:
______________________________
*DIRECTV programming is provided in accordance with the terms and conditions of the DIRECTV Customer Agreement, a copy of which is provided with your first DIRECTV billing statement. DIRECTV is a trademark of DIRECTV, Inc., a unit of Hughes Electronics Corp., and is used with permission.
______________________________
19
