Chapter 11
Using Closed Captioning
USING CLOSED CAPTIONING
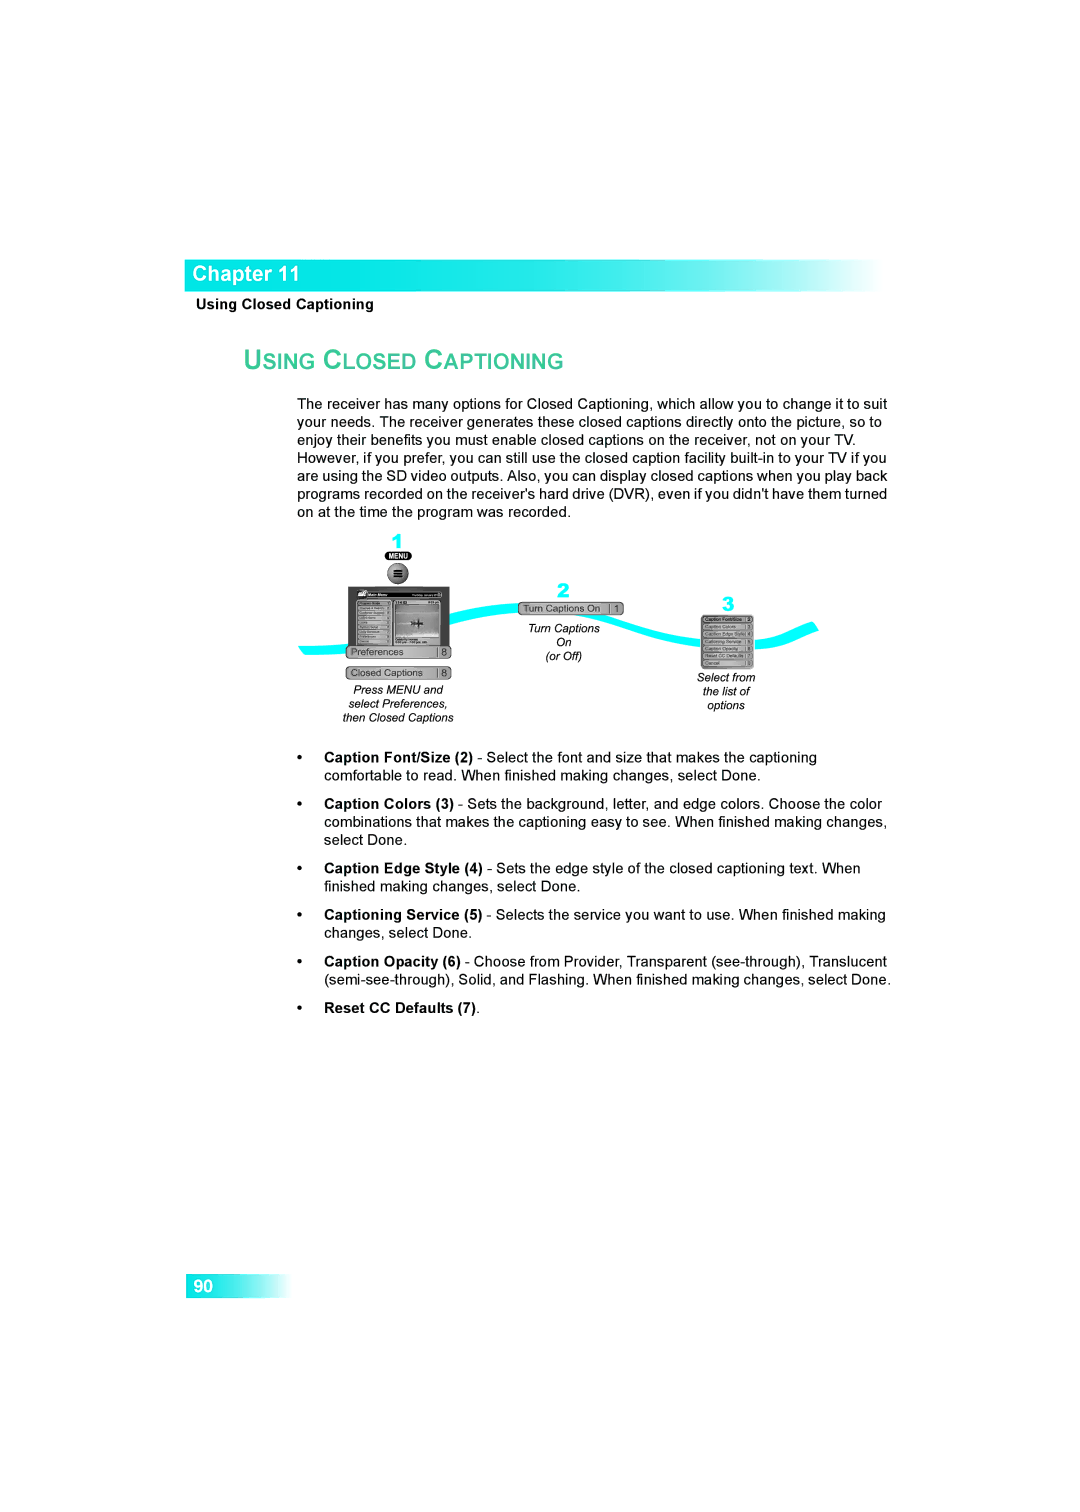
The receiver has many options for Closed Captioning, which allow you to change it to suit your needs. The receiver generates these closed captions directly onto the picture, so to enjoy their benefits you must enable closed captions on the receiver, not on your TV.
However, if you prefer, you can still use the closed caption facility
•Caption Font/Size (2) - Select the font and size that makes the captioning comfortable to read. When finished making changes, select Done.
•Caption Colors (3) - Sets the background, letter, and edge colors. Choose the color combinations that makes the captioning easy to see. When finished making changes, select Done.
•Caption Edge Style (4) - Sets the edge style of the closed captioning text. When finished making changes, select Done.
•Captioning Service (5) - Selects the service you want to use. When finished making changes, select Done.
•Caption Opacity (6) - Choose from Provider, Transparent
•Reset CC Defaults (7).
90
