Projector Control
Projector Control
Projector Control
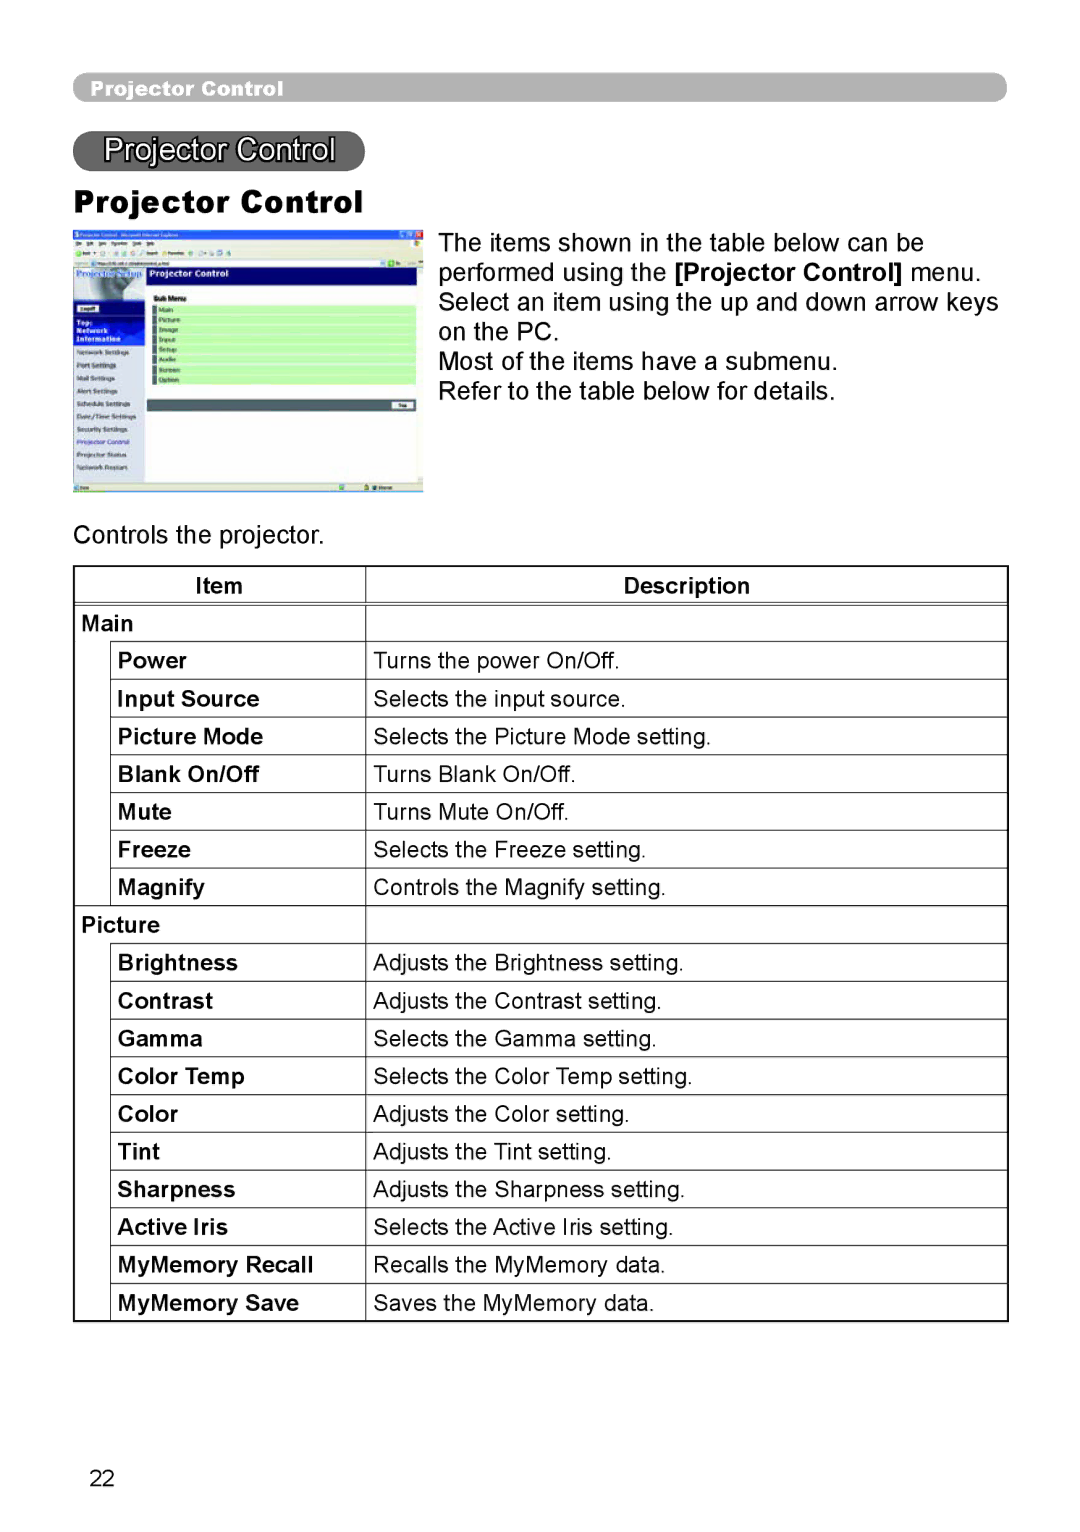
The items shown in the table below can be performed using the [Projector Control] menu. Select an item using the up and down arrow keys on the PC.
Most of the items have a submenu. Refer to the table below for details.
Controls the projector.
| Item | Description |
|
|
|
Main |
| |
| Power | Turns the power On/Off. |
| Input Source | Selects the input source. |
| Picture Mode | Selects the Picture Mode setting. |
| Blank On/Off | Turns Blank On/Off. |
| Mute | Turns Mute On/Off. |
| Freeze | Selects the Freeze setting. |
| Magnify | Controls the Magnify setting. |
Picture |
| |
| Brightness | Adjusts the Brightness setting. |
| Contrast | Adjusts the Contrast setting. |
| Gamma | Selects the Gamma setting. |
| Color Temp | Selects the Color Temp setting. |
| Color | Adjusts the Color setting. |
| Tint | Adjusts the Tint setting. |
| Sharpness | Adjusts the Sharpness setting. |
| Active Iris | Selects the Active Iris setting. |
| MyMemory Recall | Recalls the MyMemory data. |
| MyMemory Save | Saves the MyMemory data. |
22