Computer Input
Image Level Selection
Direct Operation
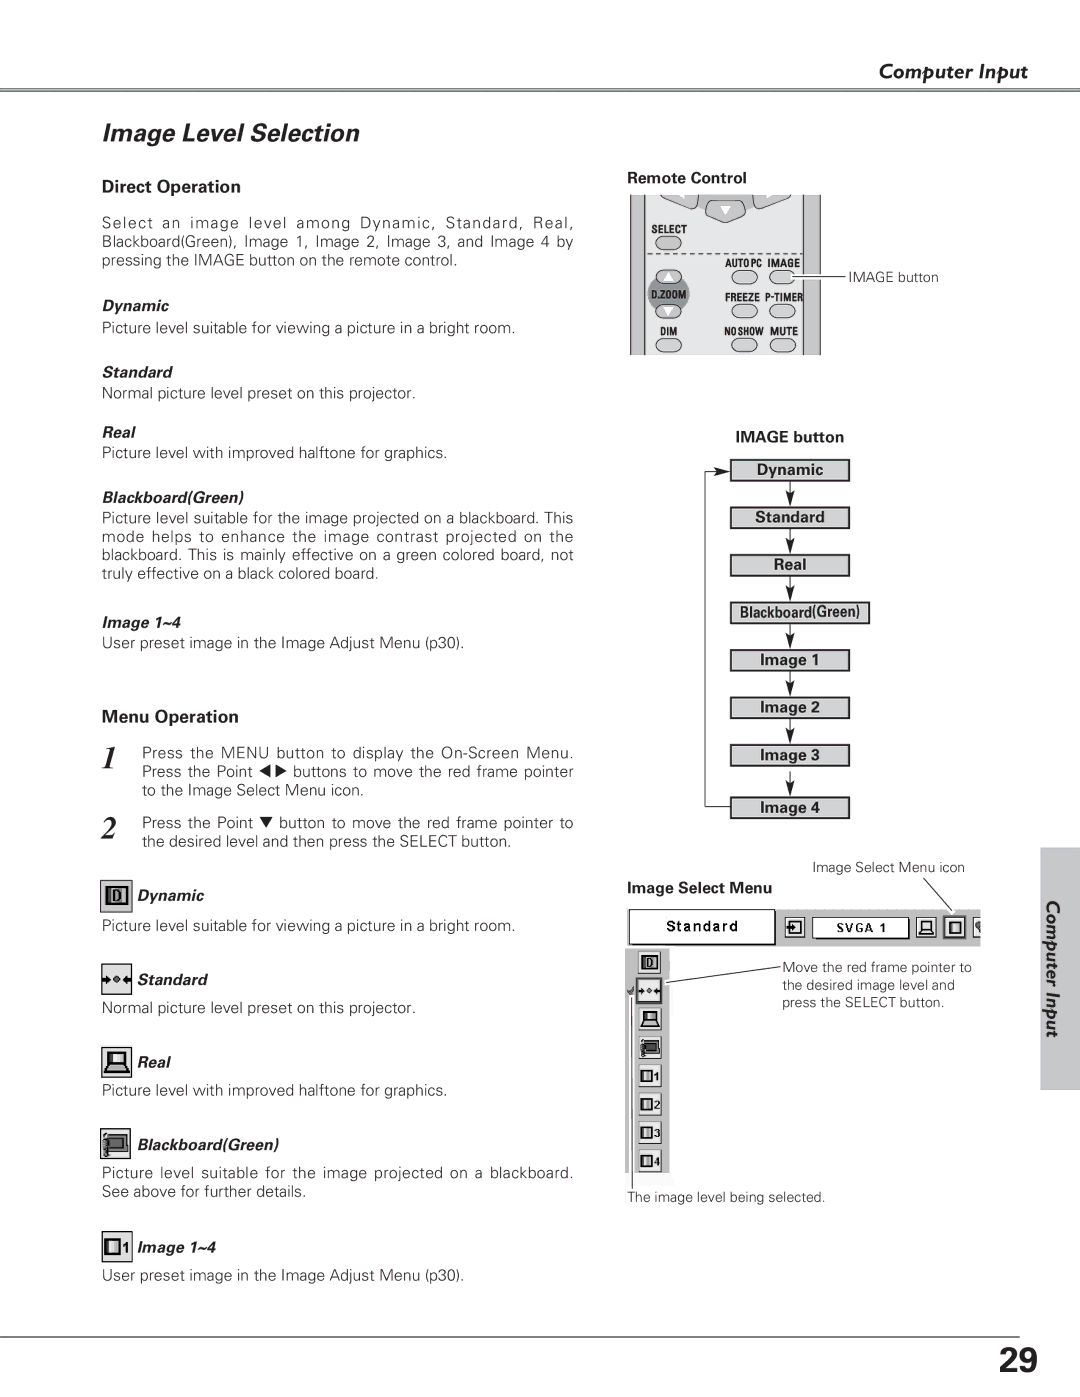
Select an image level among Dynamic, Standard, Real, Blackboard(Green), Image 1, Image 2, Image 3, and Image 4 by pressing the IMAGE button on the remote control.
Dynamic
Picture level suitable for viewing a picture in a bright room.
Standard
Normal picture level preset on this projector.
Real
Picture level with improved halftone for graphics.
Blackboard(Green)
Picture level suitable for the image projected on a blackboard. This mode helps to enhance the image contrast projected on the blackboard. This is mainly effective on a green colored board, not truly effective on a black colored board.
Image 1~4
User preset image in the Image Adjust Menu (p30).
Menu Operation
1 | Press the MENU button to display the |
| Press the Point 7 8 buttons to move the red frame pointer |
| to the Image Select Menu icon. |
2 | Press the Point d button to move the red frame pointer to |
| the desired level and then press the SELECT button. |
![]() Dynamic
Dynamic
Picture level suitable for viewing a picture in a bright room.
![]() Standard
Standard
Normal picture level preset on this projector.
![]() Real
Real
Picture level with improved halftone for graphics.
![]() Blackboard(Green)
Blackboard(Green)
Picture level suitable for the image projected on a blackboard. See above for further details.
![]() Image 1~4
Image 1~4
User preset image in the Image Adjust Menu (p30).
Remote Control
![]() IMAGE button
IMAGE button
IMAGE button
Dynamic
Standard
Real
Blackboard(Green)
Image 1
Image 2
Image 3
Image 4
Image Select Menu icon
Image Select Menu
Move the red frame pointer to the desired image level and press the SELECT button.
The image level being selected.
Computer Input
29