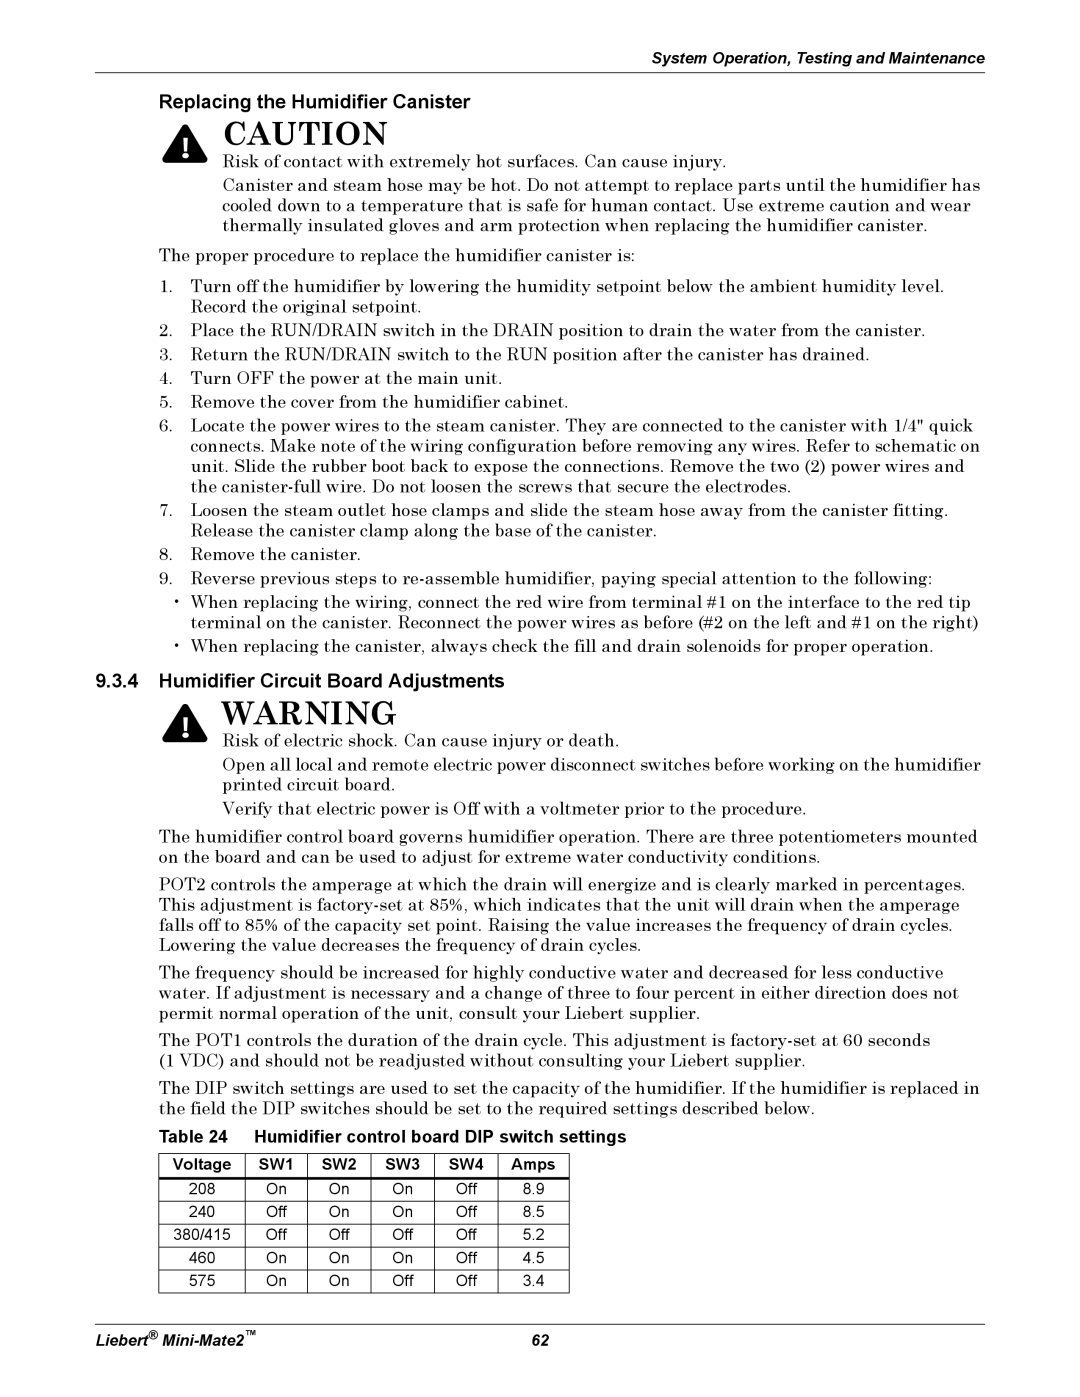
MINI-MATE2 specifications
The Emerson MINI-MATE2 is a cutting-edge temperature and pressure monitoring device specifically designed for the needs of the refrigeration and HVAC industries. Known for its reliability and user-friendly interface, this compact unit serves as a key tool for technicians and facility managers looking to optimize system performance while ensuring compliance with safety standards.One of the main features of the MINI-MATE2 is its advanced digital display, which allows users to easily monitor and interpret temperature and pressure readings in real-time. Its highly responsive sensors ensure accurate data collection, vital for maintaining optimal operating conditions. Moreover, the device supports a wide range of refrigerants, making it versatile for different applications, from walk-in coolers to commercial refrigeration systems.
The MINI-MATE2 utilizes state-of-the-art technology to enhance efficiency and performance. Equipped with Bluetooth connectivity, it allows for wireless communication with mobile devices, enabling technicians to track readings and receive alerts remotely. This feature not only improves convenience but also helps in quick decision-making, ensuring timely interventions when anomalies are detected.
Another significant characteristic is its robust construction. Built to withstand harsh environments, the MINI-MATE2 features a durable casing that protects it from physical impacts and environmental factors. This resilience ensures longevity, making it a cost-effective investment for any facility.
In addition, the MINI-MATE2 is designed with user-friendliness in mind. Its intuitive interface means that even technicians with limited experience can easily navigate its functionalities. Quick setup and straightforward operation allow for rapid adoption and extensive use in a variety of settings.
Finally, the MINI-MATE2 also includes built-in data logging capabilities. Users can record historical data for analysis and reporting purposes, which is essential for performing trend analysis and identifying potential issues before they escalate. By providing a comprehensive overview of system performance, the MINI-MATE2 empowers users to make informed decisions that can lead to improved energy efficiency and reduced operational costs.
Overall, the Emerson MINI-MATE2 is an indispensable tool for modern refrigeration and HVAC applications, combining cutting-edge technology, user-friendly design, and essential features to support efficient system management.

