FN100 Virtual Switching
Defining a Default Switch
By defining a default switch setting, you decide which of the FN100’s four virtual switches will be recognized by Spanning Tree and reflected in the FN100 Bridge Status window. When you change the default switch, only those ports which are assigned to the selected default switch will be correctly displayed in the Bridge Status window. All other ports will return an UNKNOWN bridge state.
To define a default switch for your FN100:
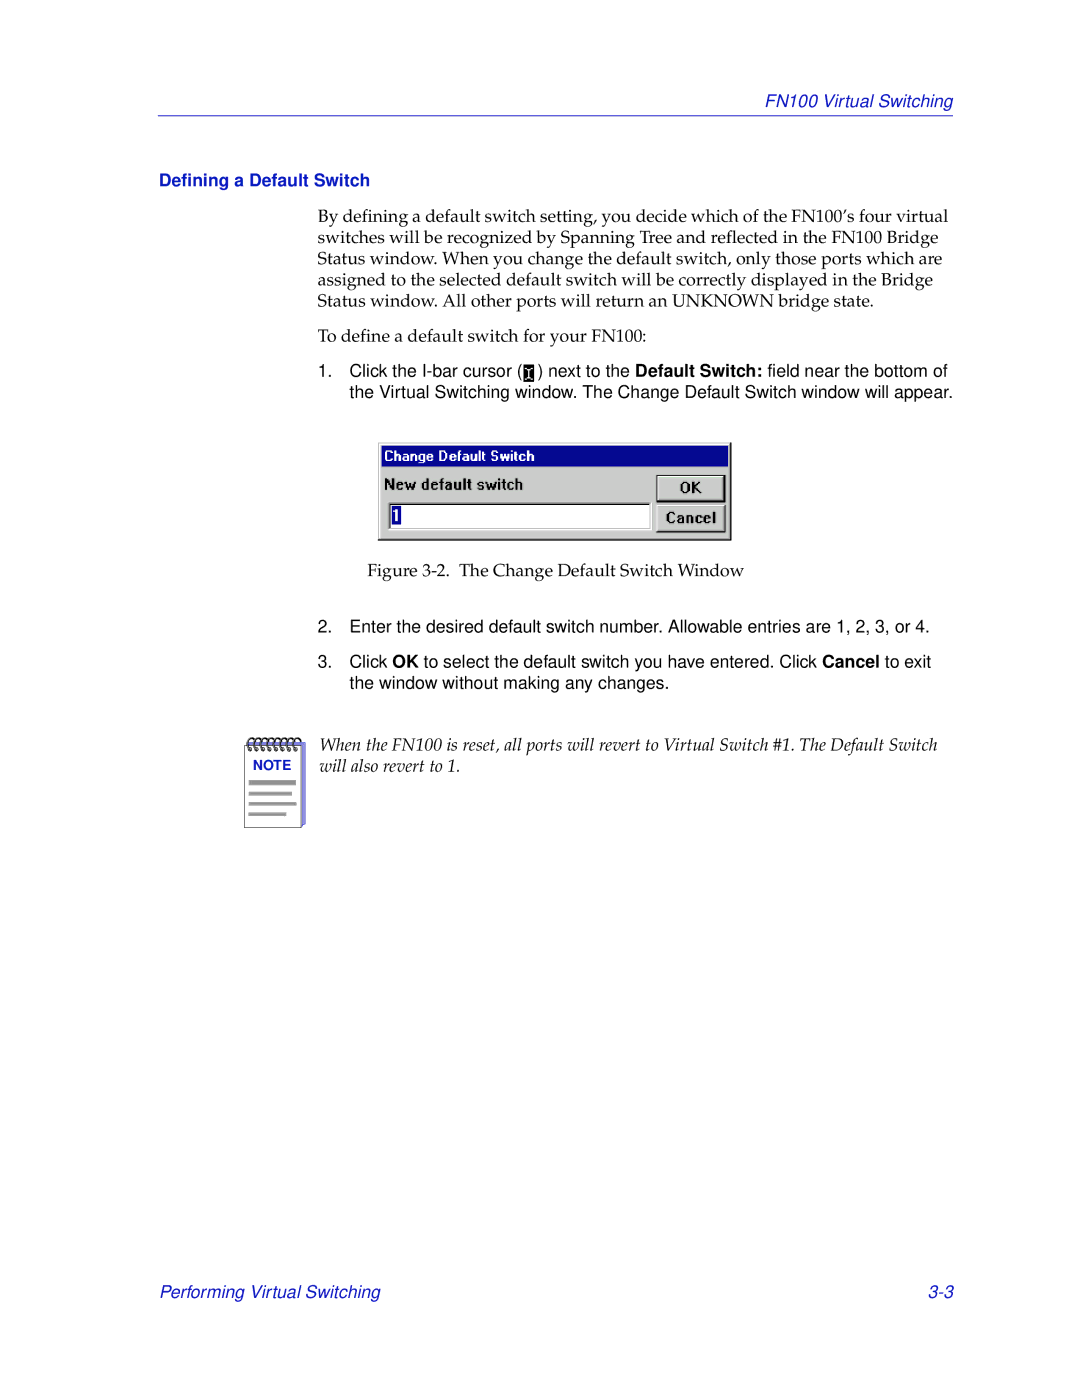
1.Click the ![]() ) next to the Default Switch: field near the bottom of the Virtual Switching window. The Change Default Switch window will appear.
) next to the Default Switch: field near the bottom of the Virtual Switching window. The Change Default Switch window will appear.
Figure 3-2. The Change Default Switch Window
2.Enter the desired default switch number. Allowable entries are 1, 2, 3, or 4.
3.Click OK to select the default switch you have entered. Click Cancel to exit the window without making any changes.
NOTE |
When the FN100 is reset, all ports will revert to Virtual Switch #1. The Default Switch will also revert to 1.
Performing Virtual Switching |