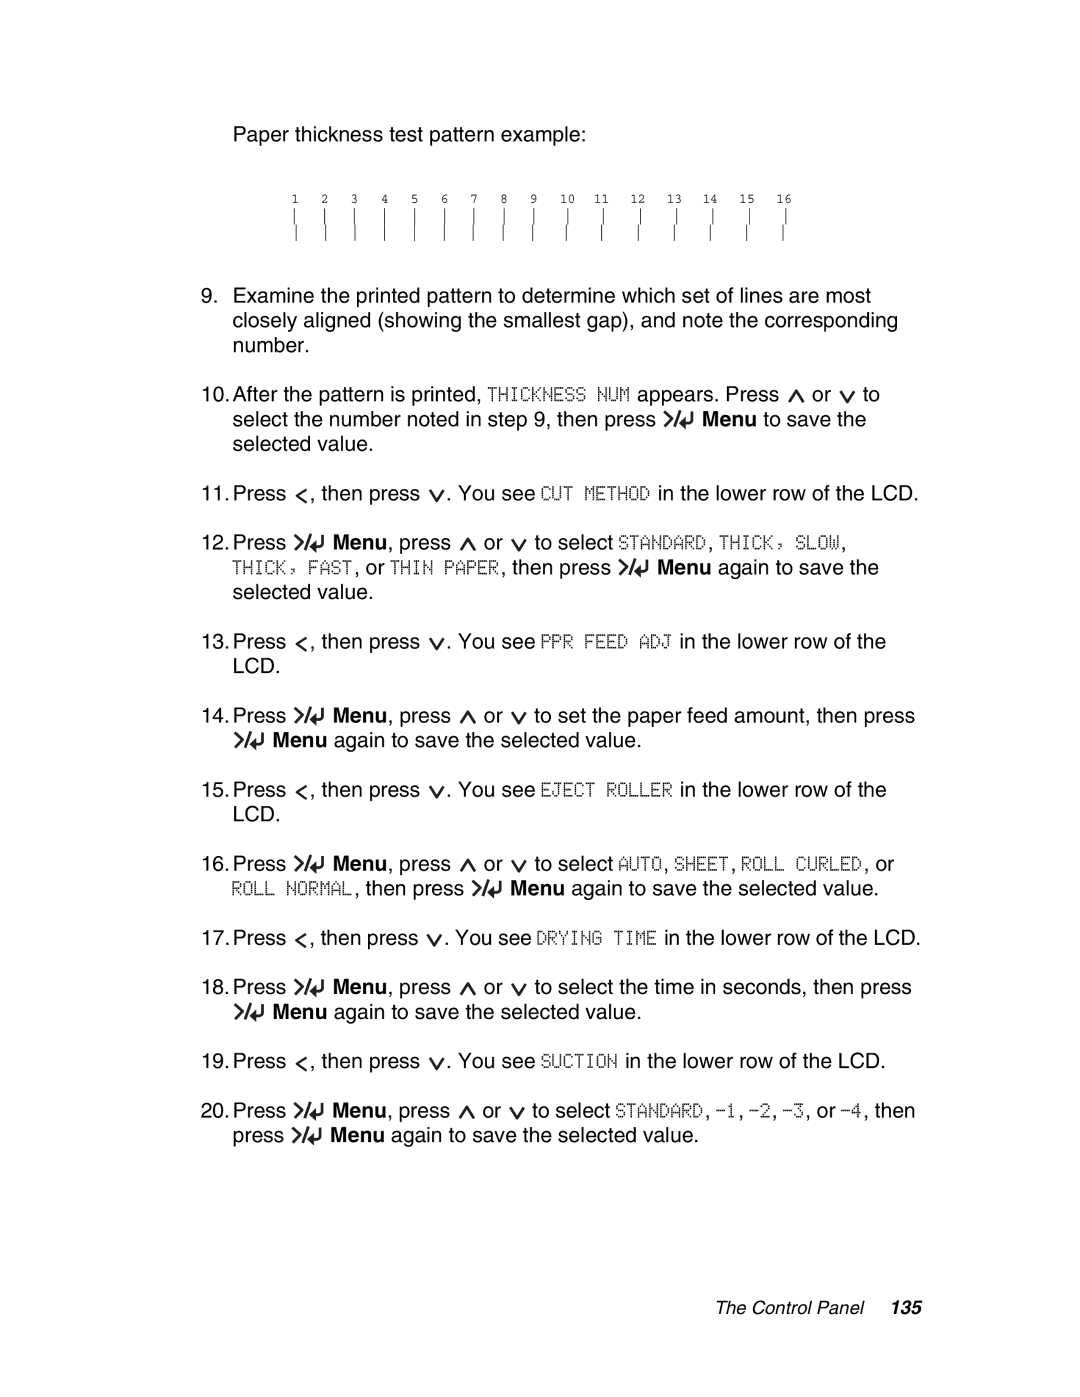
Paper thickness test pattern example:
1 | 2 | 3 | 4 | 5 | 6 | 7 | 8 | 9 | 10 | 11 | 12 | 13 | 14 | 15 | 16 |
9.Examine the printed pattern to determine which set of lines are most closely aligned (showing the smallest gap), and note the corresponding number.
10.After the pattern is printed, THICKNESS NUM appears. Press ![]() or
or ![]() to select the number noted in step 9, then press
to select the number noted in step 9, then press ![]() Menu to save the selected value.
Menu to save the selected value.
11.Press ![]() , then press
, then press ![]() . You see CUT METHOD in the lower row of the LCD.
. You see CUT METHOD in the lower row of the LCD.
12.Press ![]() Menu, press
Menu, press ![]() or
or ![]() to select STANDARD, THICK, SLOW, THICK, FAST, or THIN PAPER, then press
to select STANDARD, THICK, SLOW, THICK, FAST, or THIN PAPER, then press ![]() Menu again to save the selected value.
Menu again to save the selected value.
13.Press ![]() , then press
, then press ![]() . You see PPR FEED ADJ in the lower row of the LCD.
. You see PPR FEED ADJ in the lower row of the LCD.
14.Press ![]() Menu, press
Menu, press ![]() or
or ![]() to set the paper feed amount, then press
to set the paper feed amount, then press ![]() Menu again to save the selected value.
Menu again to save the selected value.
15.Press ![]() , then press
, then press ![]() . You see EJECT ROLLER in the lower row of the LCD.
. You see EJECT ROLLER in the lower row of the LCD.
16.Press ![]() Menu, press
Menu, press ![]() or
or ![]() to select AUTO, SHEET, ROLL CURLED, or
to select AUTO, SHEET, ROLL CURLED, or
ROLL NORMAL, then press ![]() Menu again to save the selected value.
Menu again to save the selected value.
17.Press ![]() , then press
, then press ![]() . You see DRYING TIME in the lower row of the LCD.
. You see DRYING TIME in the lower row of the LCD.
18.Press ![]() Menu, press
Menu, press ![]() or
or ![]() to select the time in seconds, then press
to select the time in seconds, then press ![]() Menu again to save the selected value.
Menu again to save the selected value.
19.Press ![]() , then press
, then press ![]() . You see SUCTION in the lower row of the LCD.
. You see SUCTION in the lower row of the LCD.
20.Press ![]() Menu, press
Menu, press ![]() or
or ![]() to select STANDARD,
to select STANDARD, ![]() Menu again to save the selected value.
Menu again to save the selected value.