Page
Meaning of unit and projector
Safety Instructions/World-Wide Warranty Terms
General information
User’s Guide this manual
Unpacking the Projector
Documentation
Features of the Projector
Horizontal and vertical keystone correction function
Brilliant, Attractive Images
Contents
103
100
101
106
Page
Connecting to a Video Source
Before Using the Remote Control
Connecting to a Computer
Connecting to an External Speaker
Part Names and Functions
Front/Top
Control panel
Rear
Part Names and Functions
Base
Front adjustable foot Air filter air inlet P.92
Suspension bracket fixing points 4 points
Remote control
Battery Replacement Period and Cautions
Before Using the Remote Control
Inserting the Batteries
Remote Operating Range
Using the Remote Control and Remote Operating Range
Using the Remote Control
Operating distance Operating angle
Approx Approx When suspended from the ceiling
Approx Remote control transmitter Approx. ±15 vertically
Approx. ±30 Horizontally
Setting Up the Projector
Installation
Front projection Front/ceiling projection
Page
Recommended distance
Installation
Screen Size and Projection Distance
Screen size cm ft Approximate projection distance* m ft
Connecting to a Computer
Eligible Computers
Projecting Images from the Computer
When connecting to the Computer 2/Component Video port
Accessory
If the monitor port is a mini D-Sub 15-pin port
If the monitor port is a digital RGB connector
To monitor port Computer cable To Computer Optional
If the monitor port is a 5BNC port
Component Video port
If the monitor port is a 13w3 port
To monitor port 13w3 cable commercially-available
Playing Sound from the Computer
USB cable Accessory To USB port
Audio cable Commercially-available To audio output port
Example of PS/2 mouse connection
Using the Remote Control to Operate the Mouse Pointer
To PS/2 mouse port PS/2 mouse cable accessory To Mouse port
Computer Mouse used Applicable cable
Example of USB mouse connection
To USB mouse port
Moving the mouse Left click Right click Pointer
Connecting to an External Monitor
Monitor port Cable provided with monitor
When connecting using the A/V cable
Connecting to a Video Source
Projecting Composite Video Images
Projecting S-Video Images
When connecting the audio output using an A/V cable
To audio output R port red Accessory
To S-Video port To video output
Projecting Component Video Images
To Computer 2/Component Video port To video output Port
Projecting RGB Video Images
To Computer 2/Component Video port
Tip
To external audio
Connecting to an External Speaker
Equipment
Adjusting the Image Quality
Turning Off the Projector Adjusting the Screen Image
Turning On the Projector
Power inlet Lit orange
Connecting the Power Cord
Connect the accessory power cord to the projector
Turning On the Projector
Operation indicator lights orange
Turning On the Power and Projecting Images
Projector
Macintosh
After startup, change
Turning Off the Projector
Pressmore. the Power button once
Operation indicator stops flashing and lights orange
Check that the cool-down is complete
Foot adjust button
Retract the front adjustable foot if it is extended
Attach the lens cover
Turn the zoom ring on the projector to adjust the image
Adjusting the Screen Image
Adjusting the Image Size
Turn to Tele to reduce the size
Adjusting the Image Angle
Seen from the side
Approx above
When tilted vertically
When tilted horizontally
Approx to the right Approx to the left
Correcting vertical keystone distortion
Correcting Keystone Distortion
Correcting horizontal keystone distortion
Tip
Adjusting Computer Images
Adjusting the Image Quality
Focusing the Screen Image
Automatic adjustment
Adjusting the tracking
Adjusting the synchronization
Either the remote control or
Adjusting the Volume
Press the Volume Button on
Projectors control panel
Page
Using the Projector Menu Functions
Functions for Enhancing Projection
Function Details
Functions for Enhancing Projection
List of Functions
Mute
Black Blue Users logo Default setting
Press the Freeze button on the remote control
Freeze
For Hdtv
Wide-screen Projection
For Sdtv
Changing the display position for 169 display
Remote control Cross
Press the E-Zoom button on the remote control
Zoom
Tip
Effect
Remote control to select the type
Effects
Select the type of pointer icon or bar
Canceling effects
Picture in Picture P in P
Size Approx /3.2 Approx /2.8 Approx /2.5 Approx /2.3
Main menu Sub-menu
Using the Projector Menu Functions
Video menu
Analog-RGB Digital-RGB
Main menu Sub-menu Function Default Setting
Computer Analog-RGB, Digital-RGB
Using the Projector Menu Functions
Video RGB-Video, YCbCr, YPbPr, S-Video, Video
RGB-Video Video,Video Component YCbCr, YPbPr
Using the Projector Menu Functions
Audio menu
Default Main menu Sub-menuFunction Setting
Effect menu
Setting menu
Using the Projector Menu Functions
Users Logo menu
Advanced menu
OFF
Computer Digital-RGB, Analog-RGB, RGB-Video, YCbCr, YPbPr
About menu
Computer
Video S-Video, Video
Reset All menu
Video
Confirm the selection
Using the Menus
Select a menu item
Select a sub-menu item
Select other menu items in the same way
Using the Projector Menu Functions Select a setting value
Close the menu
101
Optional Accessories 100
List of ESC/VP21 Commands 103
List of Supported Monitor Displays 106
Troubleshooting
Using the Help
Tip
Operation indicator Lamp indicator Temperature indicator
When Having Some Trouble
Troubleshooting
Indicator status Projector Problem and remedy
Conditions in Safety Instructions/World
Projecting No abnormality Progress
Is a video signal being input?
When the Indicators Provide No Help
Is sleep mode active?
Try resetting all of the current settings
Not Supported is
Does the input signal match the connected source?
No images appear Messages do appear
Displayed
Poor image quality
Are the image signal format settings correct?
Is the projector at the correct distance?
Is an extension cable being used?
Has the correct resolution been selected?
Are the cables connected correctly?
Image is distorted Image contains interference
Only part of the image is displayed Large/small
Images appear dark
Have the color intensity and tint been adjusted correctly?
Image colors are not right
Is sound being output from the audio source?
No sound can be heard
Is sound being output to external speakers?
Is the remote control too far from the projector?
Remote control does not work
Power does not turn off after the Power button is pressed
Operation indicator remains orange
Cleaning the Projector Case
Maintenance
Cleaning
Cleaning the Lens
Cleaning the Air Filter
Maintenance
Replacing Consumables
Lamp Replacement Period
Lamp indicator flashes orange or lights red
Projected image gets darker or starts to deteriorate
Replacing the Lamp
Loosen the two lamp fixing screws
Install the lamp cover
Install the new lamp
Take out the lamp
Resetting the Lamp Operating Time
Install the new air filter
Replacing the Air Filter
Saving a Users Logo
Select Yes in the sub-menu, Then press the button
Tip
Optional Accessories
100
Glossary
101
Glossary
102
Command
List of ESC/VP21 Commands
Command List
103
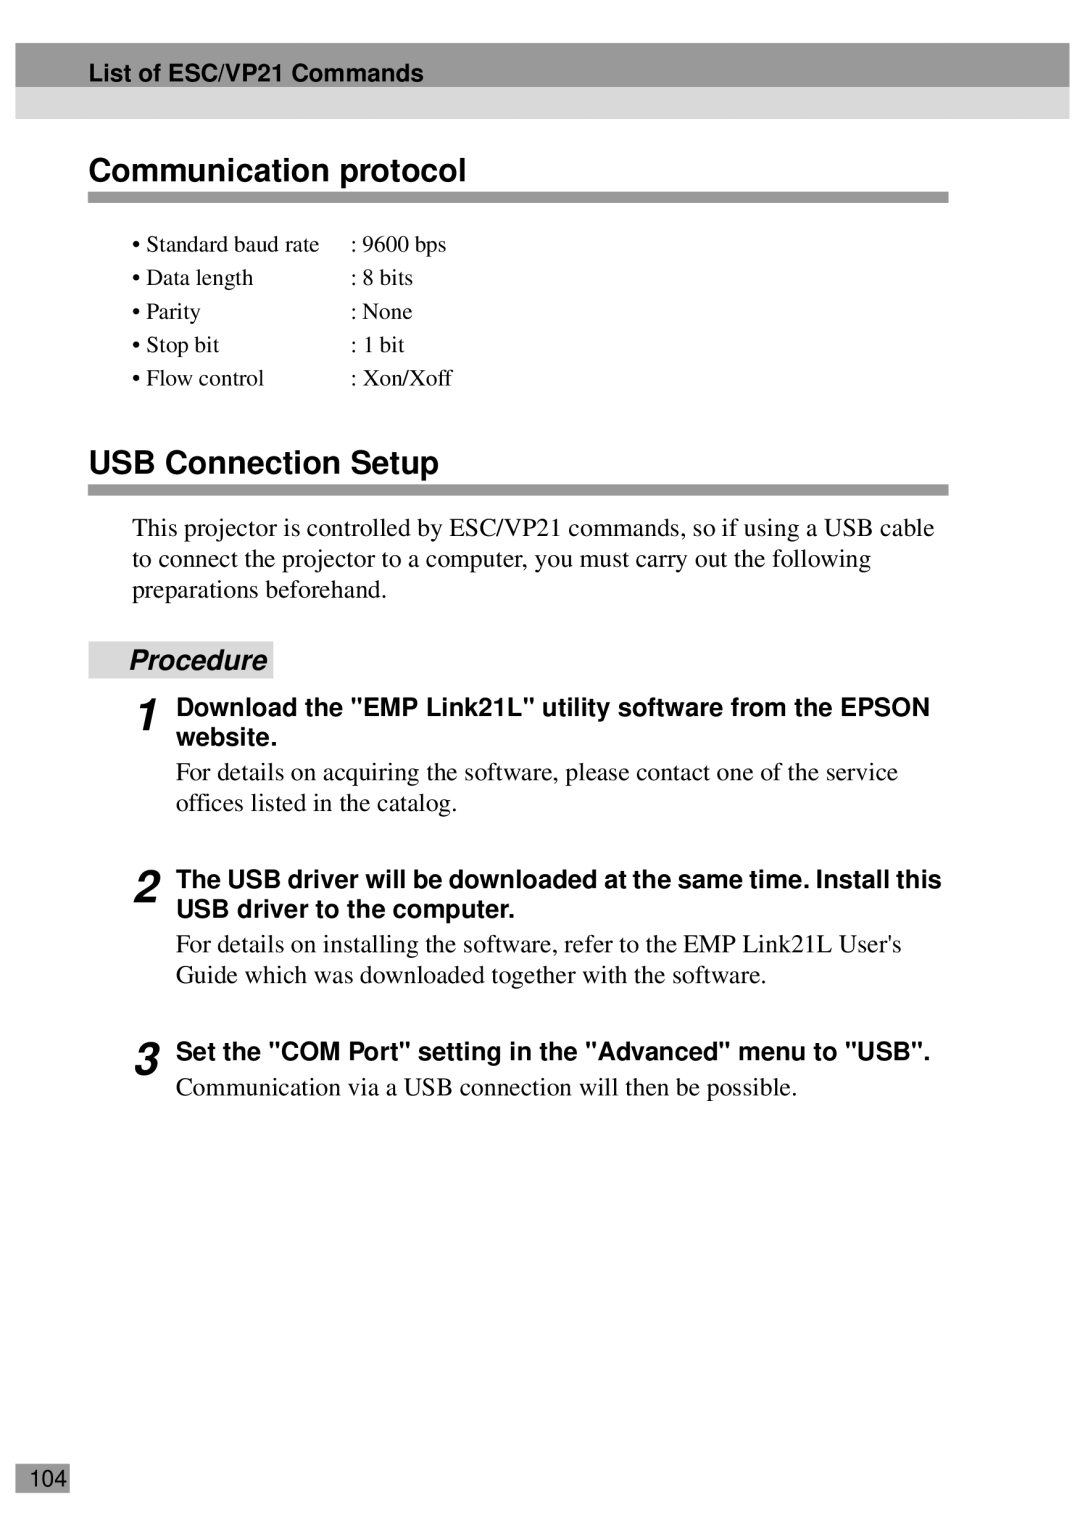
USB Connection Setup
Communication protocol
USB connection
Cable layouts
Serial connection
105
List of Supported Monitor Displays
106
Specifications
Safety
108
104 114 348 33.4 187 R3.8 M4x10 136 274 103.2 12.8
Appearance
Units mm 109
33.7 46.8 97.2 16.7 116.5 90.8
Index
110
111
Index
112
113
Page
Declaration of Conformity
FCC Compliance Statement For United States Users
Page
402520600