3. Installation
(4)Secure the screws of the mounting metal hasps. Tighten the four screws slowly, in an even, crisscross pattern.
Overtightening the screws may damage the Operator Panel.
To ensure
3.3Connecting Cables
WARNING
Be sure to connect the cables between the Controller and the Operator Panel properly. Do not allow unnecessary strain on the cables. (Do not put heavy objects on the cables. Do not bend or pull the cables forcibly.) The unnecessary strain on the cables may result in damage to the cables, disconnection, and/or contact failure. Damaged cables, disconnection, or contact failure is extremely hazardous and may result in electric shock and/or improper function of the system. Do not use the cables near heat or fire.
CAUTION
Be sure to turn OFF the Controller before connecting and disconnecting cables. Connecting or disconnecting the cables with the power ON may result in malfunction of the robot system.
(1)Turn OFF the Controller.
(2)Disconnect the TP/OP Bypass Plug from the Controller.
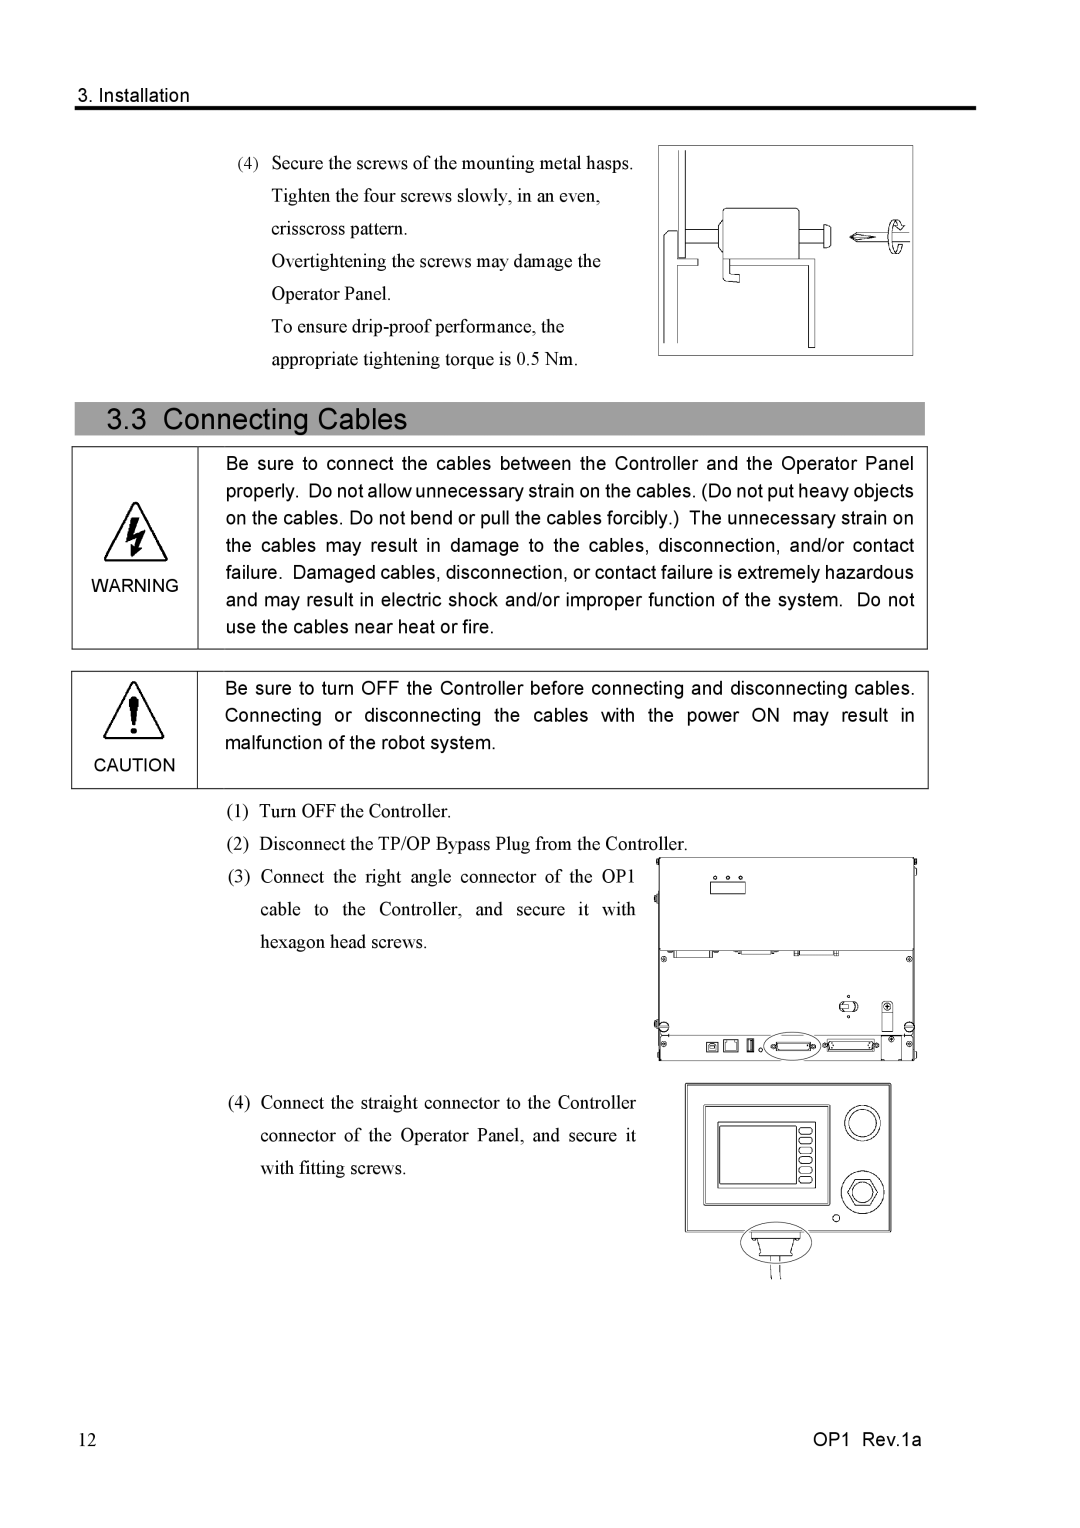
(3)Connect the right angle connector of the OP1 cable to the Controller, and secure it with hexagon head screws.
(4)Connect the straight connector to the Controller connector of the Operator Panel, and secure it with fitting screws.
12 | OP1 Rev.1a |