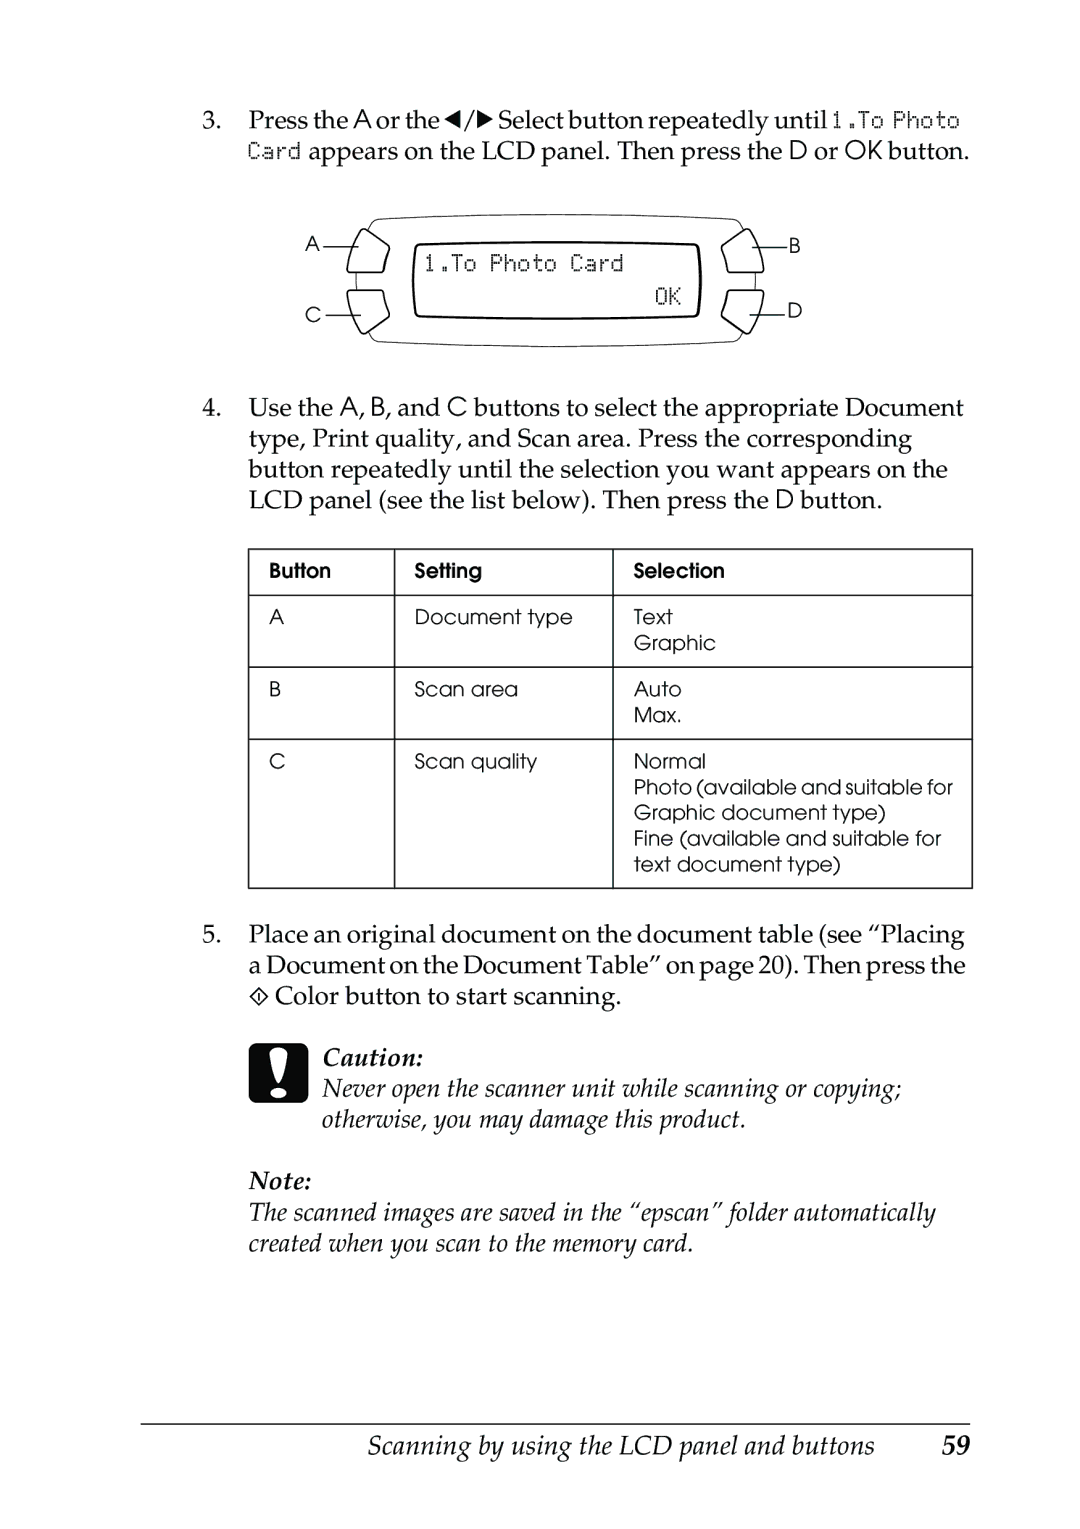
3.Press the A or the l/r Select button repeatedly until 1.To Photo Card appears on the LCD panel. Then press the D or OK button.
AB
1.To Photo Card
OK
CD
4.Use the A, B, and C buttons to select the appropriate Document type, Print quality, and Scan area. Press the corresponding button repeatedly until the selection you want appears on the LCD panel (see the list below). Then press the D button.
Button | Setting | Selection |
|
|
|
A | Document type | Text |
|
| Graphic |
|
|
|
B | Scan area | Auto |
|
| Max. |
|
|
|
C | Scan quality | Normal |
|
| Photo (available and suitable for |
|
| Graphic document type) |
|
| Fine (available and suitable for |
|
| text document type) |
|
|
|
5.Place an original document on the document table (see “Placing a Document on the Document Table” on page 20). Then press the x Color button to start scanning.
cCaution:
Never open the scanner unit while scanning or copying; otherwise, you may damage this product.
Note:
The scanned images are saved in the “epscan” folder automatically created when you scan to the memory card.
Scanning by using the LCD panel and buttons | 59 |