Installation — Stage 1, cont’d
Installing the Receiver in a Junction Box
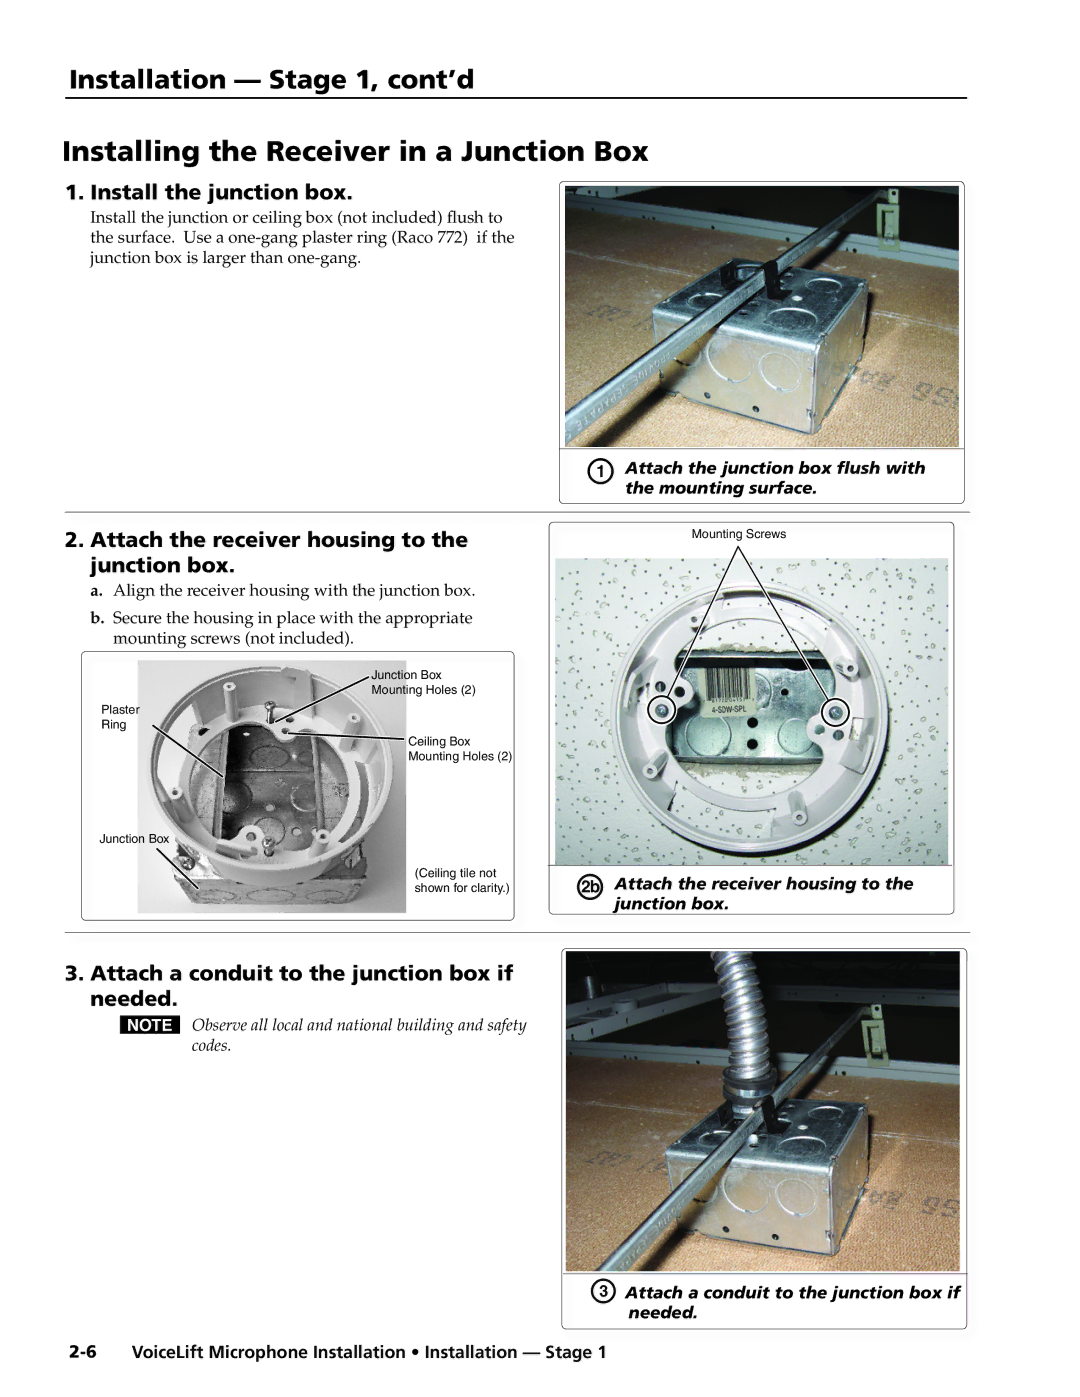
1. Install the junction box.
Install the junction or ceiling box (not included) flush to
the surface. Use a
junction box is larger than
A Attach the junction box flush with the mounting surface.
2.Attach the receiver housing to the junction box.
a.Align the receiver housing with the junction box.
b.Secure the housing in place with the appropriate mounting screws (not included).
Junction Box
Mounting Holes (2)
Plaster
Ring
![]() Ceiling Box
Ceiling Box
Mounting Holes (2)
Junction Box
(Ceiling tile not shown for clarity.)
Mounting Screws
ÉAttach the receiver housing to the junction box.
3. Attach a conduit to the junction box if needed.
NObserve all local and national building and safety codes.
C Attach a conduit to the junction box if needed.