EN
6
Freecom MusicPal
6.3.2 Configuring the Freecom MusicPal
1.Select Settings in your main menu after you have switched on the Freecom MusicPal.
MusicPal
Internet Radio
Media Server
Extras
Settings
2. Select the LAN IP or WLAN IP menu item.
Settings
Clock
Edit Favorites
WLAN Access Point
WLAN Region
WLAN IP
3.In the menu item select Use DHCP? No. Select Use DHCP? Yes when connecting through a router.
Attention: If the Freecom MusicPal was connected with the computer through a router, steps 4+5 are dispensed with.
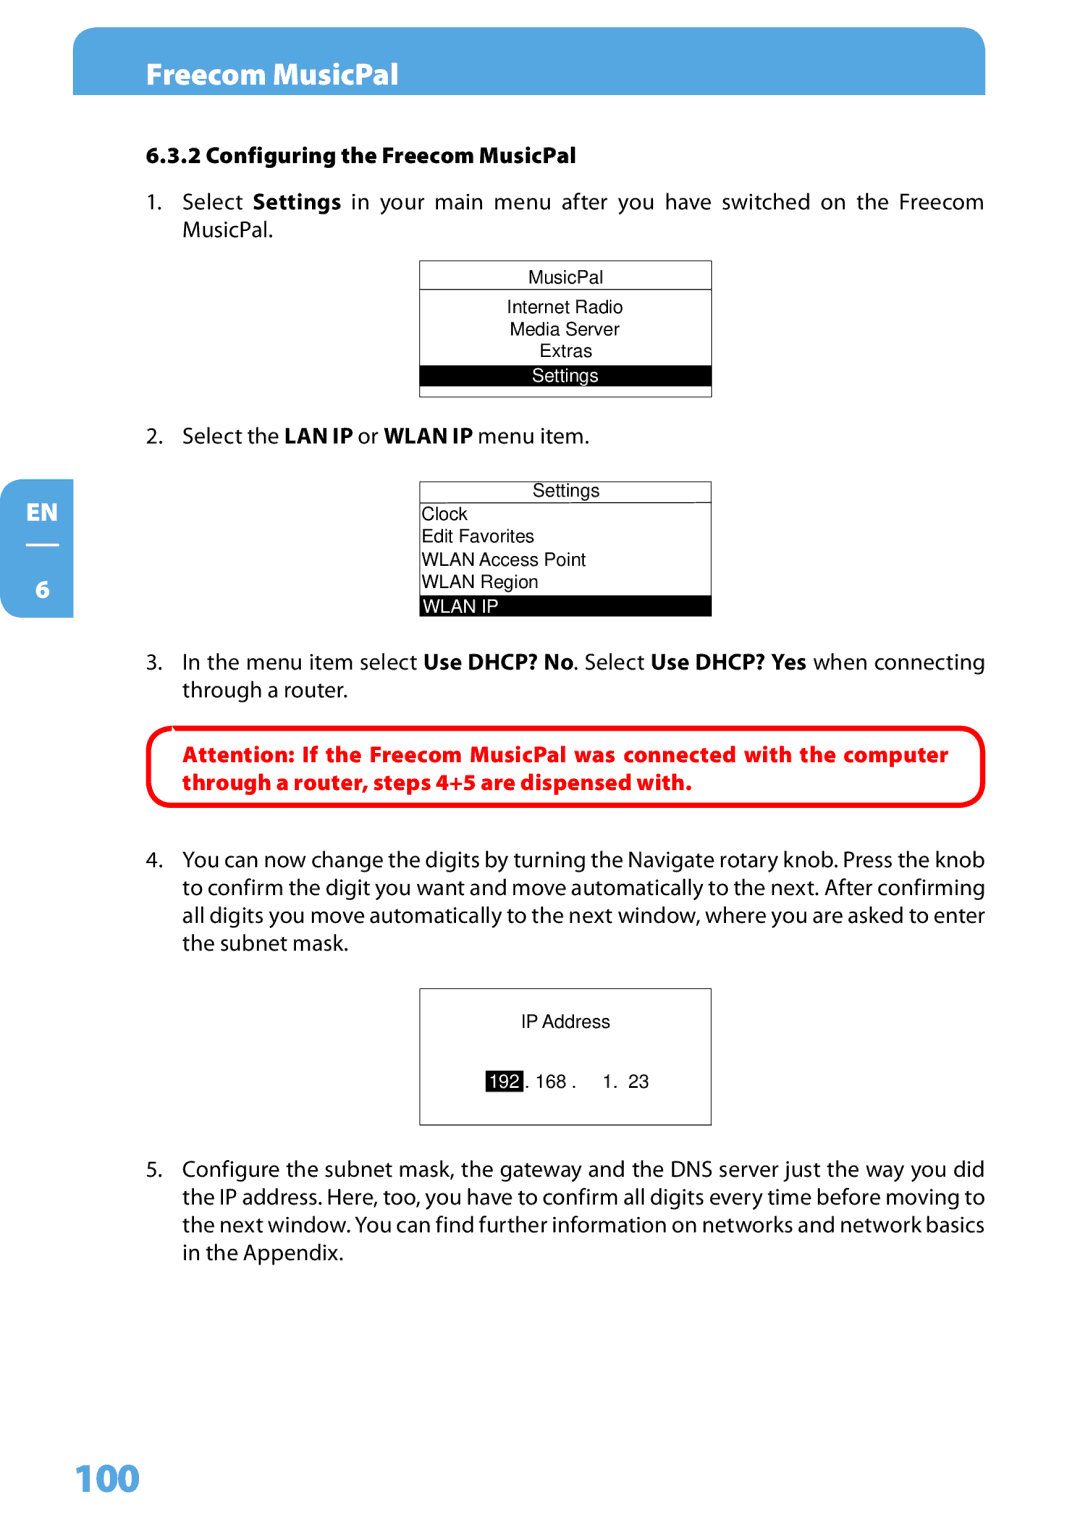
4.You can now change the digits by turning the Navigate rotary knob. Press the knob to confirm the digit you want and move automatically to the next. After confirming all digits you move automatically to the next window, where you are asked to enter the subnet mask.
IP Address
192 . 168 . 1. 23
5.Configure the subnet mask, the gateway and the DNS server just the way you did the IP address. Here, too, you have to confirm all digits every time before moving to the next window. You can find further information on networks and network basics in the Appendix.