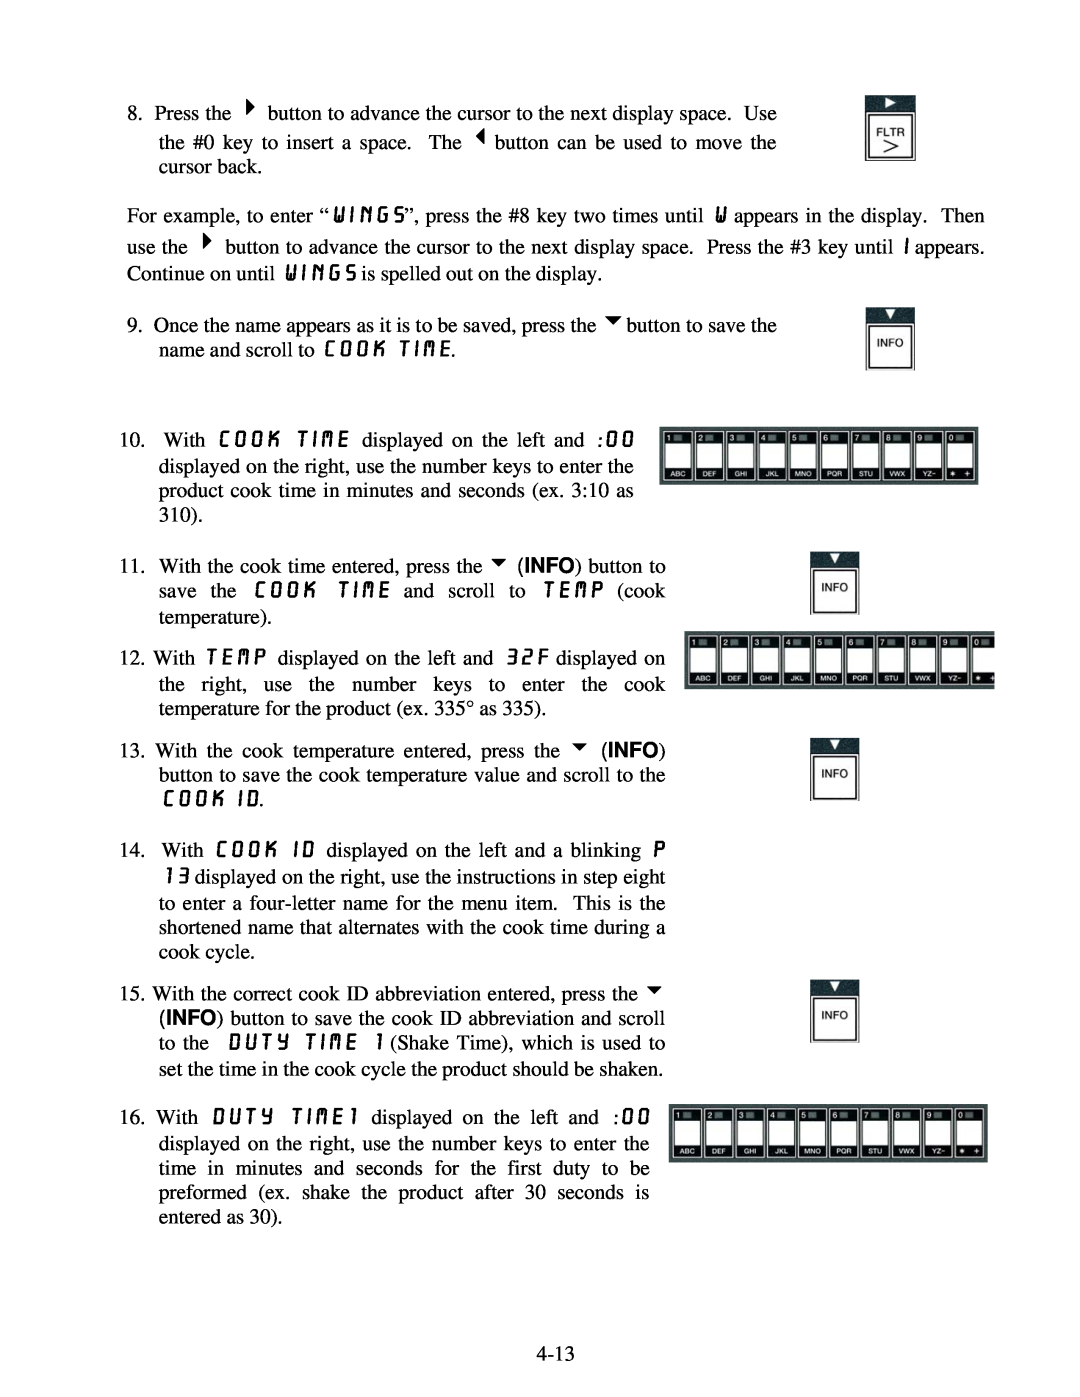
8. Press the 4 button to advance the cursor to the next display space. Use
the #0 key to insert a space. The 3button can be used to move the cursor back.
For example, to enter “WINGS”, press the #8 key two times until W appears in the display. Then
use the 4 button to advance the cursor to the next display space. Press the #3 key until I appears. Continue on until WINGS is spelled out on the display.
9.Once the name appears as it is to be saved, press the ubutton to save the name and scroll to cook time.
10.With cook time displayed on the left and :00 displayed on the right, use the number keys to enter the product cook time in minutes and seconds (ex. 3:10 as 310).
11.With the cook time entered, press the u (INFO) button to save the cook time and scroll to TEMP (cook temperature).
12.With temp displayed on the left and 32F displayed on the right, use the number keys to enter the cook temperature for the product (ex. 335° as 335).
13.With the cook temperature entered, press the u (INFO) button to save the cook temperature value and scroll to the
COOK ID.
14.With cook ID displayed on the left and a blinking P 13 displayed on the right, use the instructions in step eight to enter a
15.With the correct cook ID abbreviation entered, press the u (INFO) button to save the cook ID abbreviation and scroll to the DUTY TIME 1 (Shake Time), which is used to set the time in the cook cycle the product should be shaken.
16.With duty time1 displayed on the left and :00 displayed on the right, use the number keys to enter the time in minutes and seconds for the first duty to be preformed (ex. shake the product after 30 seconds is entered as 30).