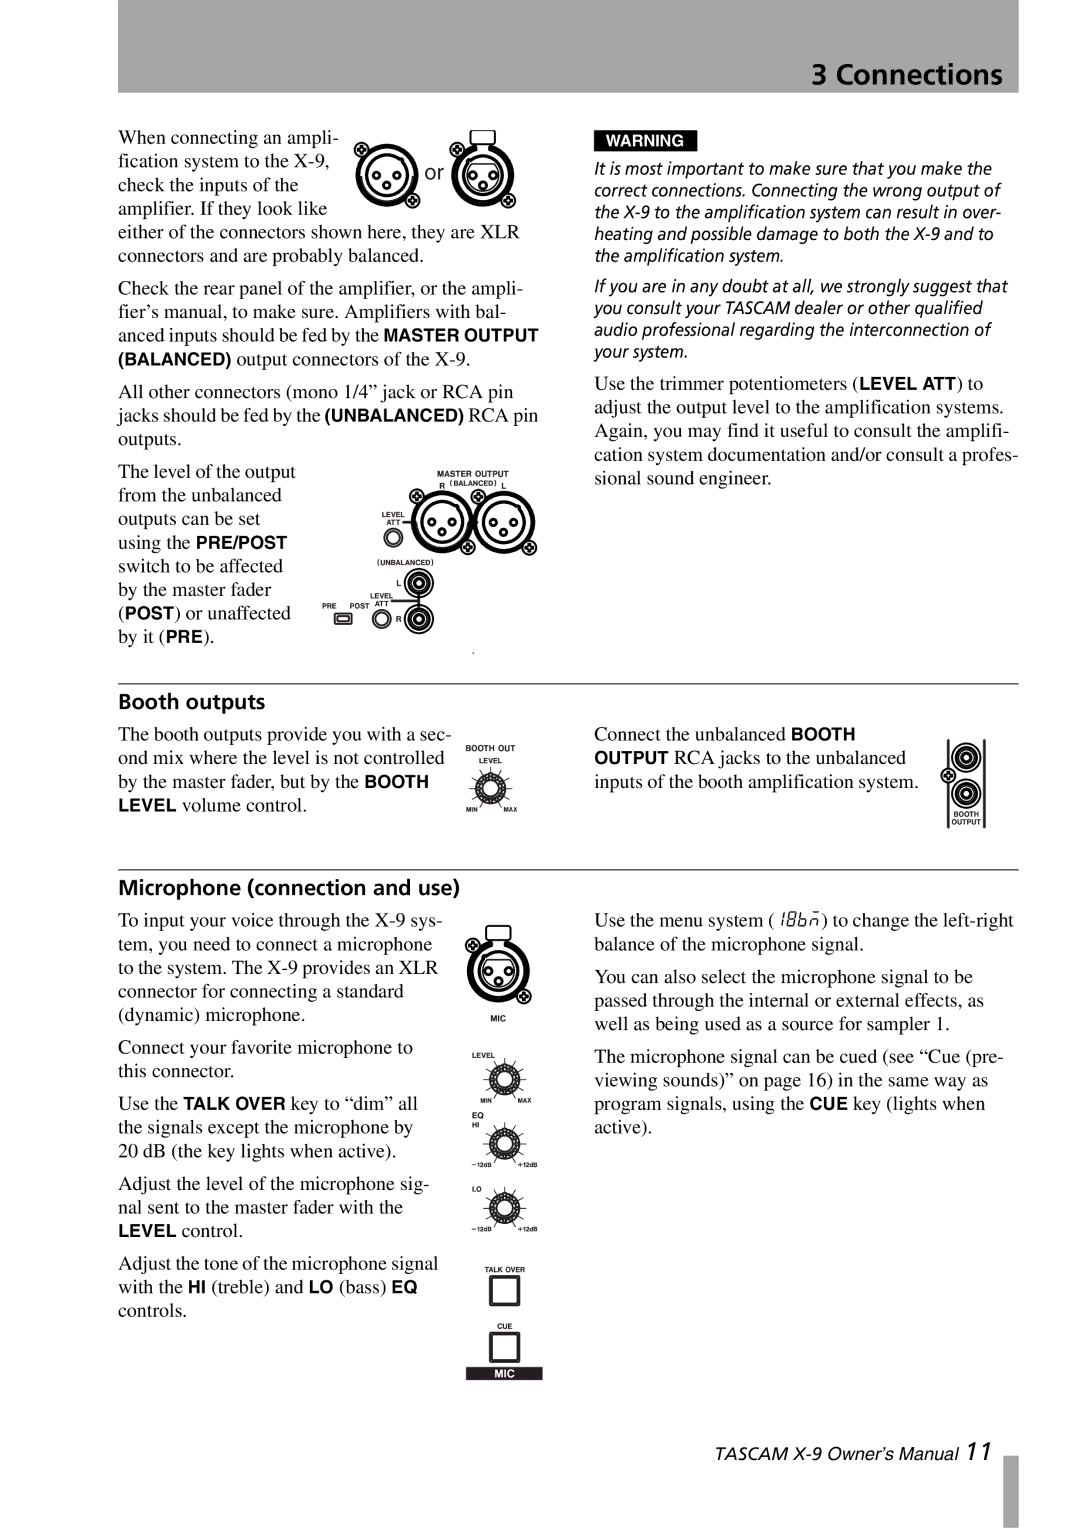
When connecting an ampli- fication system to the
or
check the inputs of the
amplifier. If they look like ![]()
![]() either of the connectors shown here, they are XLR connectors and are probably balanced.
either of the connectors shown here, they are XLR connectors and are probably balanced.
Check the rear panel of the amplifier, or the ampli- fier’s manual, to make sure. Amplifiers with bal- anced inputs should be fed by the MASTER OUTPUT (BALANCED) output connectors of the
All other connectors (mono 1/4” jack or RCA pin jacks should be fed by the (UNBALANCED) RCA pin outputs.
The level of the output from the unbalanced outputs can be set using the PRE/POST switch to be affected by the master fader (POST) or unaffected by it (PRE).
3 Connections
WARNING
It is most important to make sure that you make the correct connections. Connecting the wrong output of the
If you are in any doubt at all, we strongly suggest that you consult your TASCAM dealer or other qualified audio professional regarding the interconnection of your system.
Use the trimmer potentiometers (LEVEL ATT) to adjust the output level to the amplification systems. Again, you may find it useful to consult the amplifi- cation system documentation and/or consult a profes- sional sound engineer.
Booth outputs
The booth outputs provide you with a sec- ond mix where the level is not controlled by the master fader, but by the BOOTH LEVEL volume control.
Connect the unbalanced BOOTH OUTPUT RCA jacks to the unbalanced inputs of the booth amplification system.
Microphone (connection and use)
To input your voice through the
Connect your favorite microphone to this connector.
Use the TALK OVER key to “dim” all the signals except the microphone by 20 dB (the key lights when active).
Adjust the level of the microphone sig- nal sent to the master fader with the LEVEL control.
Adjust the tone of the microphone signal with the HI (treble) and LO (bass) EQ controls.
Use the menu system (18bm) to change the
You can also select the microphone signal to be passed through the internal or external effects, as well as being used as a source for sampler 1.
The microphone signal can be cued (see “Cue (pre- viewing sounds)” on page 16) in the same way as program signals, using the CUE key (lights when active).
TASCAM