3 Connections
External effects unit
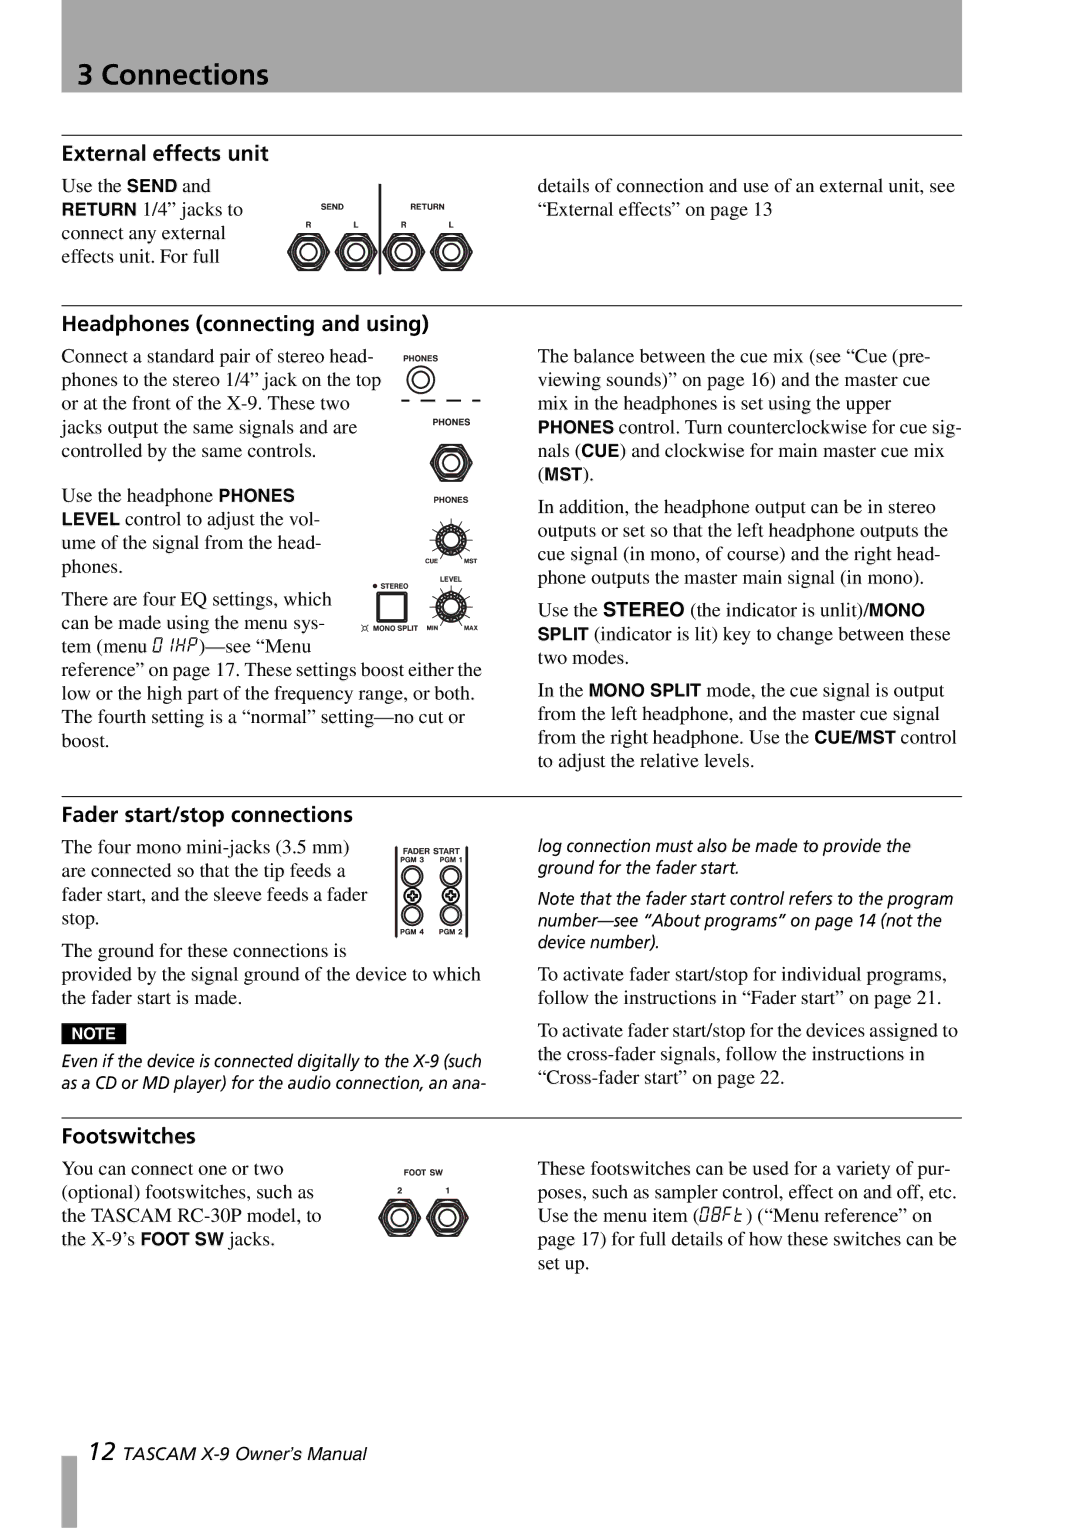
Use the SEND and RETURN 1/4” jacks to connect any external effects unit. For full
details of connection and use of an external unit, see “External effects” on page 13
Headphones (connecting and using)
Connect a standard pair of stereo head- phones to the stereo 1/4” jack on the top or at the front of the
Use the headphone PHONES LEVEL control to adjust the vol- ume of the signal from the head- phones.
There are four EQ settings, which can be made using the menu sys- tem (menu
reference” on page 17. These settings boost either the low or the high part of the frequency range, or both. The fourth setting is a “normal”
The balance between the cue mix (see “Cue (pre- viewing sounds)” on page 16) and the master cue mix in the headphones is set using the upper PHONES control. Turn counterclockwise for cue sig- nals (CUE) and clockwise for main master cue mix (MST).
In addition, the headphone output can be in stereo outputs or set so that the left headphone outputs the cue signal (in mono, of course) and the right head- phone outputs the master main signal (in mono).
Use the STEREO (the indicator is unlit)/MONO SPLIT (indicator is lit) key to change between these two modes.
In the MONO SPLIT mode, the cue signal is output from the left headphone, and the master cue signal from the right headphone. Use the CUE/MST control to adjust the relative levels.
Fader start/stop connections
The four mono
The ground for these connections is
provided by the signal ground of the device to which the fader start is made.
NOTE
Even if the device is connected digitally to the
log connection must also be made to provide the ground for the fader start.
Note that the fader start control refers to the program
To activate fader start/stop for individual programs, follow the instructions in “Fader start” on page 21.
To activate fader start/stop for the devices assigned to the
Footswitches
You can connect one or two (optional) footswitches, such as the TASCAM
These footswitches can be used for a variety of pur- poses, such as sampler control, effect on and off, etc. Use the menu item (08Ft) (“Menu reference” on page 17) for full details of how these switches can be set up.
12 TASCAM