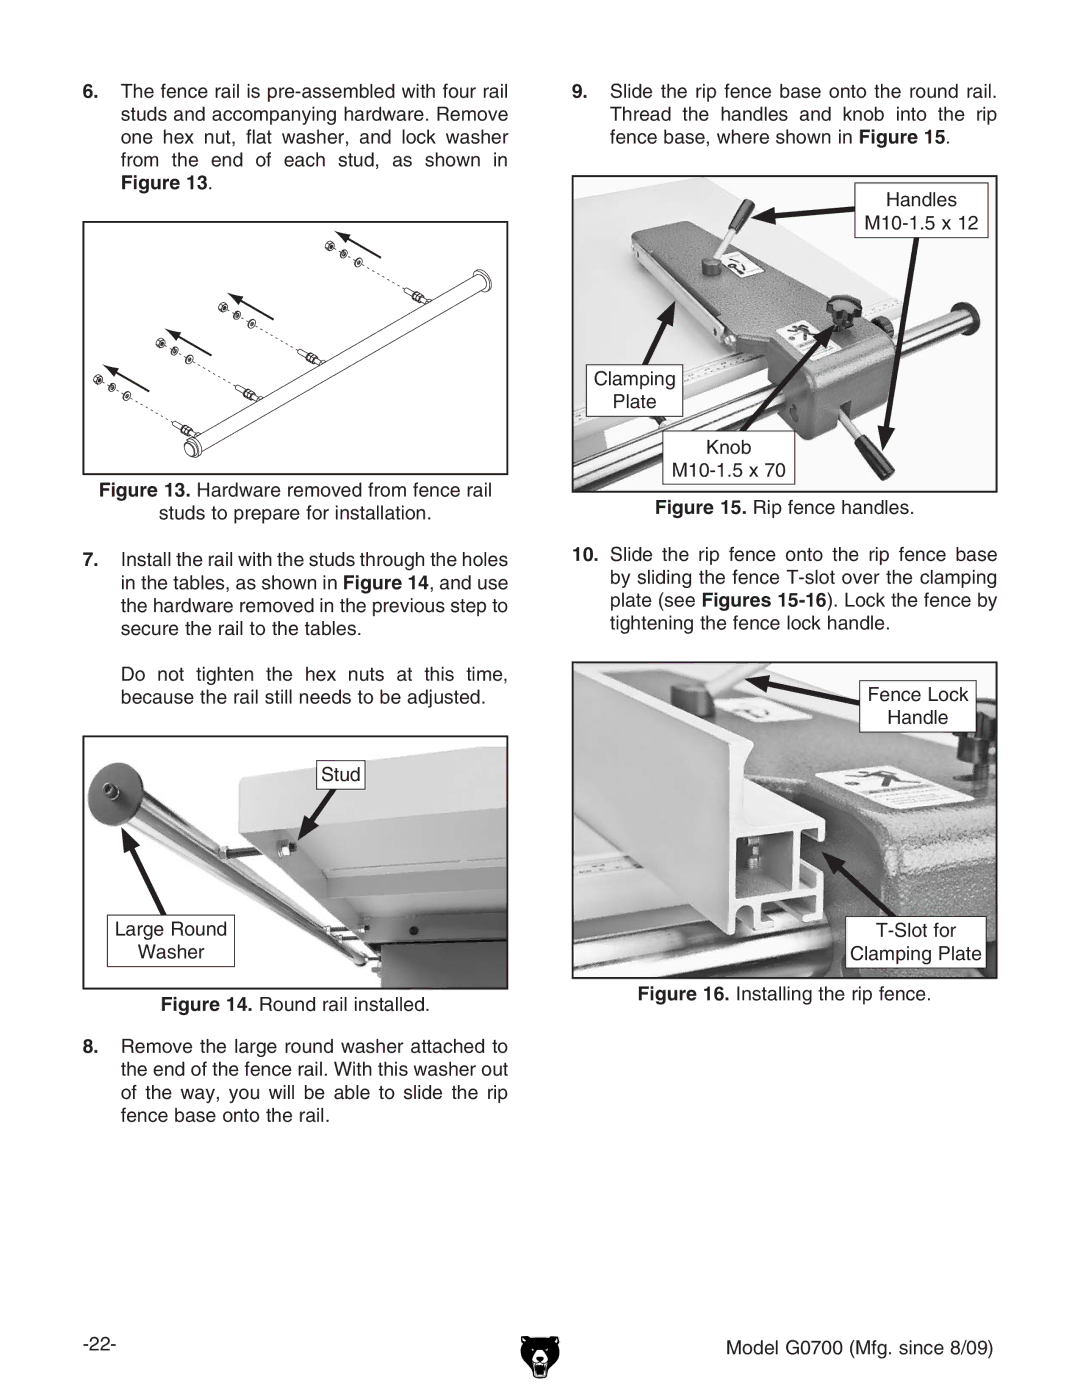
6.The fence rail is
Figure 13.
Figure 13. Hardware removed from fence rail
studs to prepare for installation.
7.Install the rail with the studs through the holes in the tables, as shown in Figure 14, and use the hardware removed in the previous step to secure the rail to the tables.
Do not tighten the hex nuts at this time, because the rail still needs to be adjusted.
Stud
Large Round
Washer
Figure 14. Round rail installed.
8.Remove the large round washer attached to the end of the fence rail. With this washer out of the way, you will be able to slide the rip fence base onto the rail.
9.Slide the rip fence base onto the round rail. Thread the handles and knob into the rip fence base, where shown in Figure 15.
Handles |
|
Clamping |
Plate |
Knob |