Grizzly G0700 owner manual

Models: G0700

1 88
Download 88 pages 25.77 Kb
Page 26
Image 26

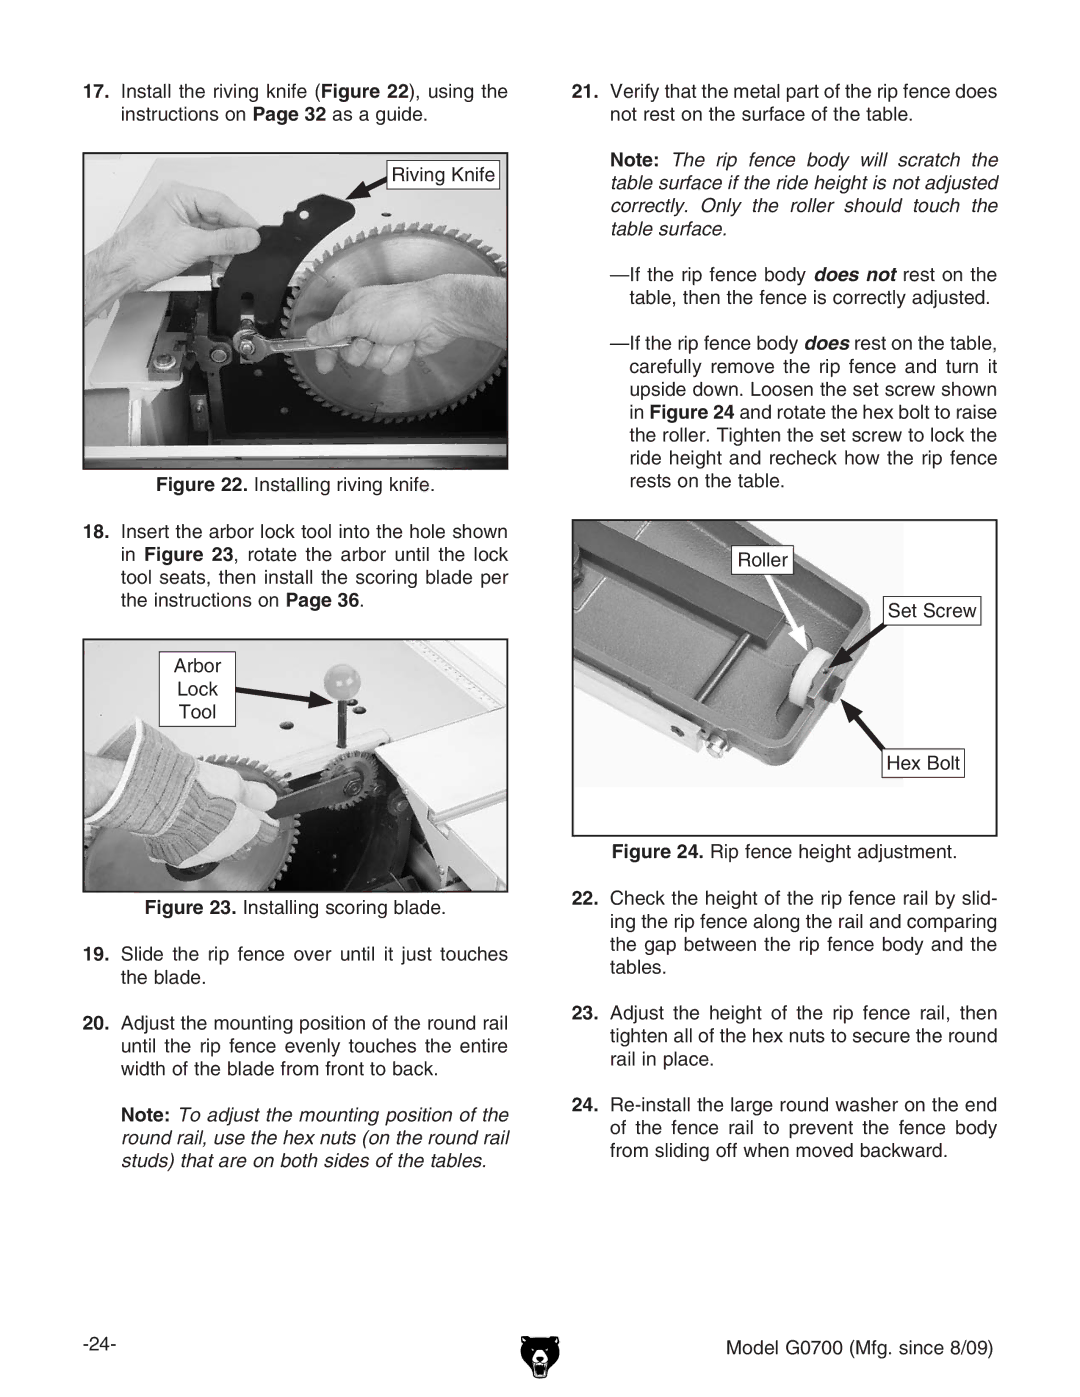
17.Install the riving knife (Figure 22), using the instructions on Page 32 as a guide.

Riving Knife

Figure 22. Installing riving knife.

18.Insert the arbor lock tool into the hole shown in Figure 23, rotate the arbor until the lock tool seats, then install the scoring blade per the instructions on Page 36.

Arbor

Lock

Tool

Figure 23. Installing scoring blade.

19.Slide the rip fence over until it just touches the blade.

20.Adjust the mounting position of the round rail until the rip fence evenly touches the entire width of the blade from front to back.

Note: To adjust the mounting position of the round rail, use the hex nuts (on the round rail studs) that are on both sides of the tables.

-24-

21.Verify that the metal part of the rip fence does not rest on the surface of the table.

Note: The rip fence body will scratch the table surface if the ride height is not adjusted correctly. Only the roller should touch the table surface.

—If the rip fence body does not rest on the table, then the fence is correctly adjusted.

—If the rip fence body does rest on the table, carefully remove the rip fence and turn it upside down. Loosen the set screw shown in Figure 24 and rotate the hex bolt to raise the roller. Tighten the set screw to lock the ride height and recheck how the rip fence rests on the table.

Roller

Set Screw

Hex Bolt

Figure 24. Rip fence height adjustment.

22.Check the height of the rip fence rail by slid- ing the rip fence along the rail and comparing the gap between the rip fence body and the tables.

23.Adjust the height of the rip fence rail, then tighten all of the hex nuts to secure the round rail in place.

24.Re-install the large round washer on the end of the fence rail to prevent the fence body from sliding off when moved backward.

Model G0700 (Mfg. since 8/09)

Page 26
Image 26
Grizzly G0700 owner manual